2019 Renovation
Note that as of this writing work is still progressing, but we are ready to open in March. We will add pictures to the gallery as we get closer to completion.
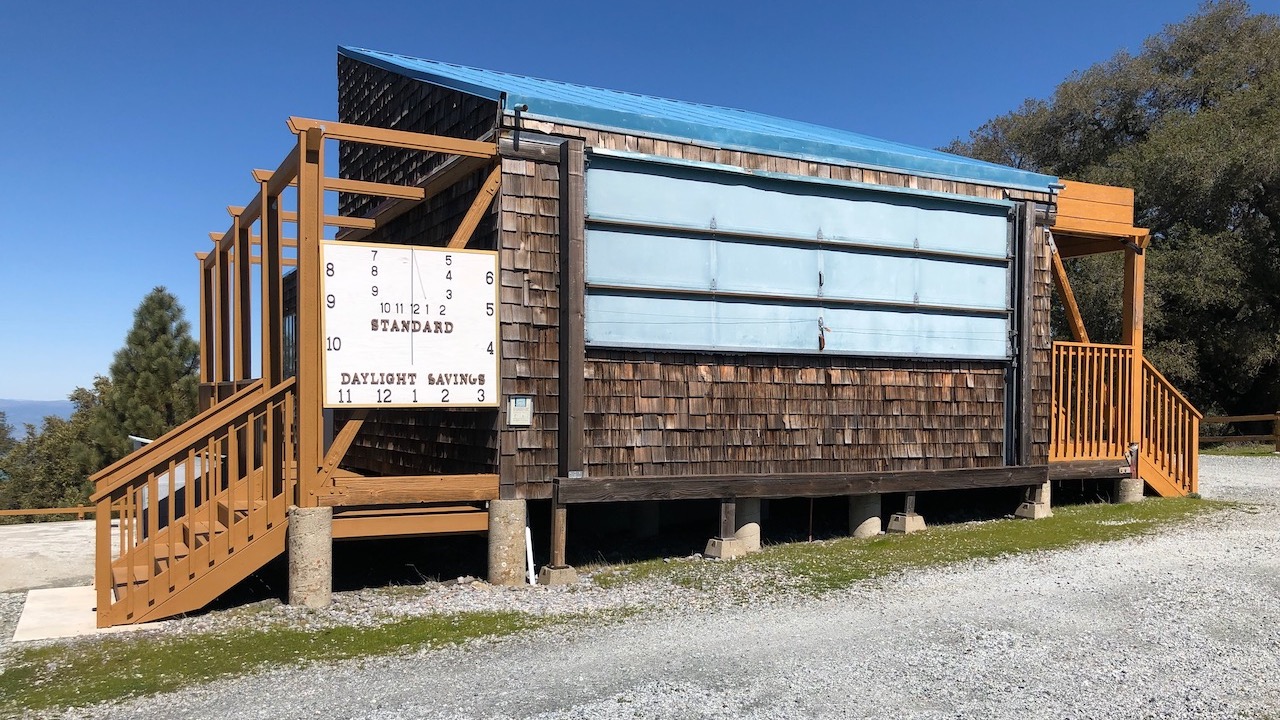
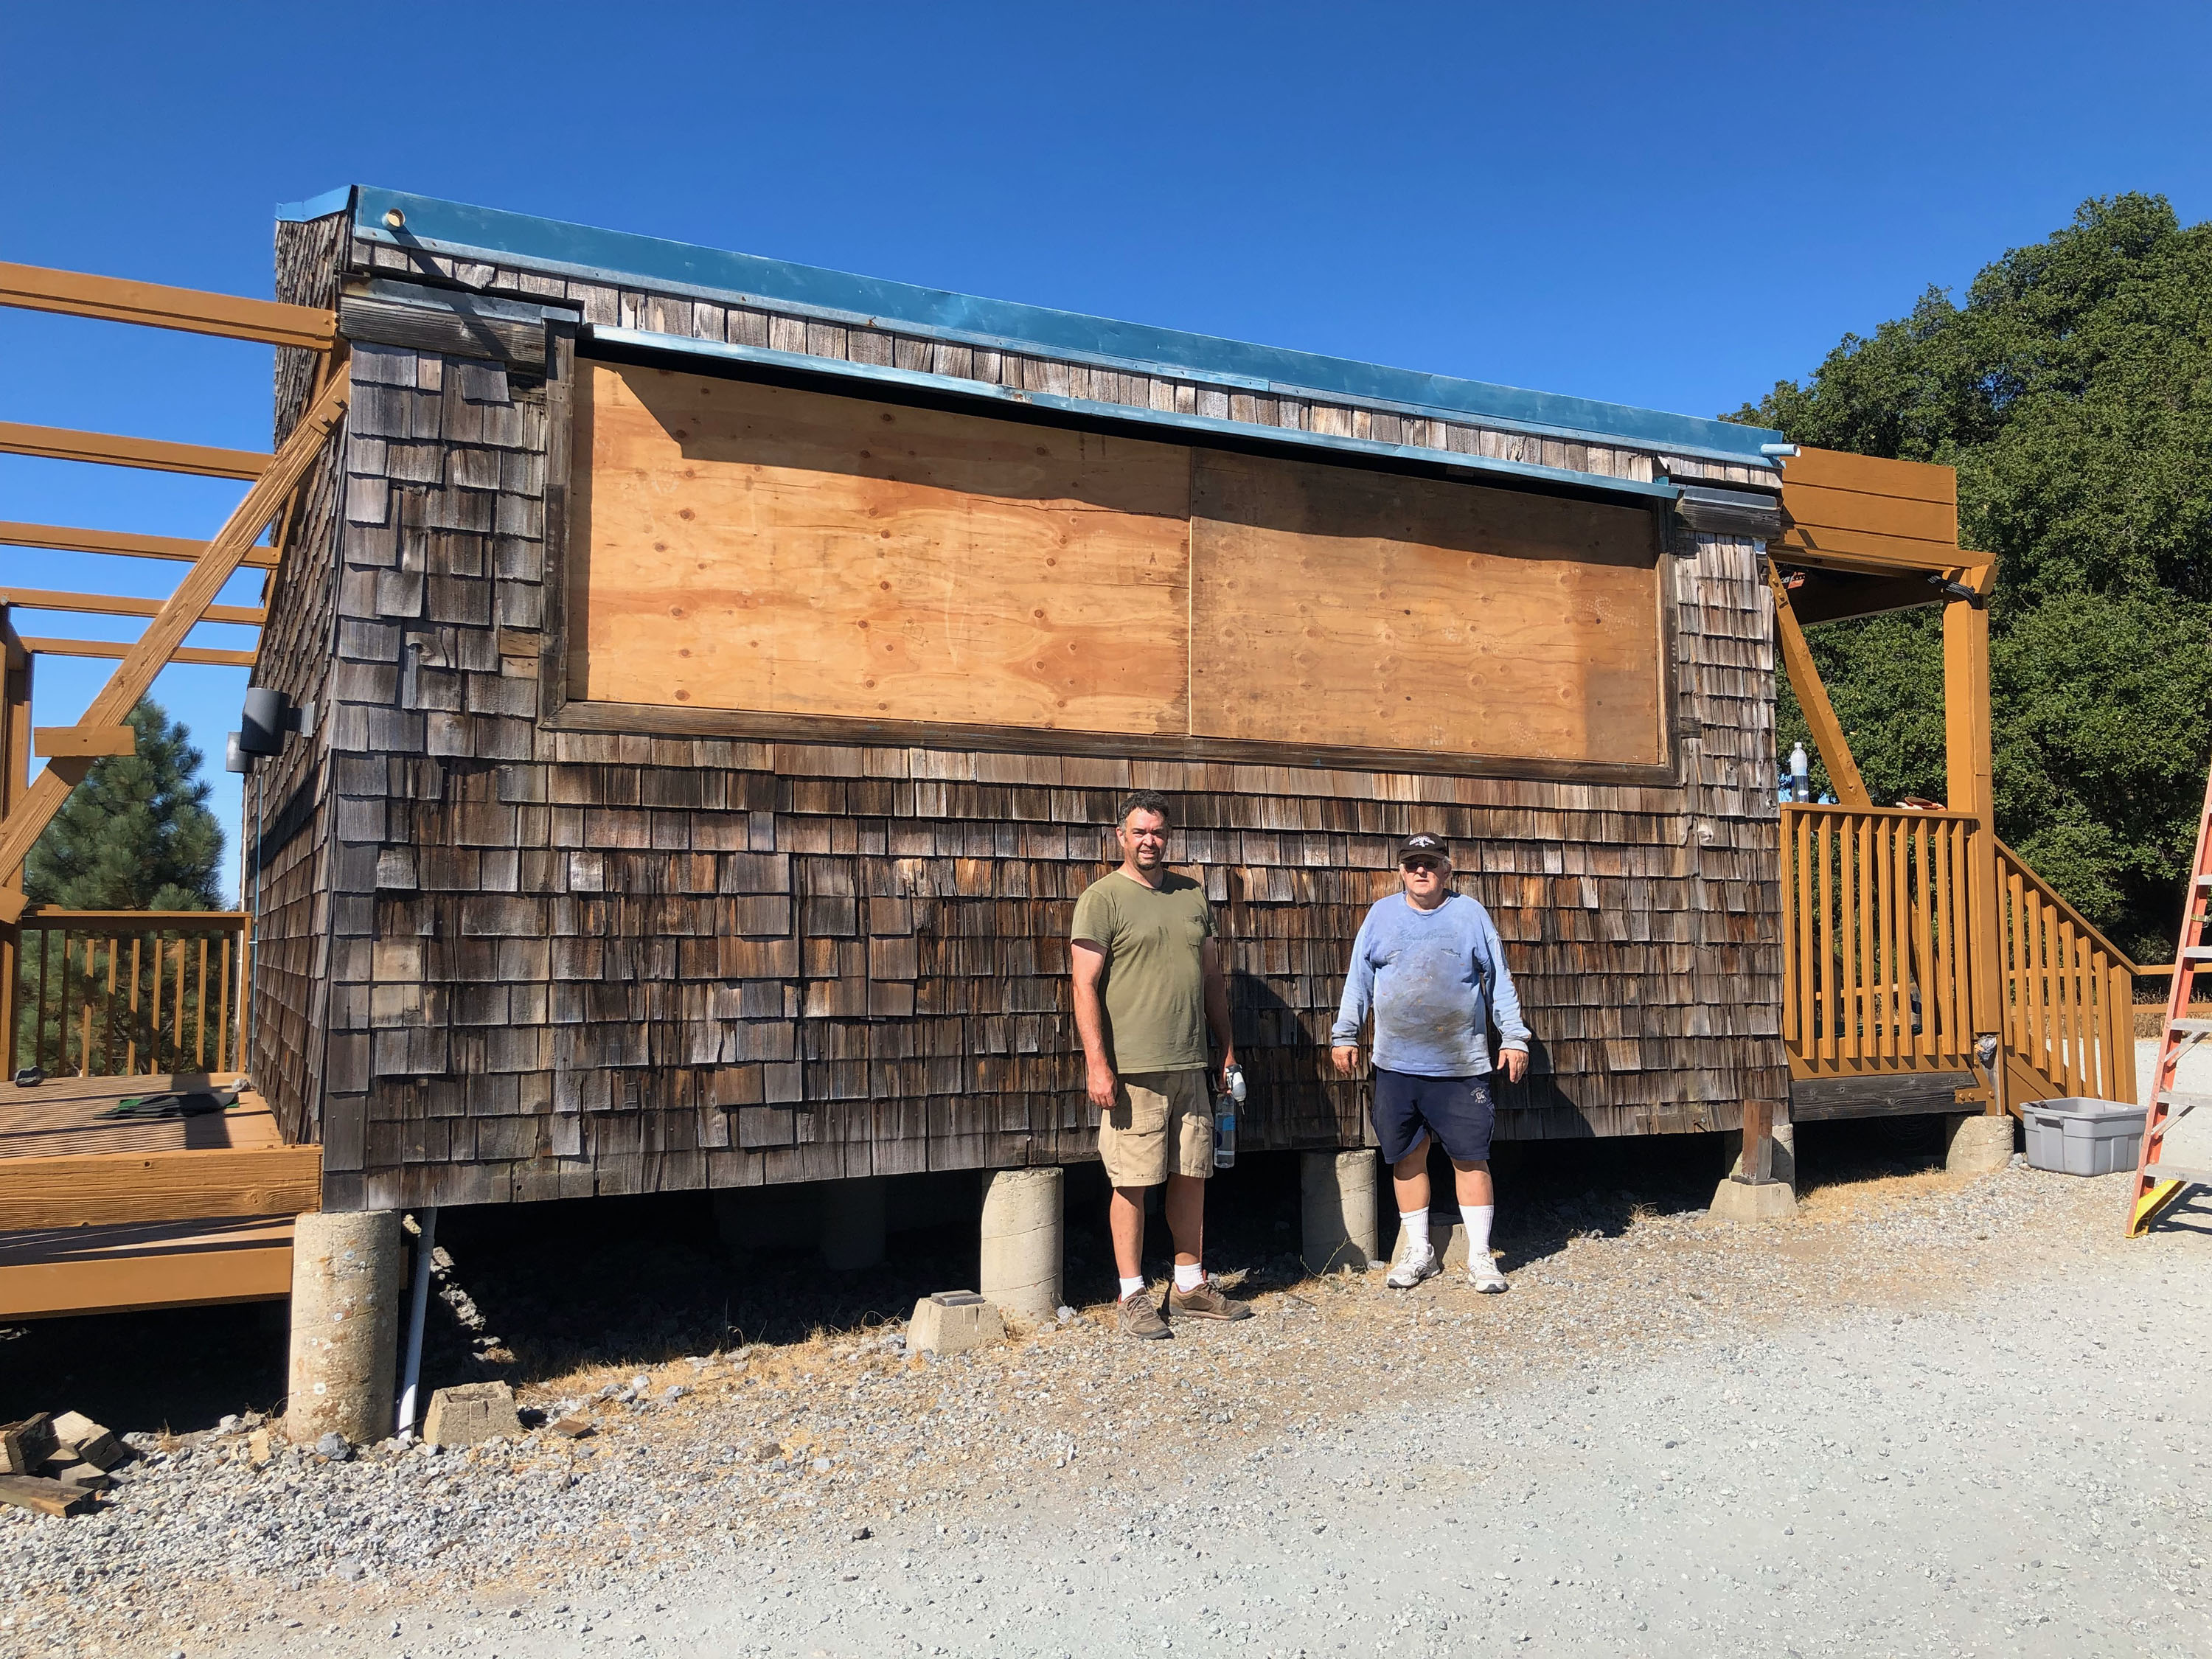
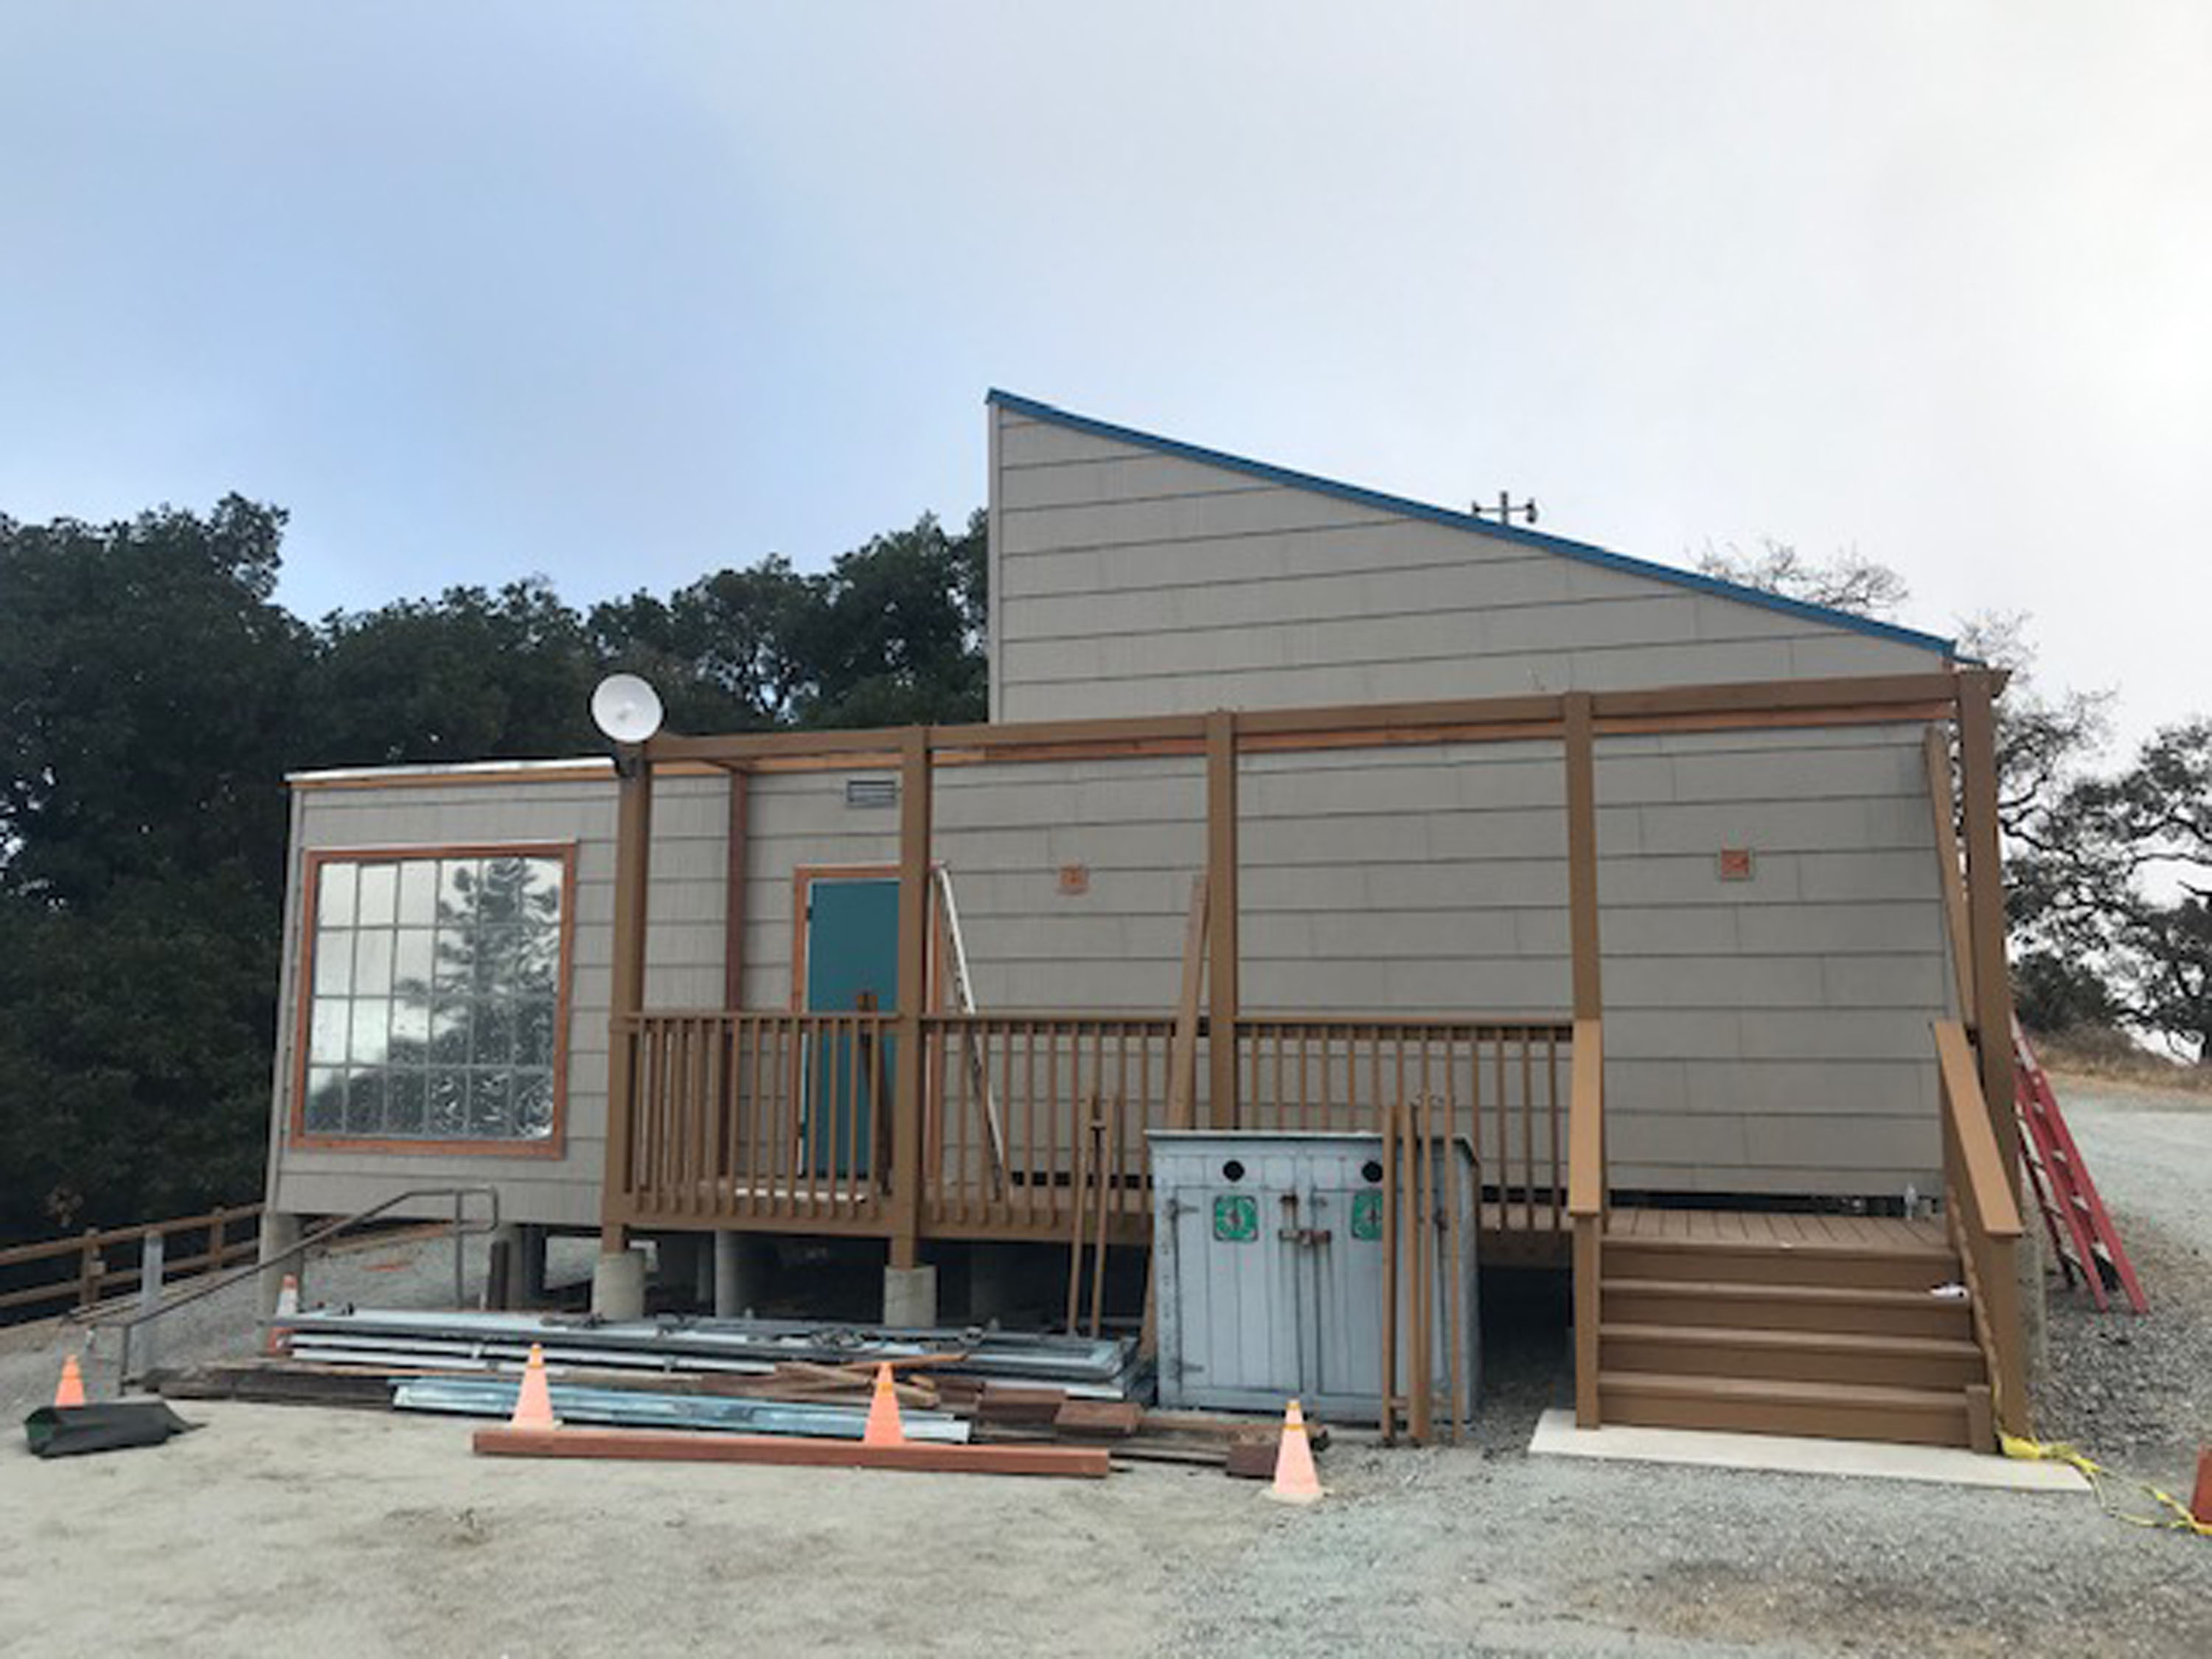
In 2018 the FPOA board decided that after 30 years of use, the building needed some TLC. We suspected siding leaks, and wood shake buildings in a fire zone aren’t permitted under the current building code.
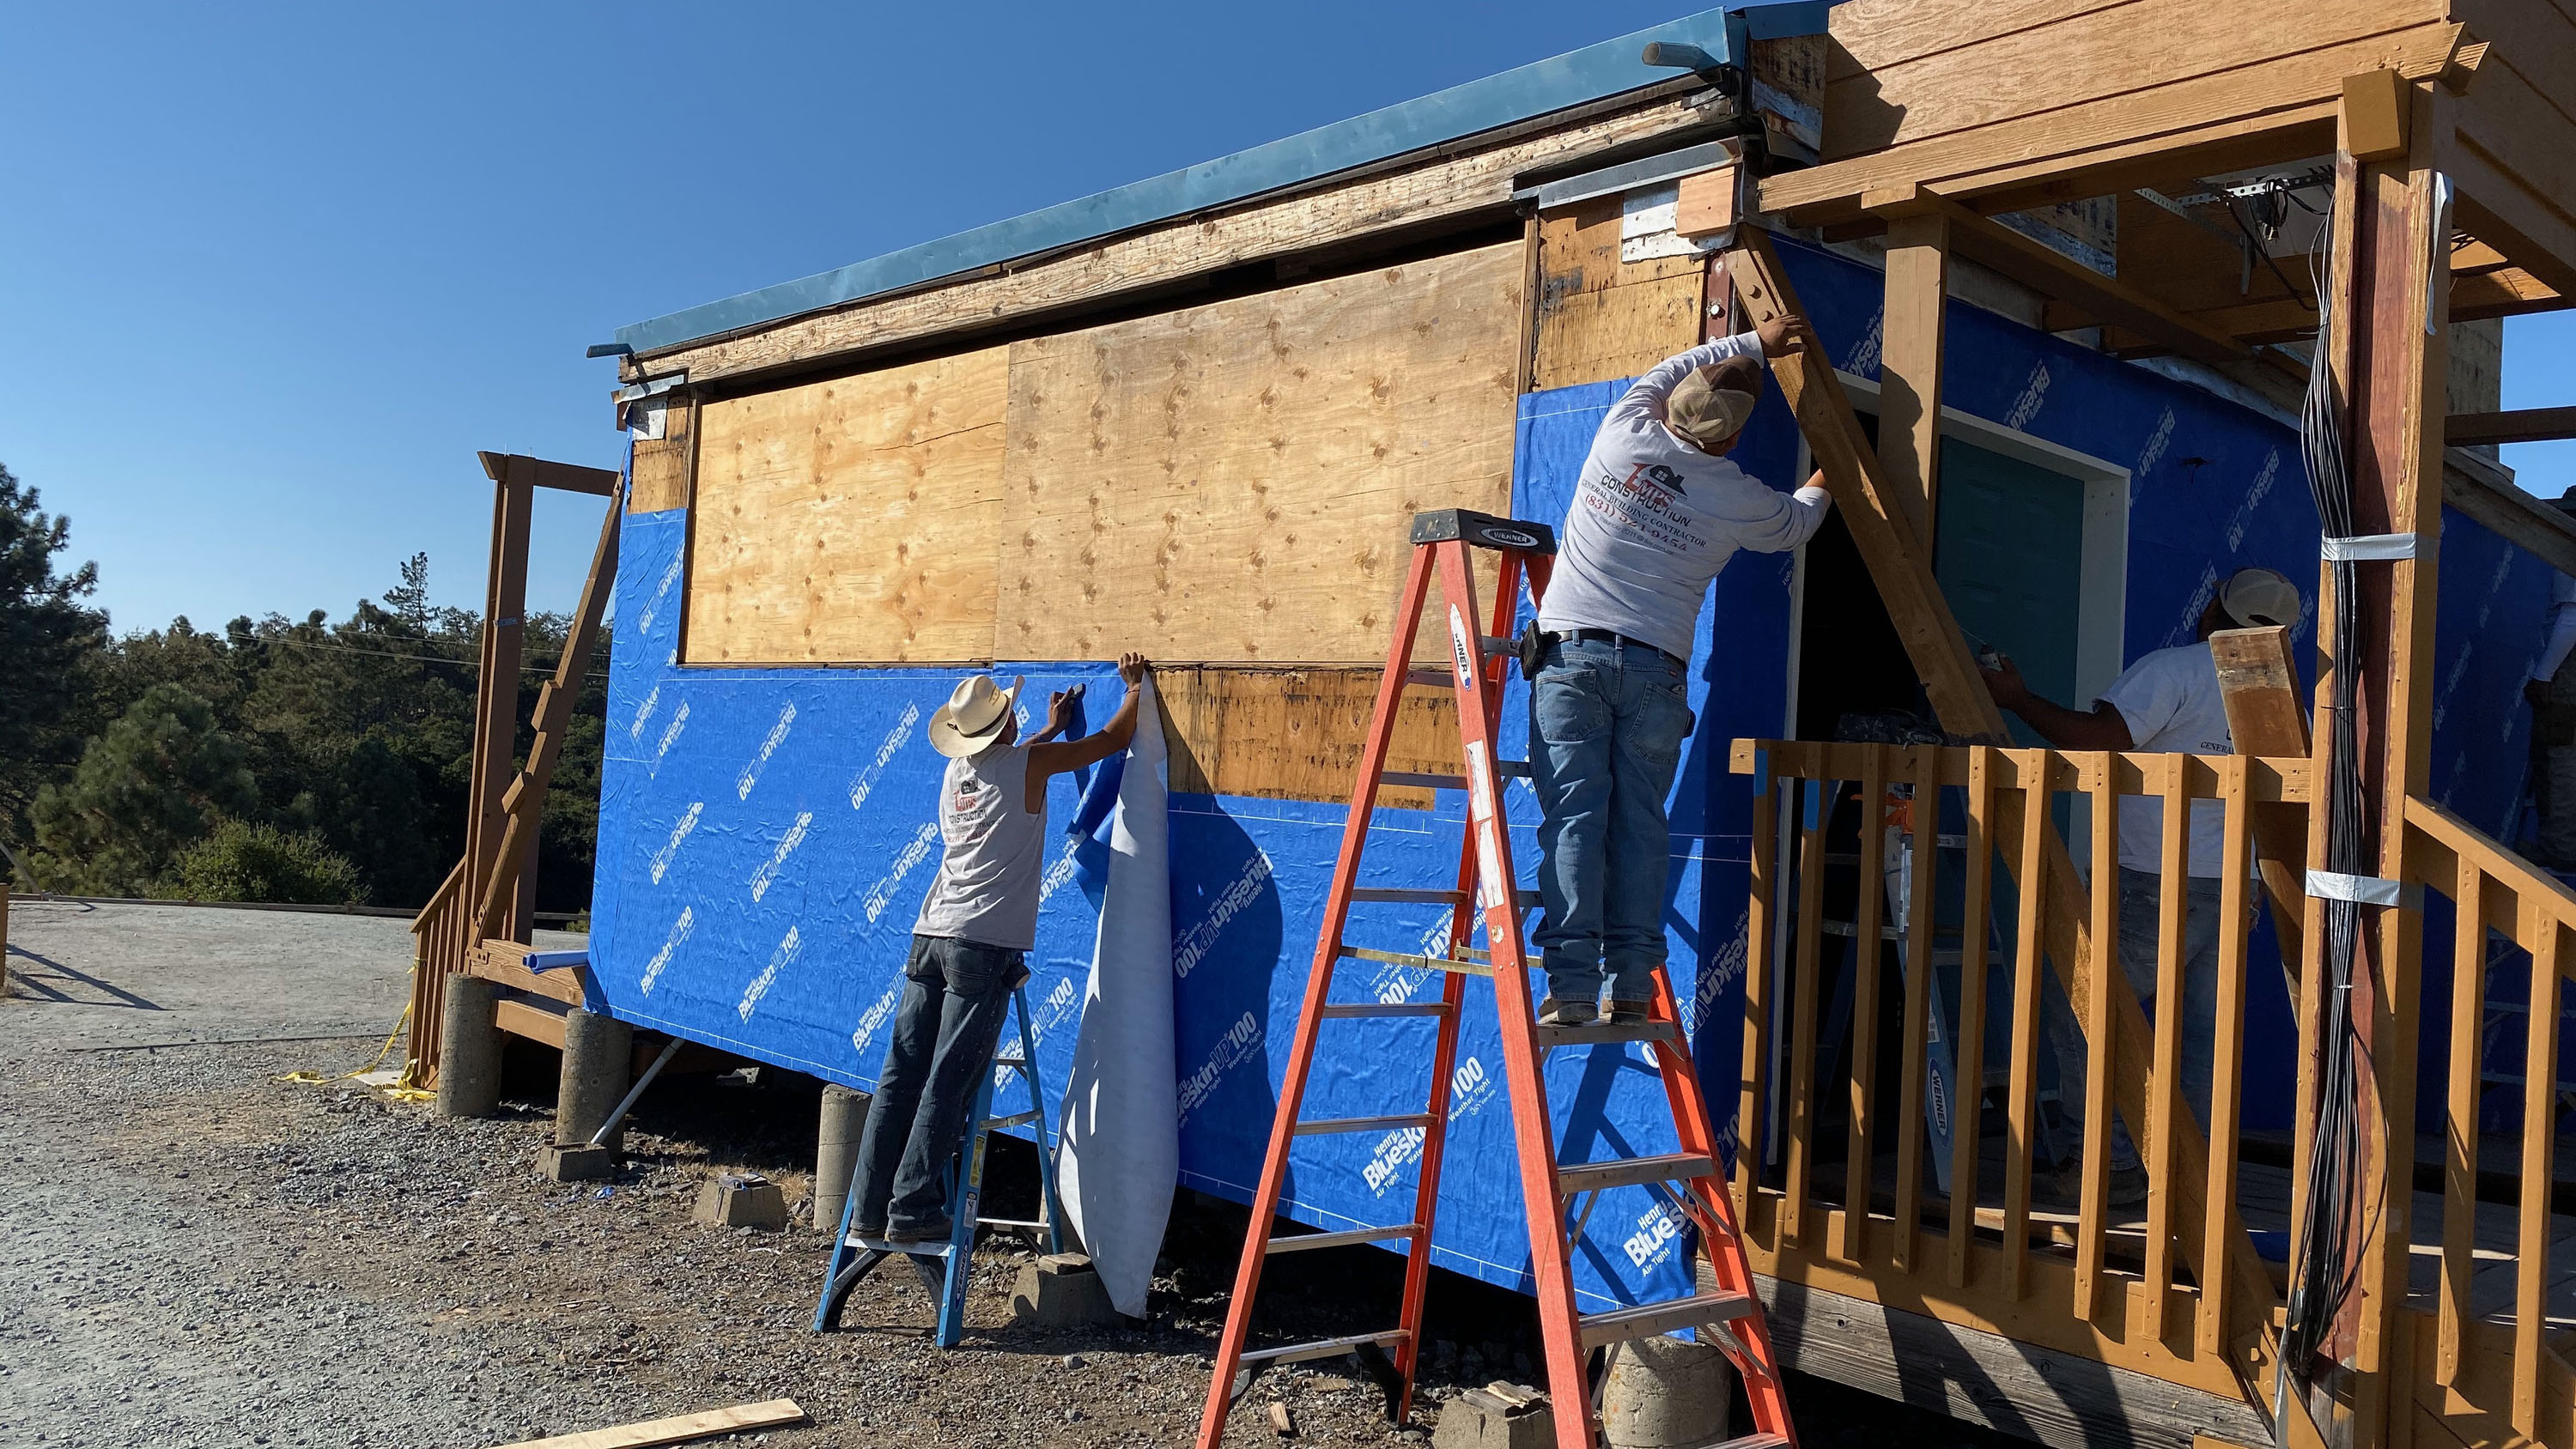
In 2019 the board asked VP Eric Egland to start looking at alternatives. We evaluated and tested several approaches including Hardie board and metal panels. By June we settled on EDCO metal siding, and received 4 bids. Based on price and reputation, we selected MPS Construction to do the work.
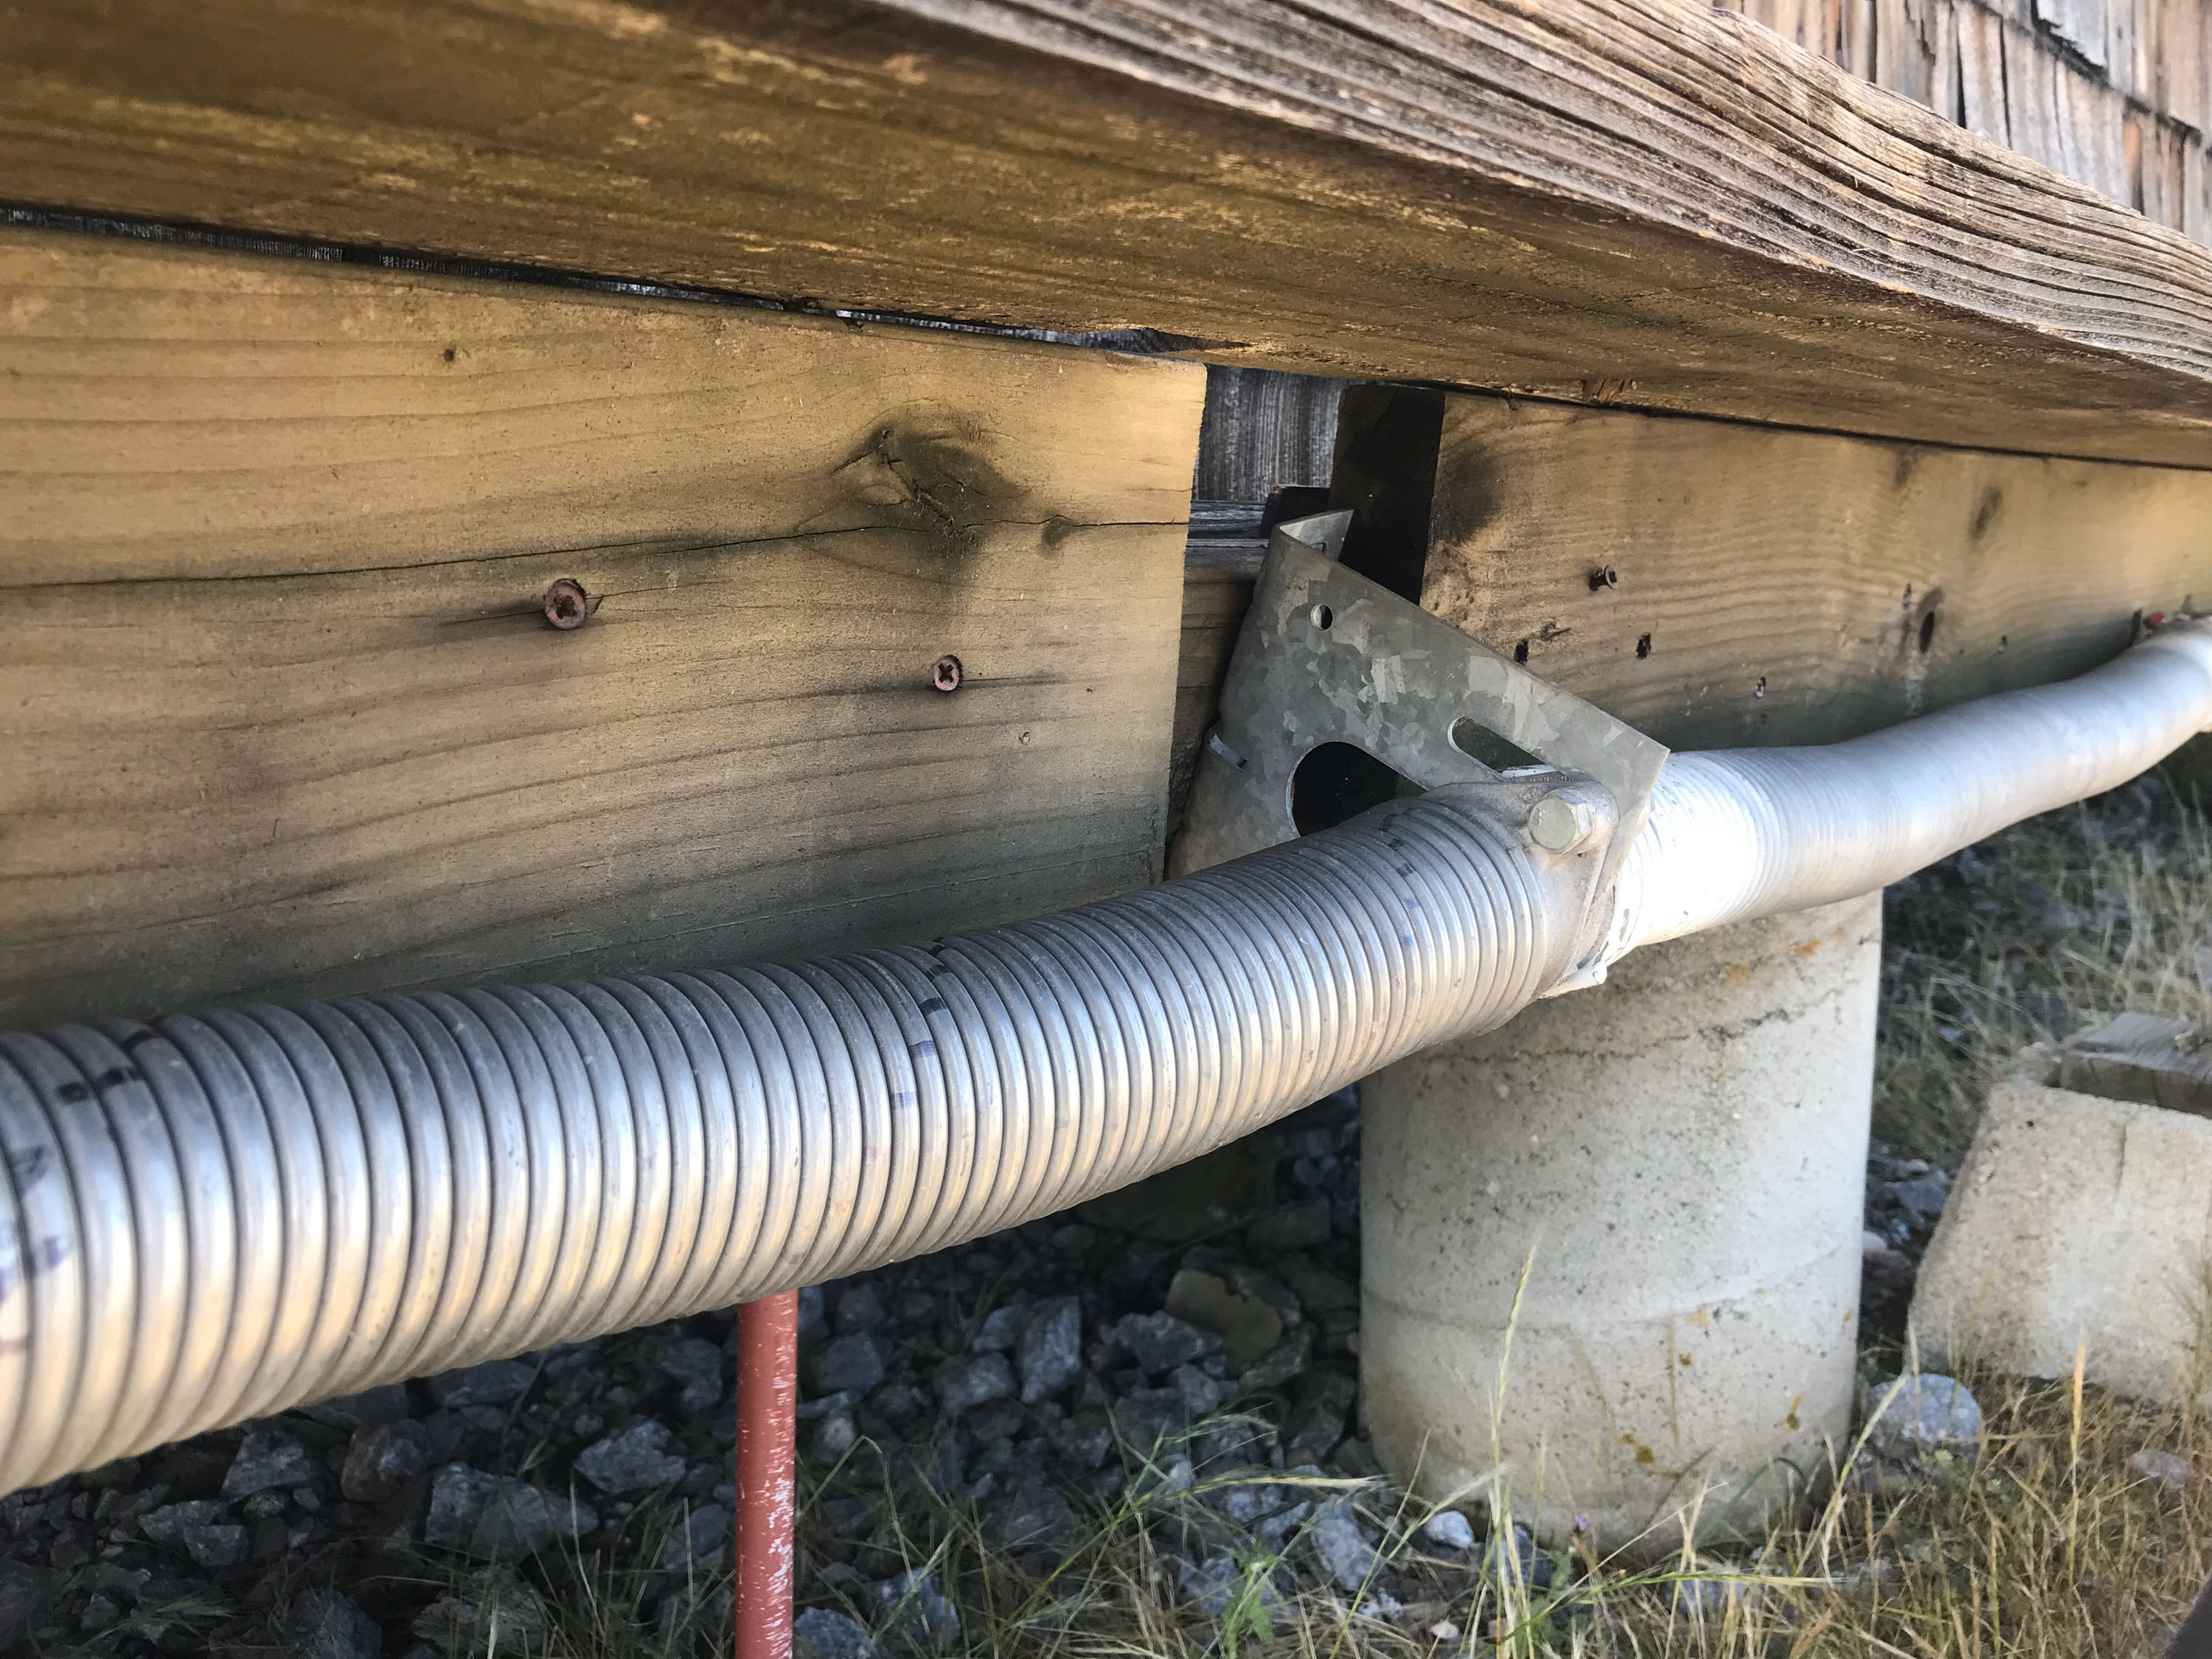
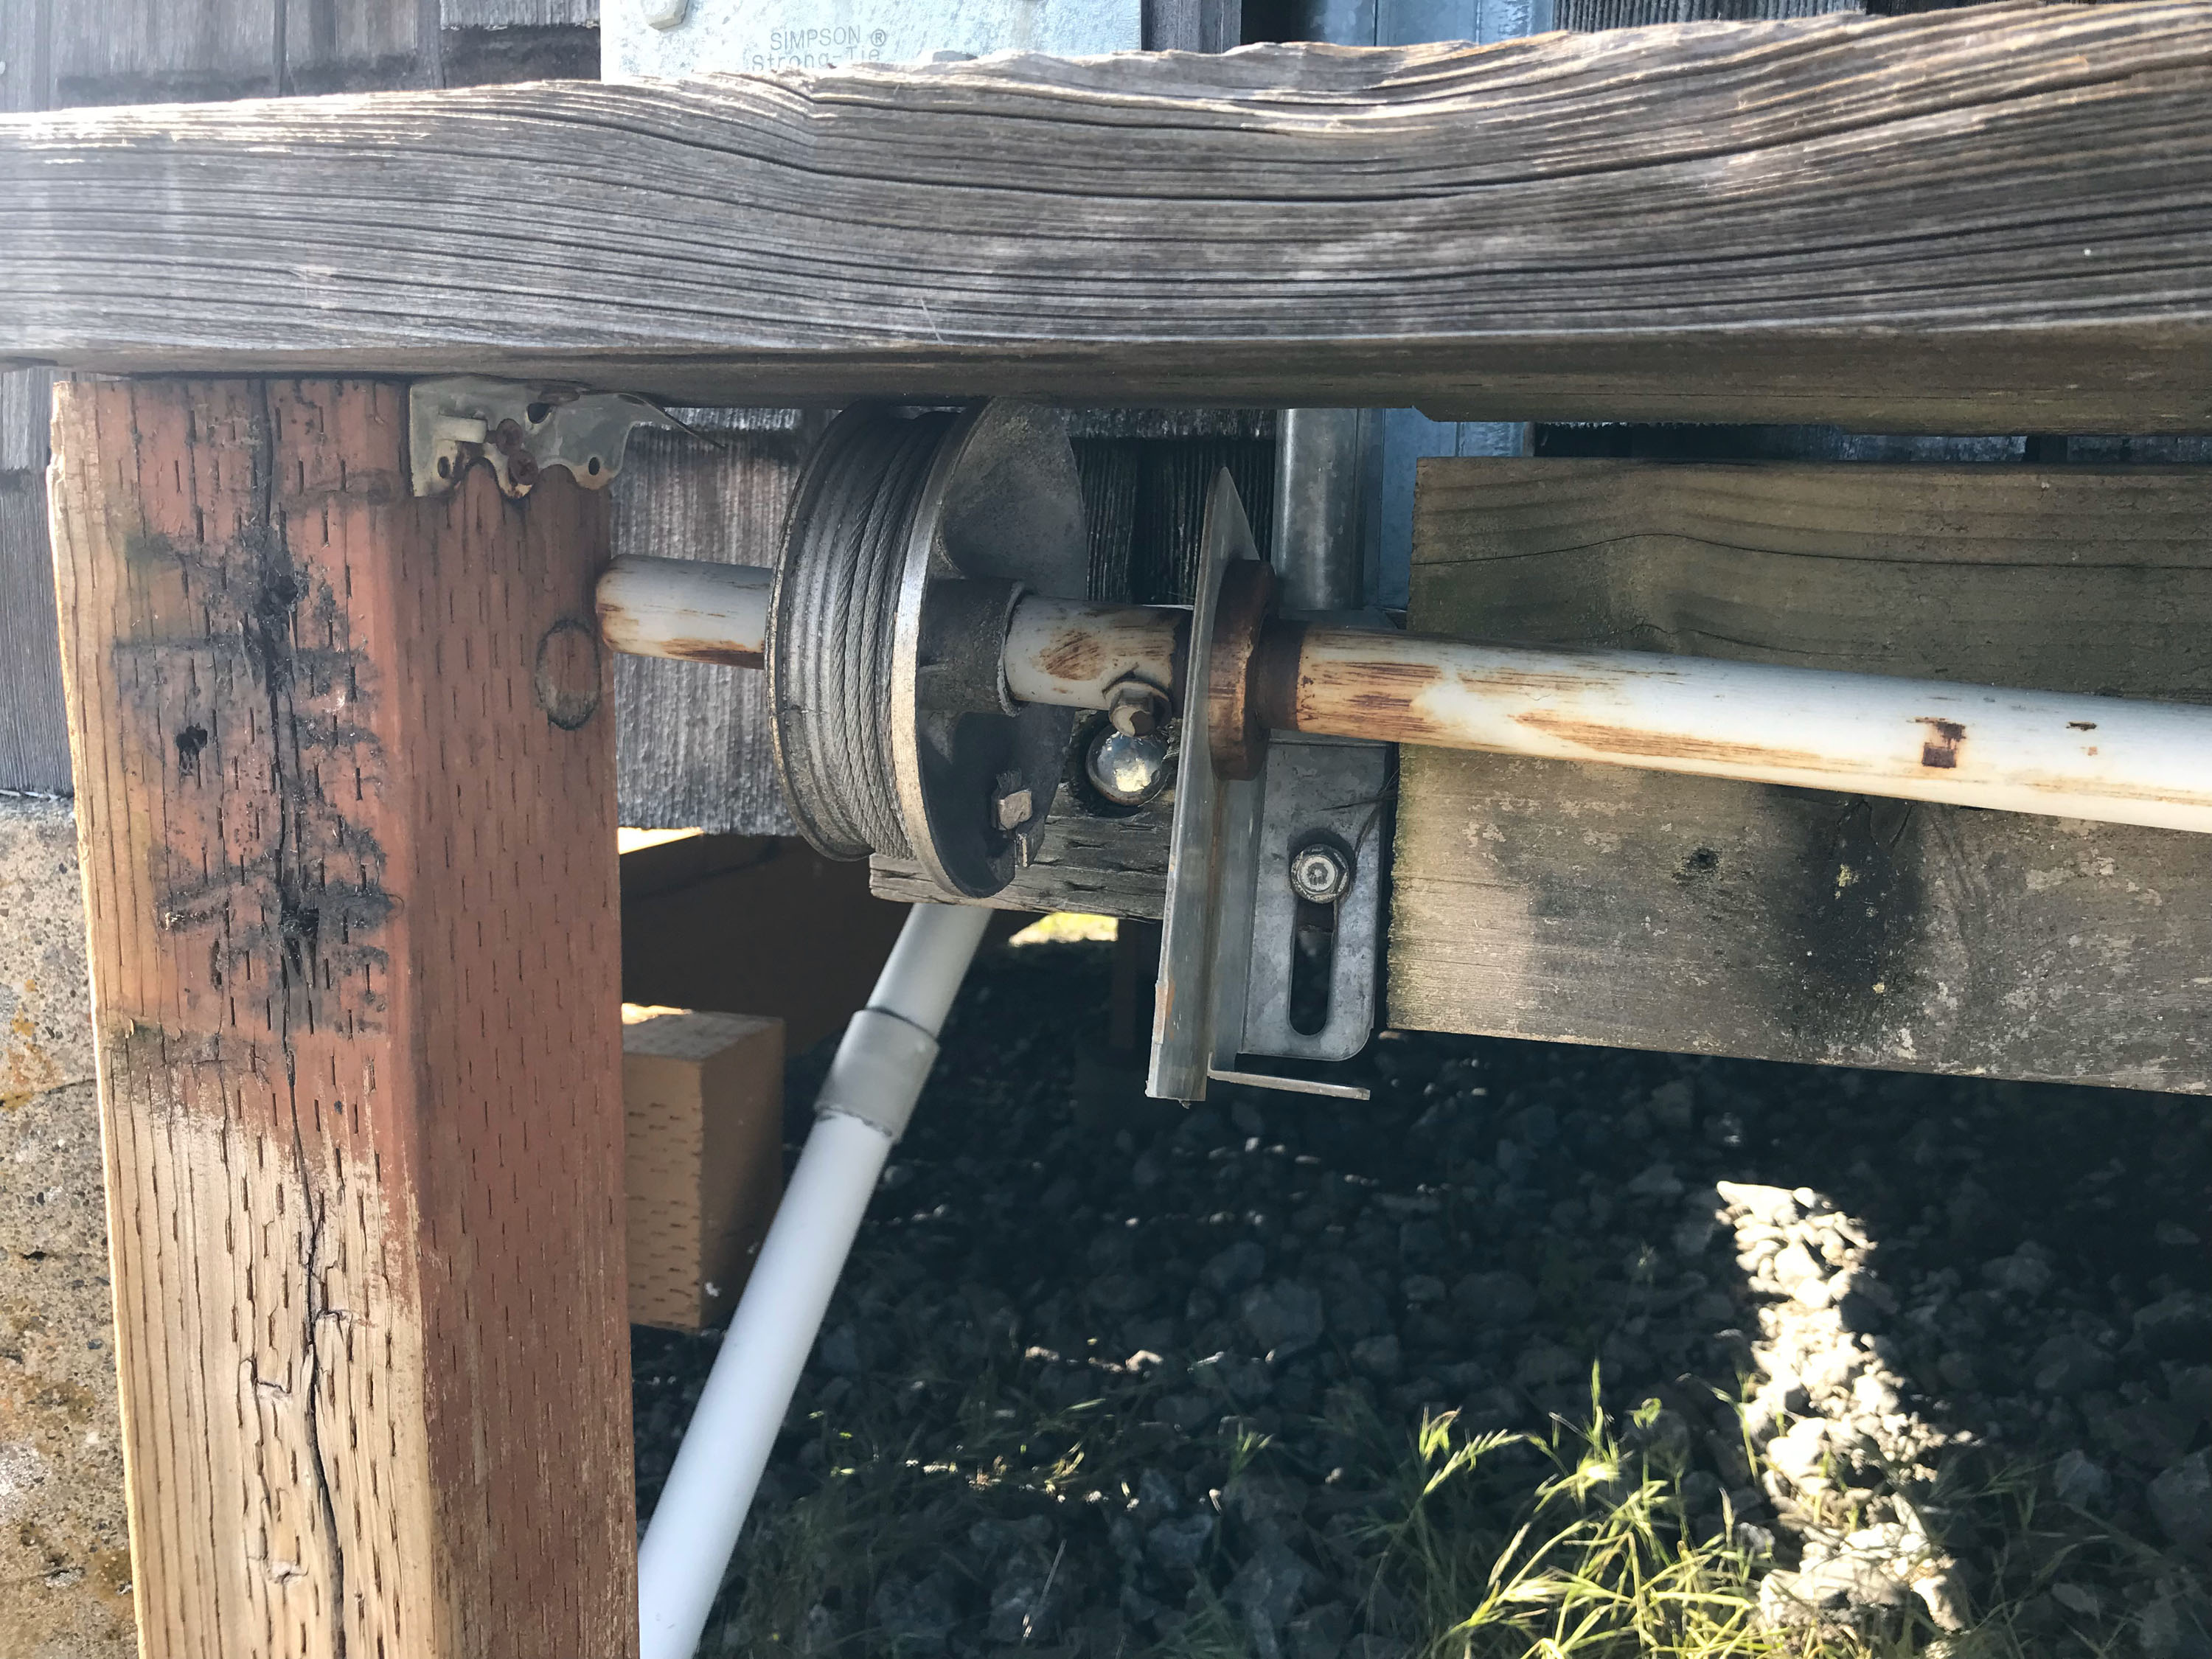
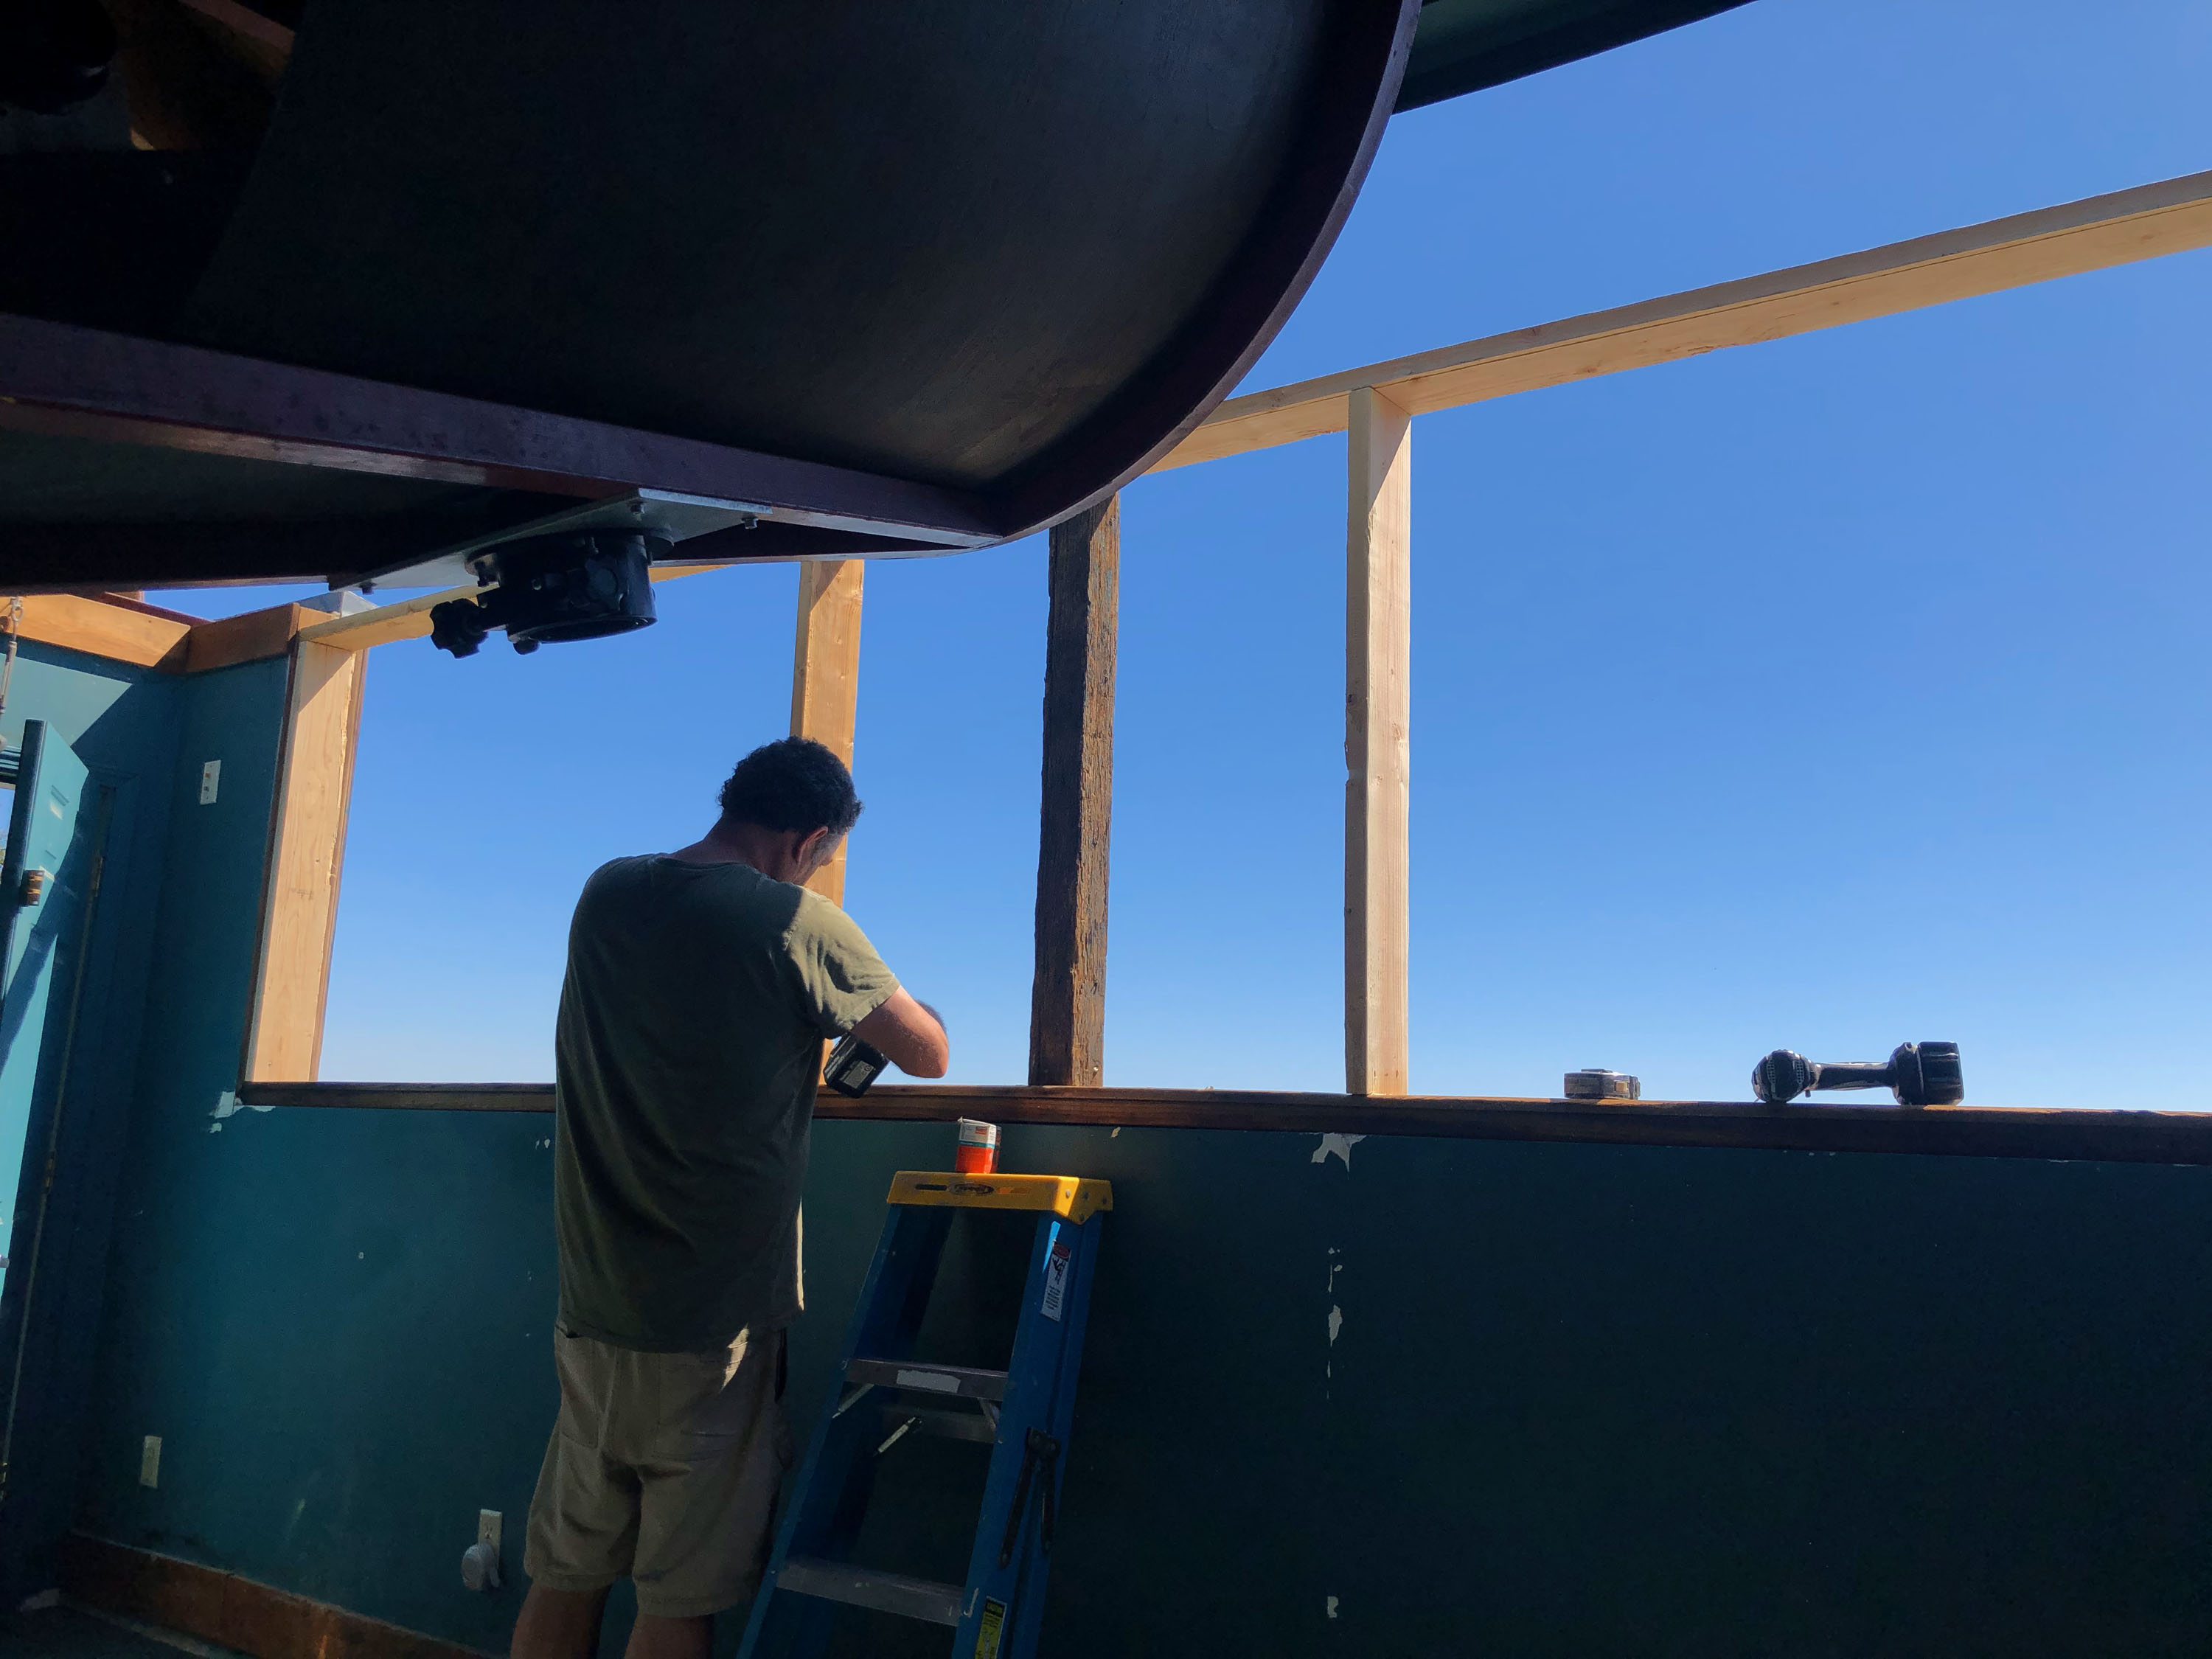
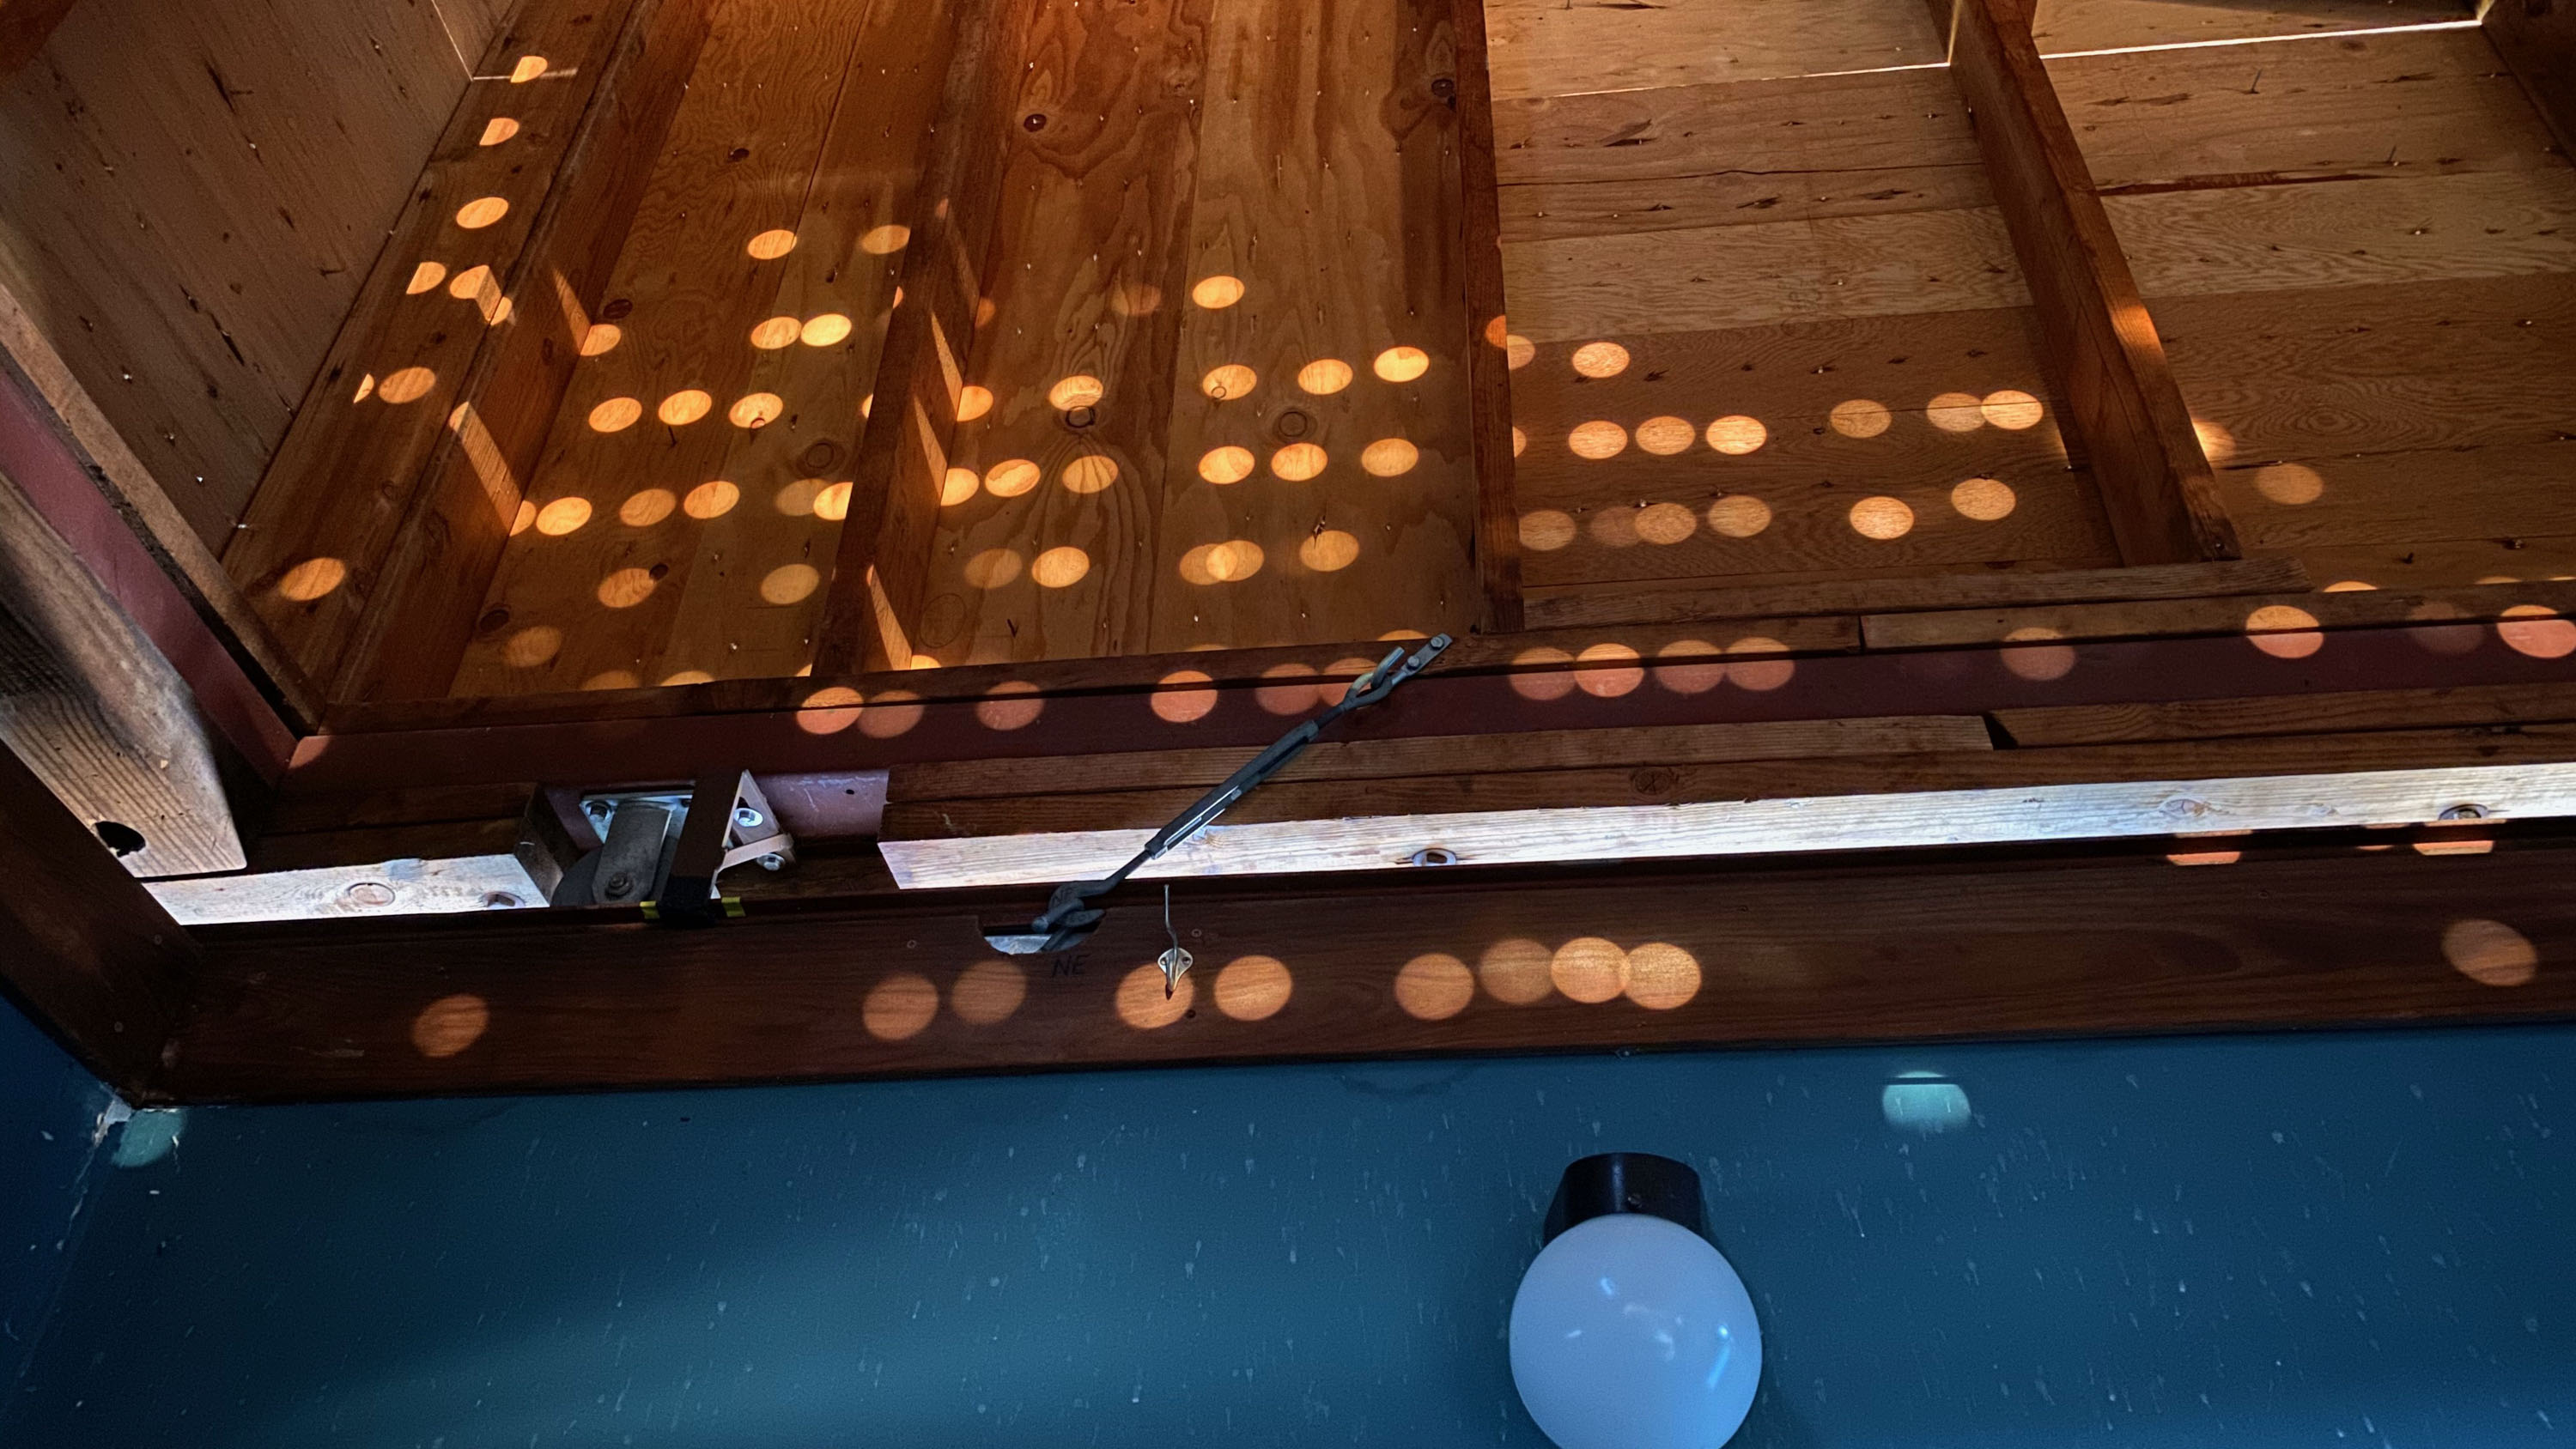
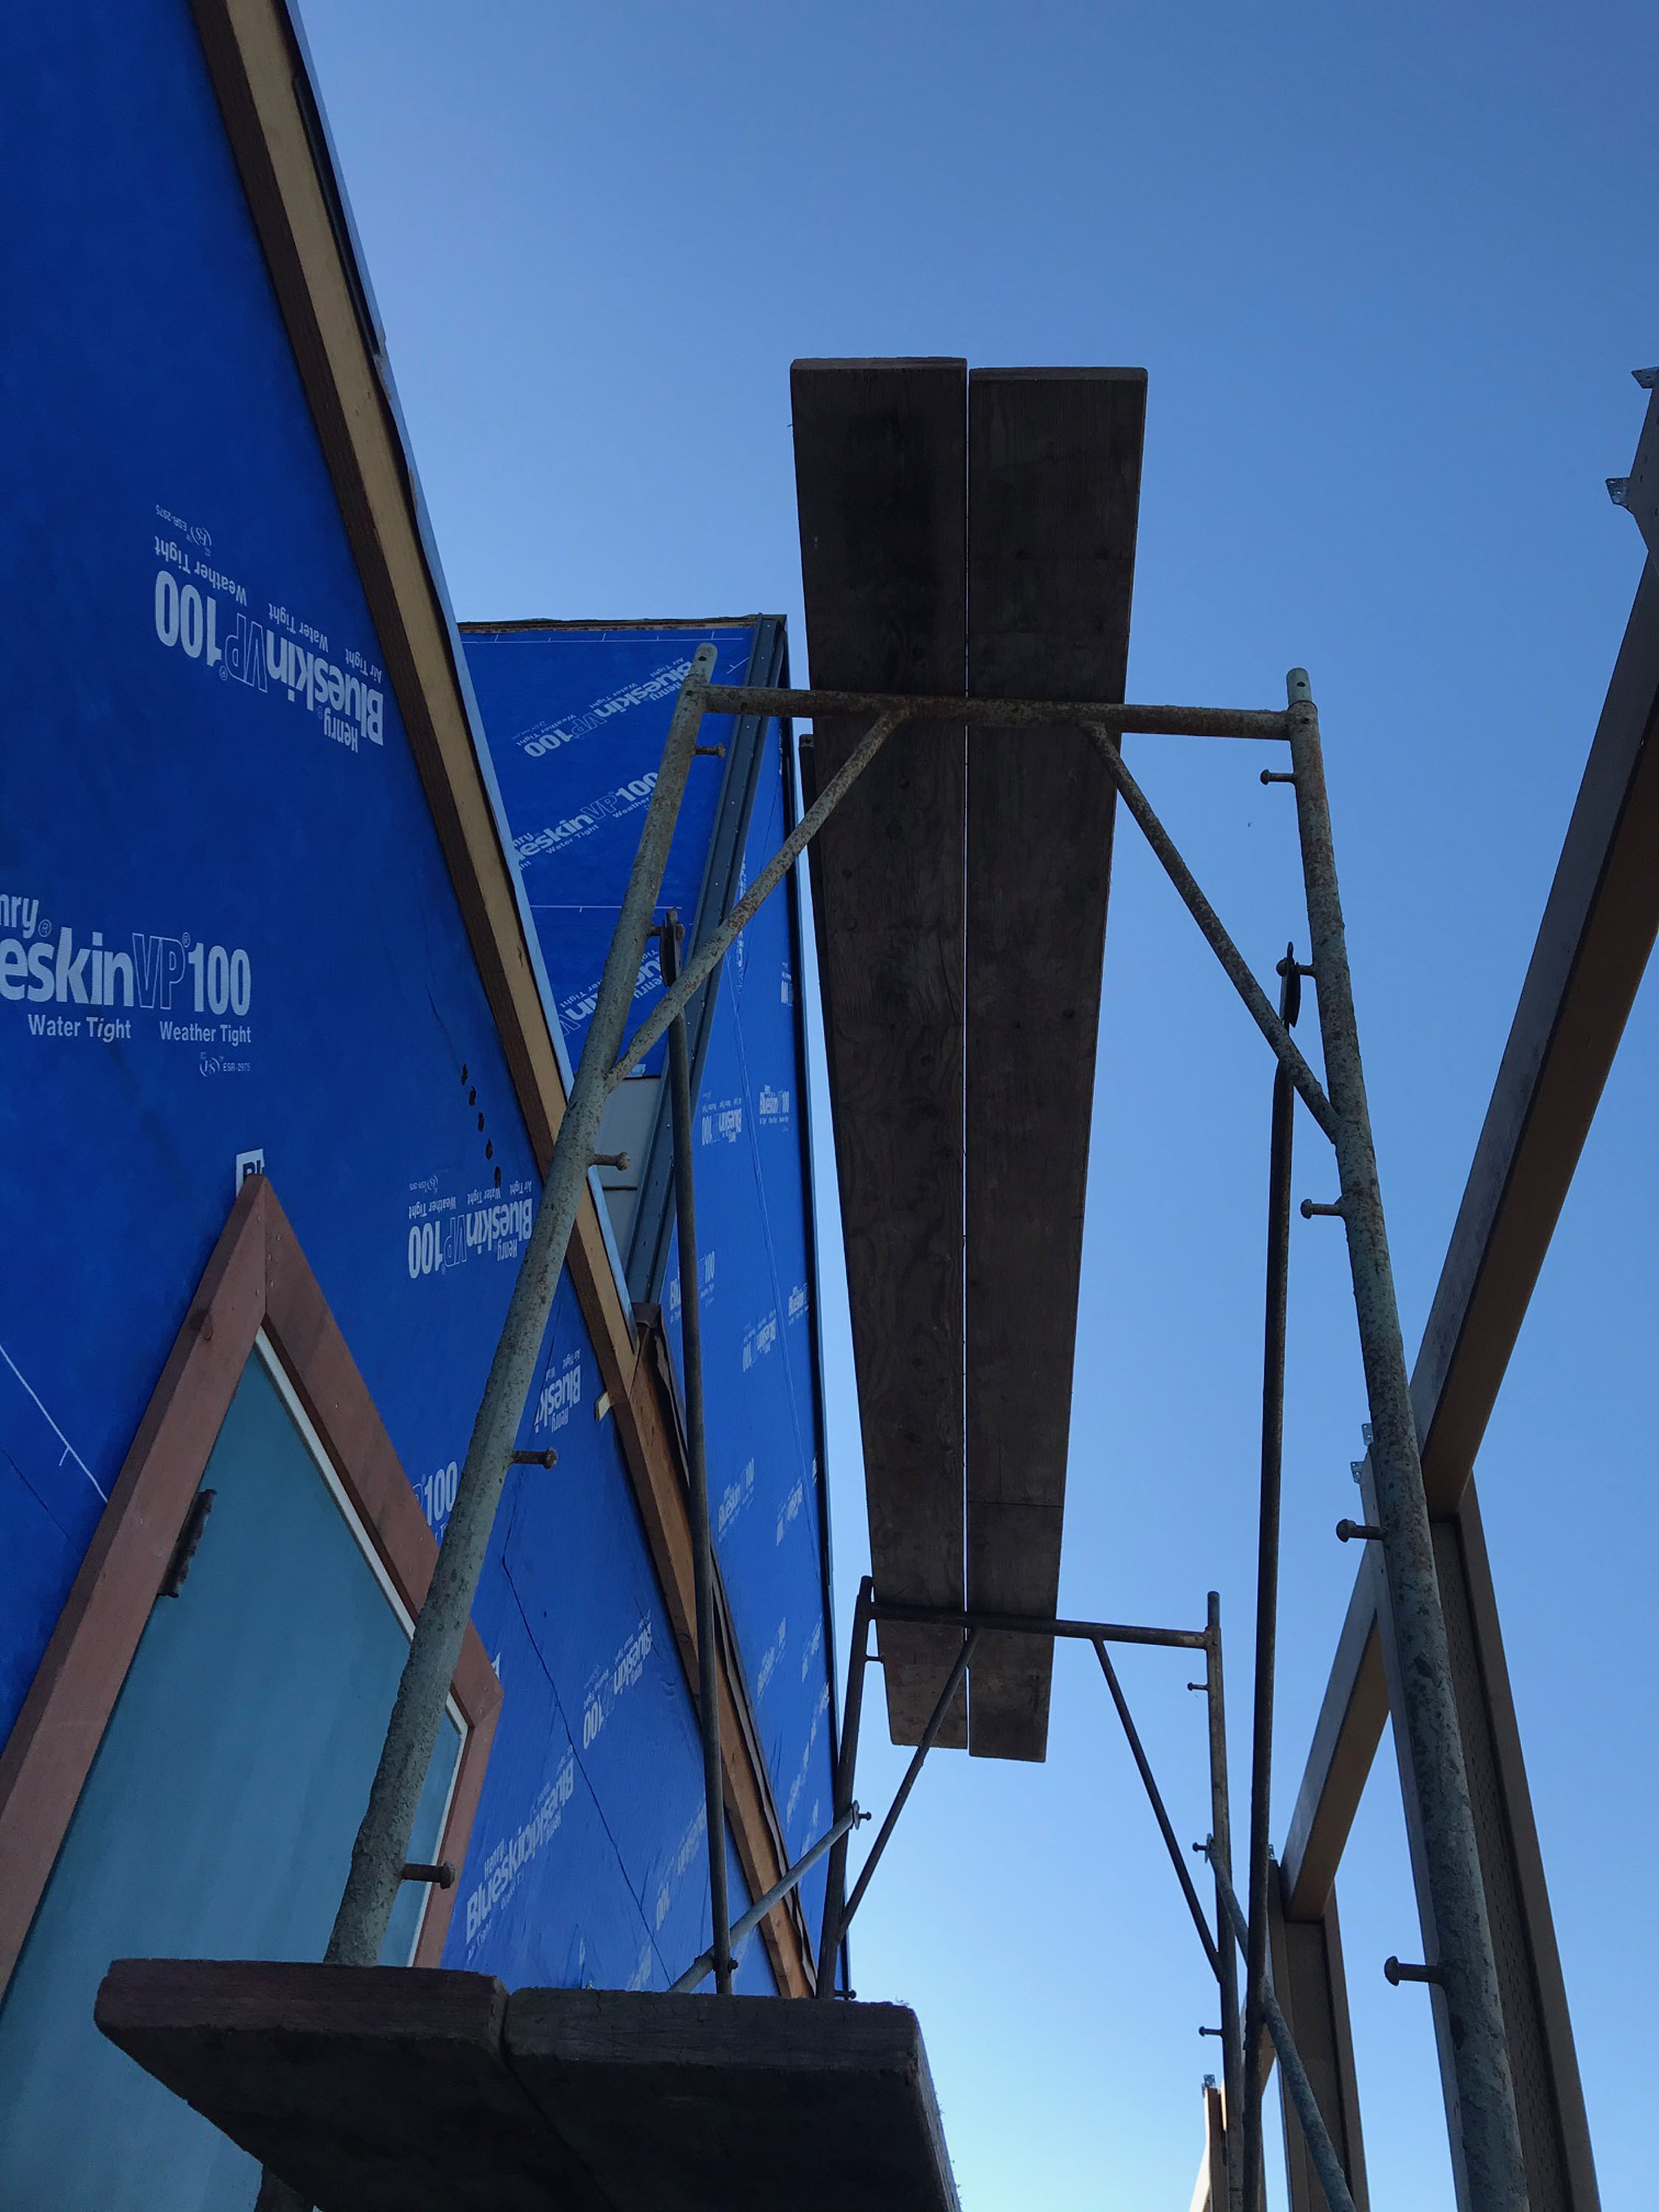
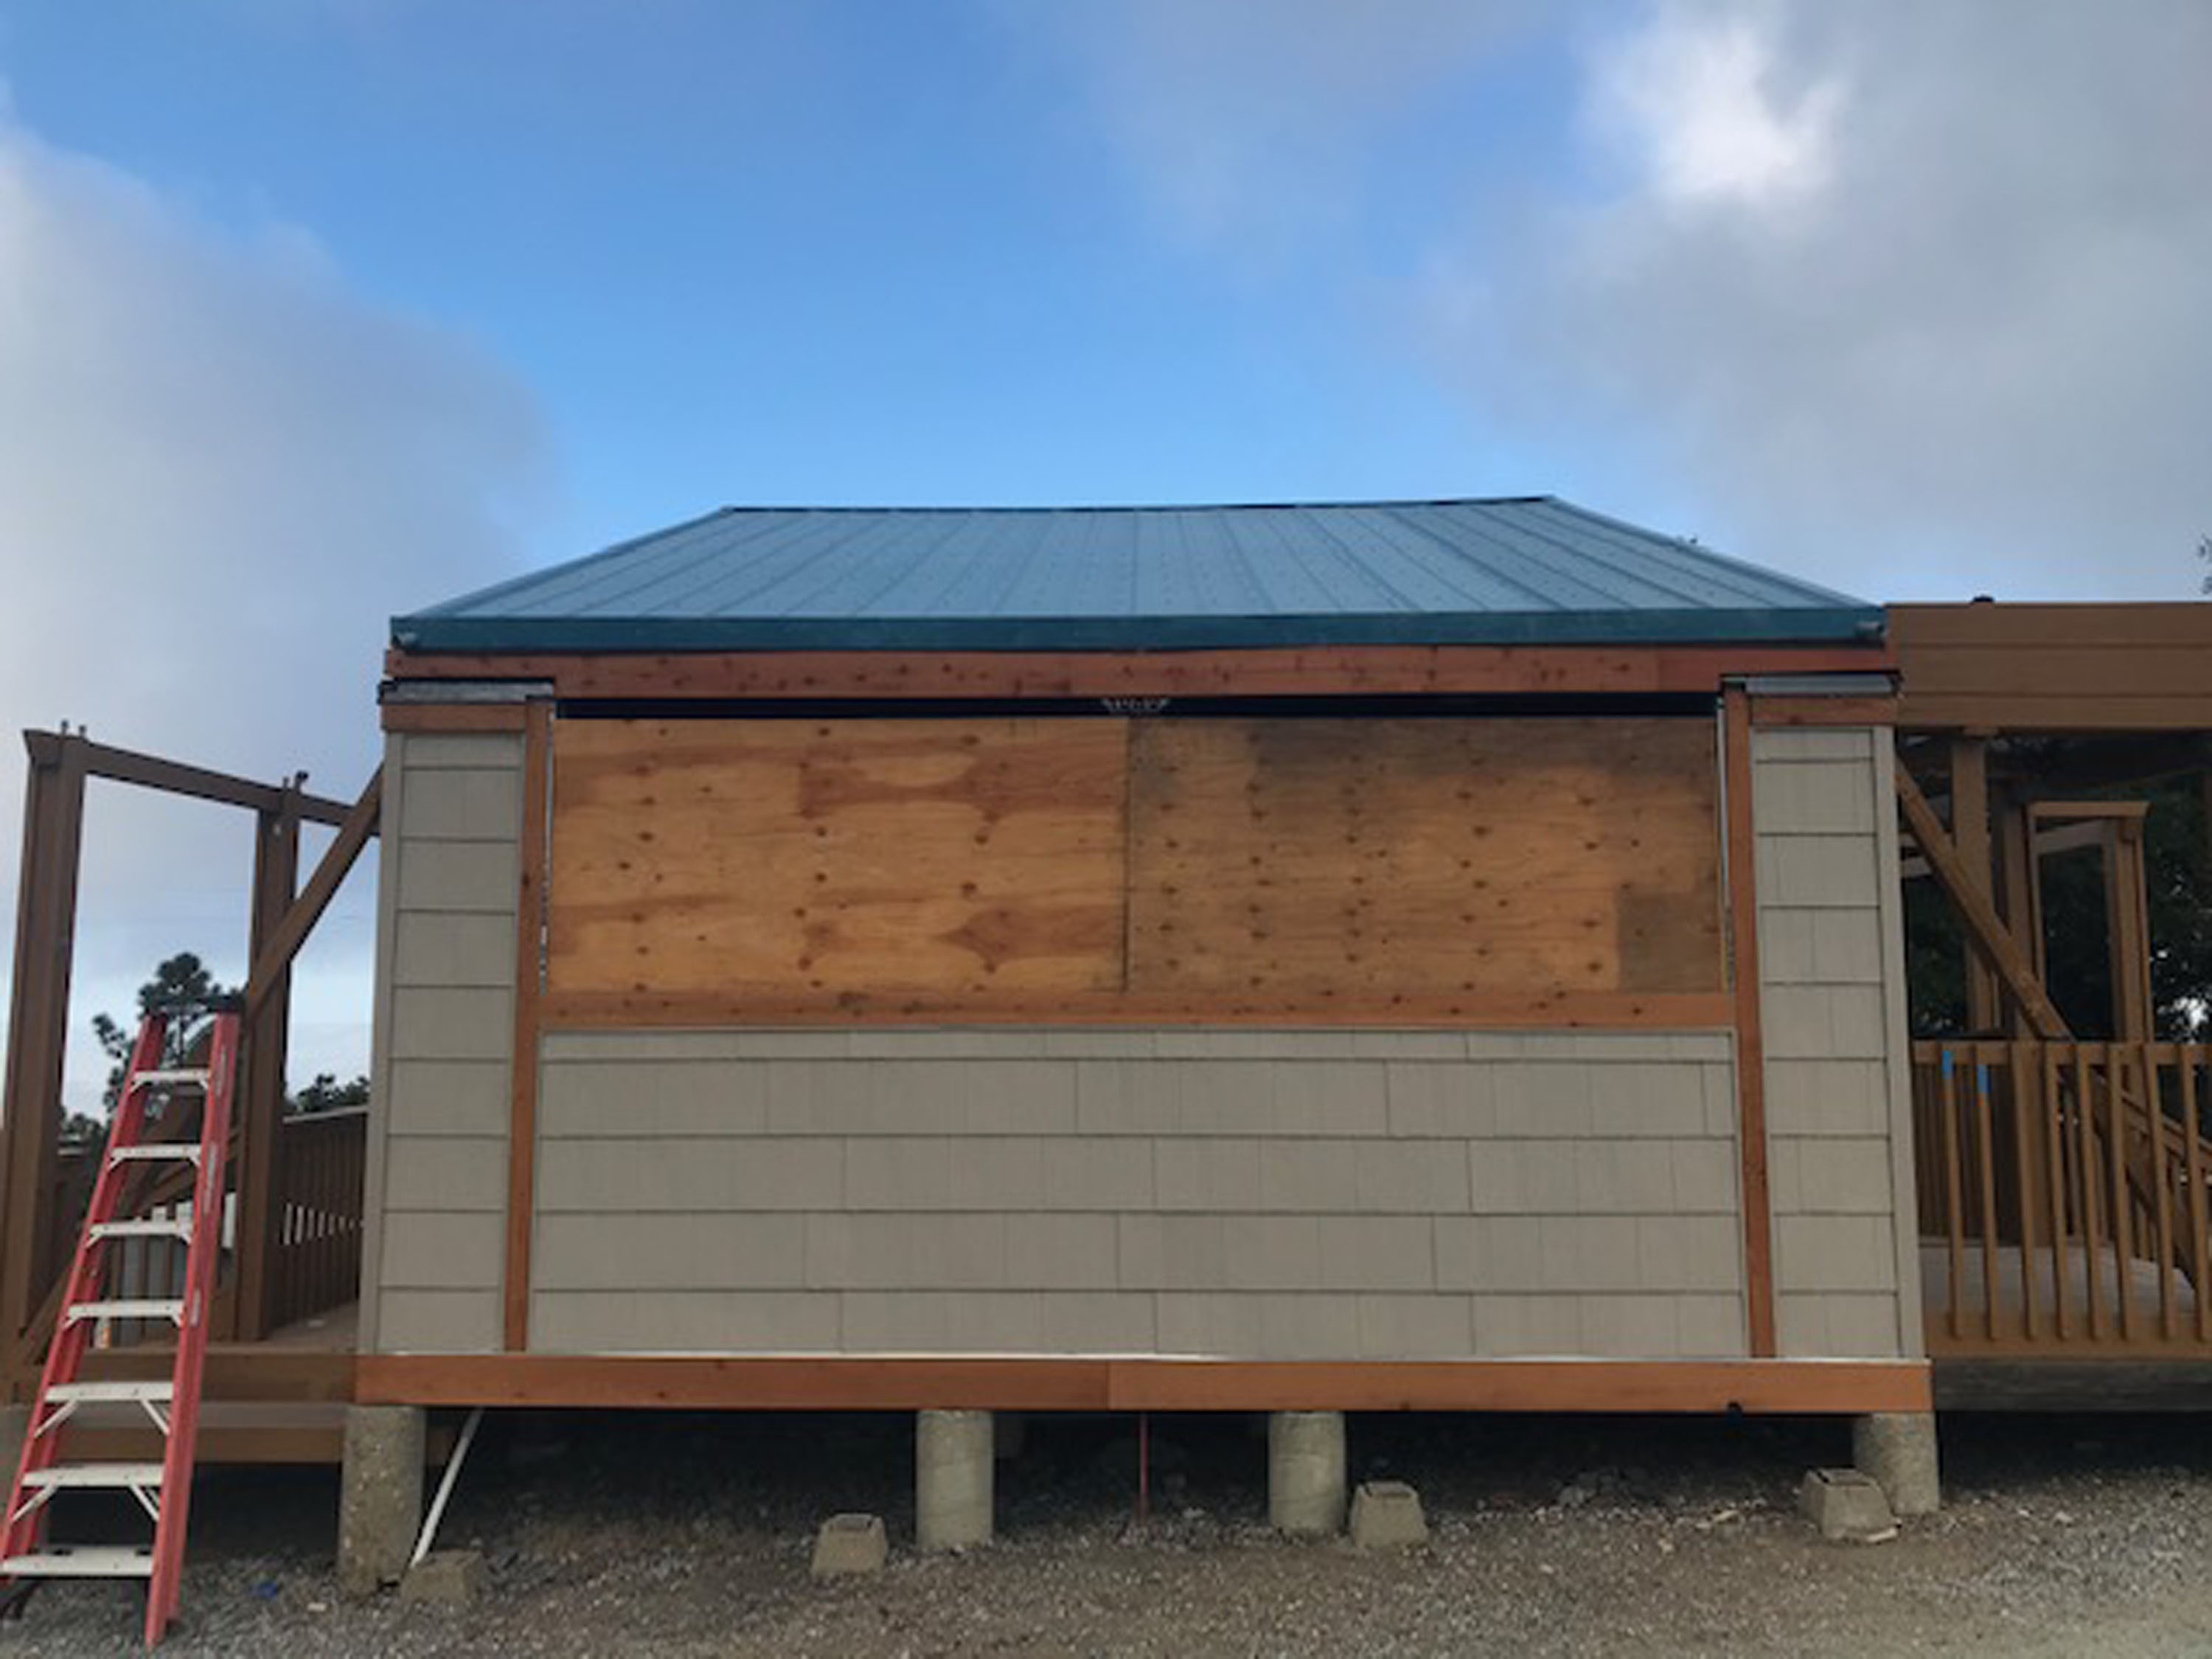
The work required some member prep work before our contractor could start. We removed the south shutter, arbor rafters, and deck boards and joists that interfered with the installation. Before removing the south shutter, we inspected the axle assembly and immediately understood why it’s performed so poorly. The three axle mount points were twisting off the side of the building sending the pulleys and spring set screws digging into the underside of the bench/axle-cover. We decided that a full-width aluminum box beam would act as a header to secure the assembly and better resist axle bracket twisting .
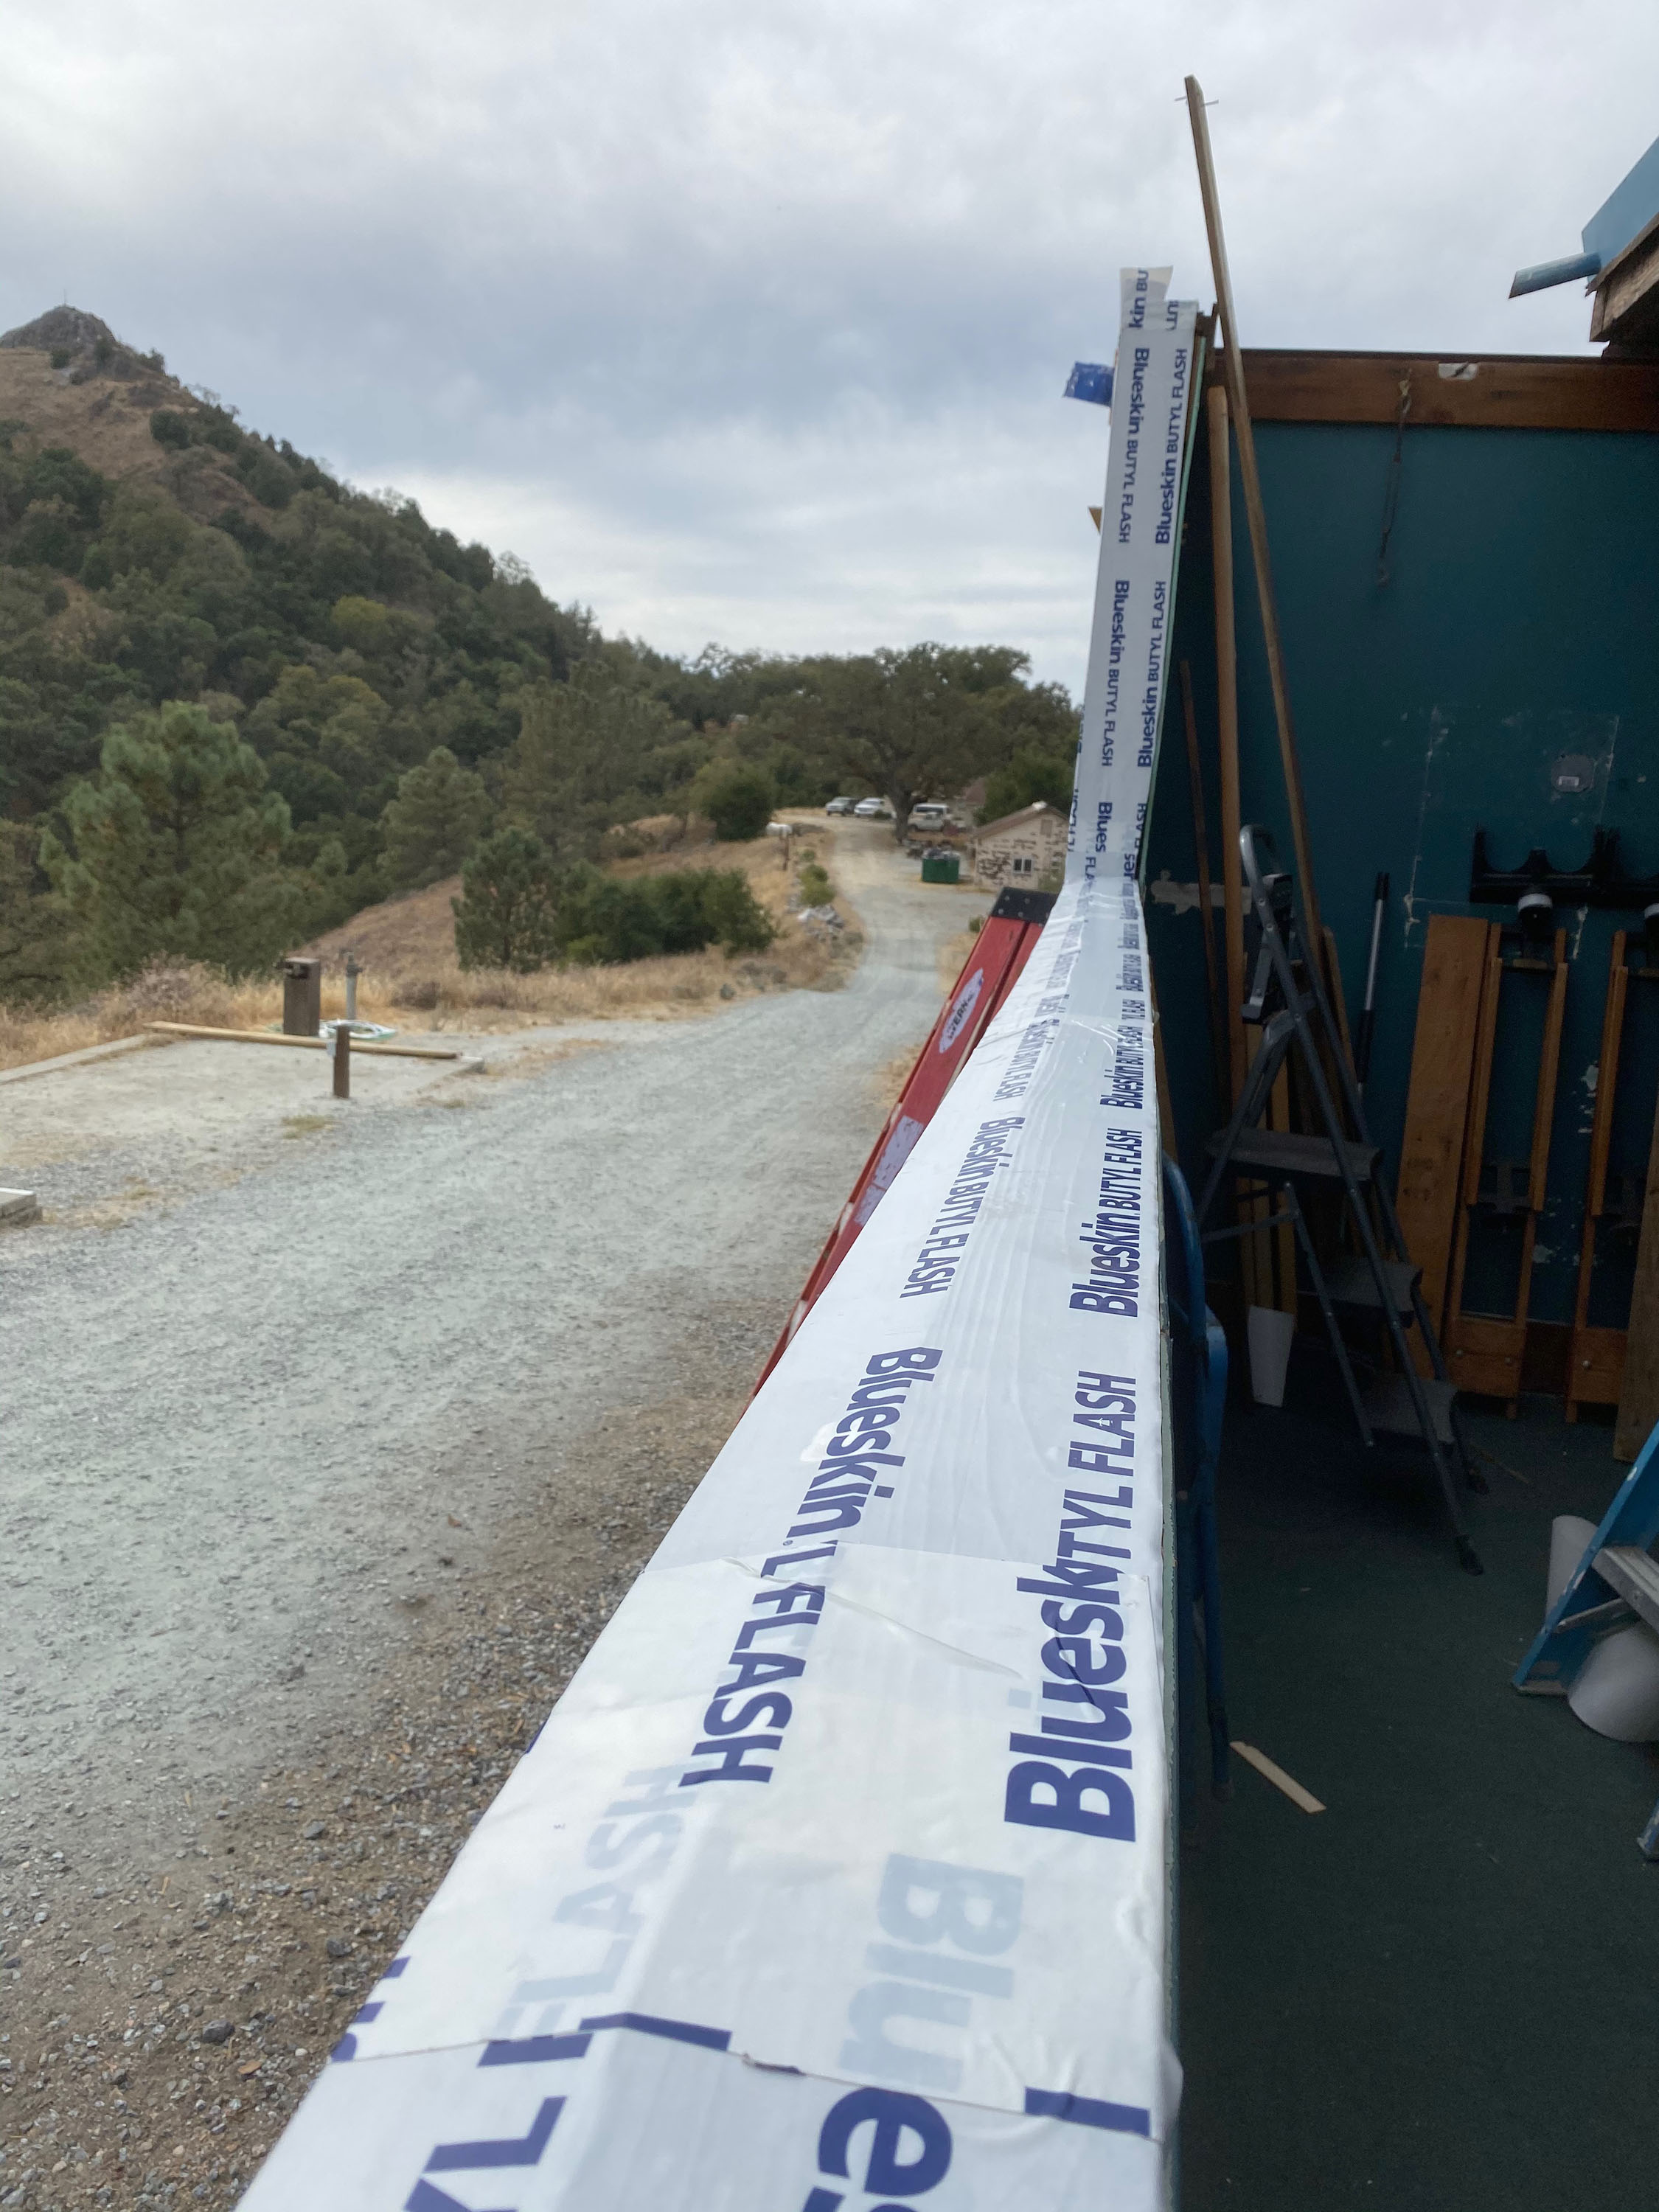
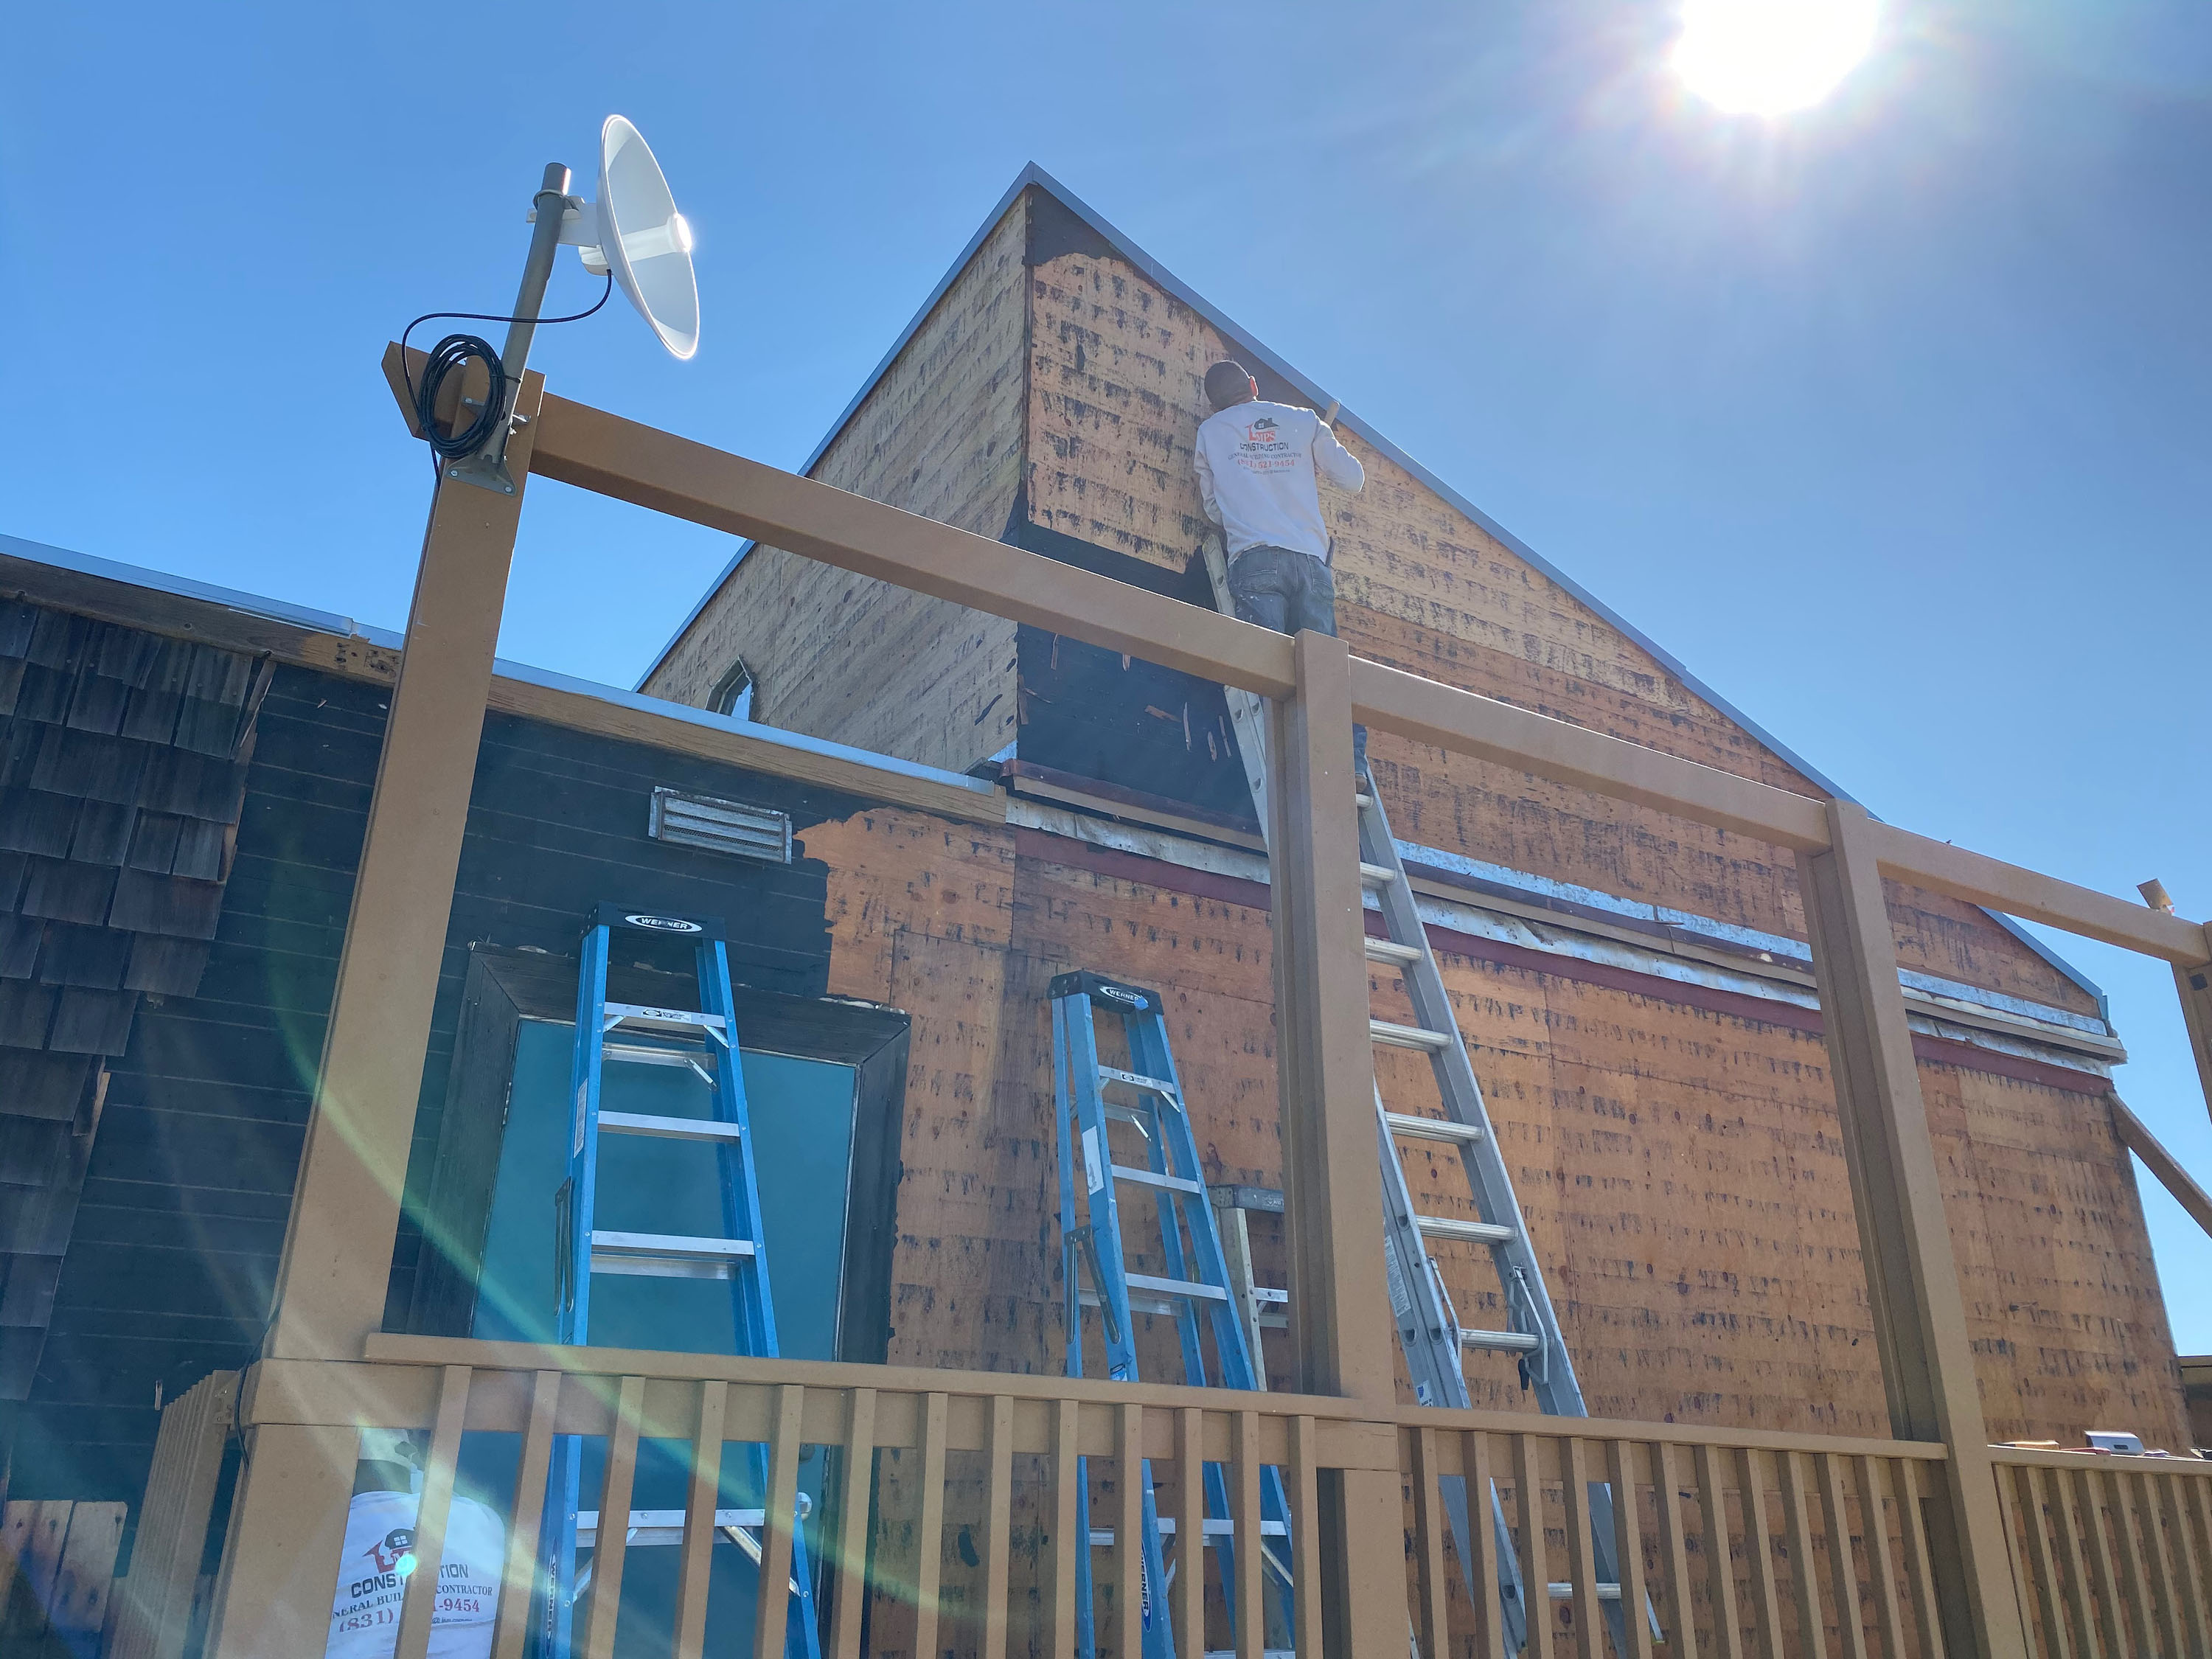
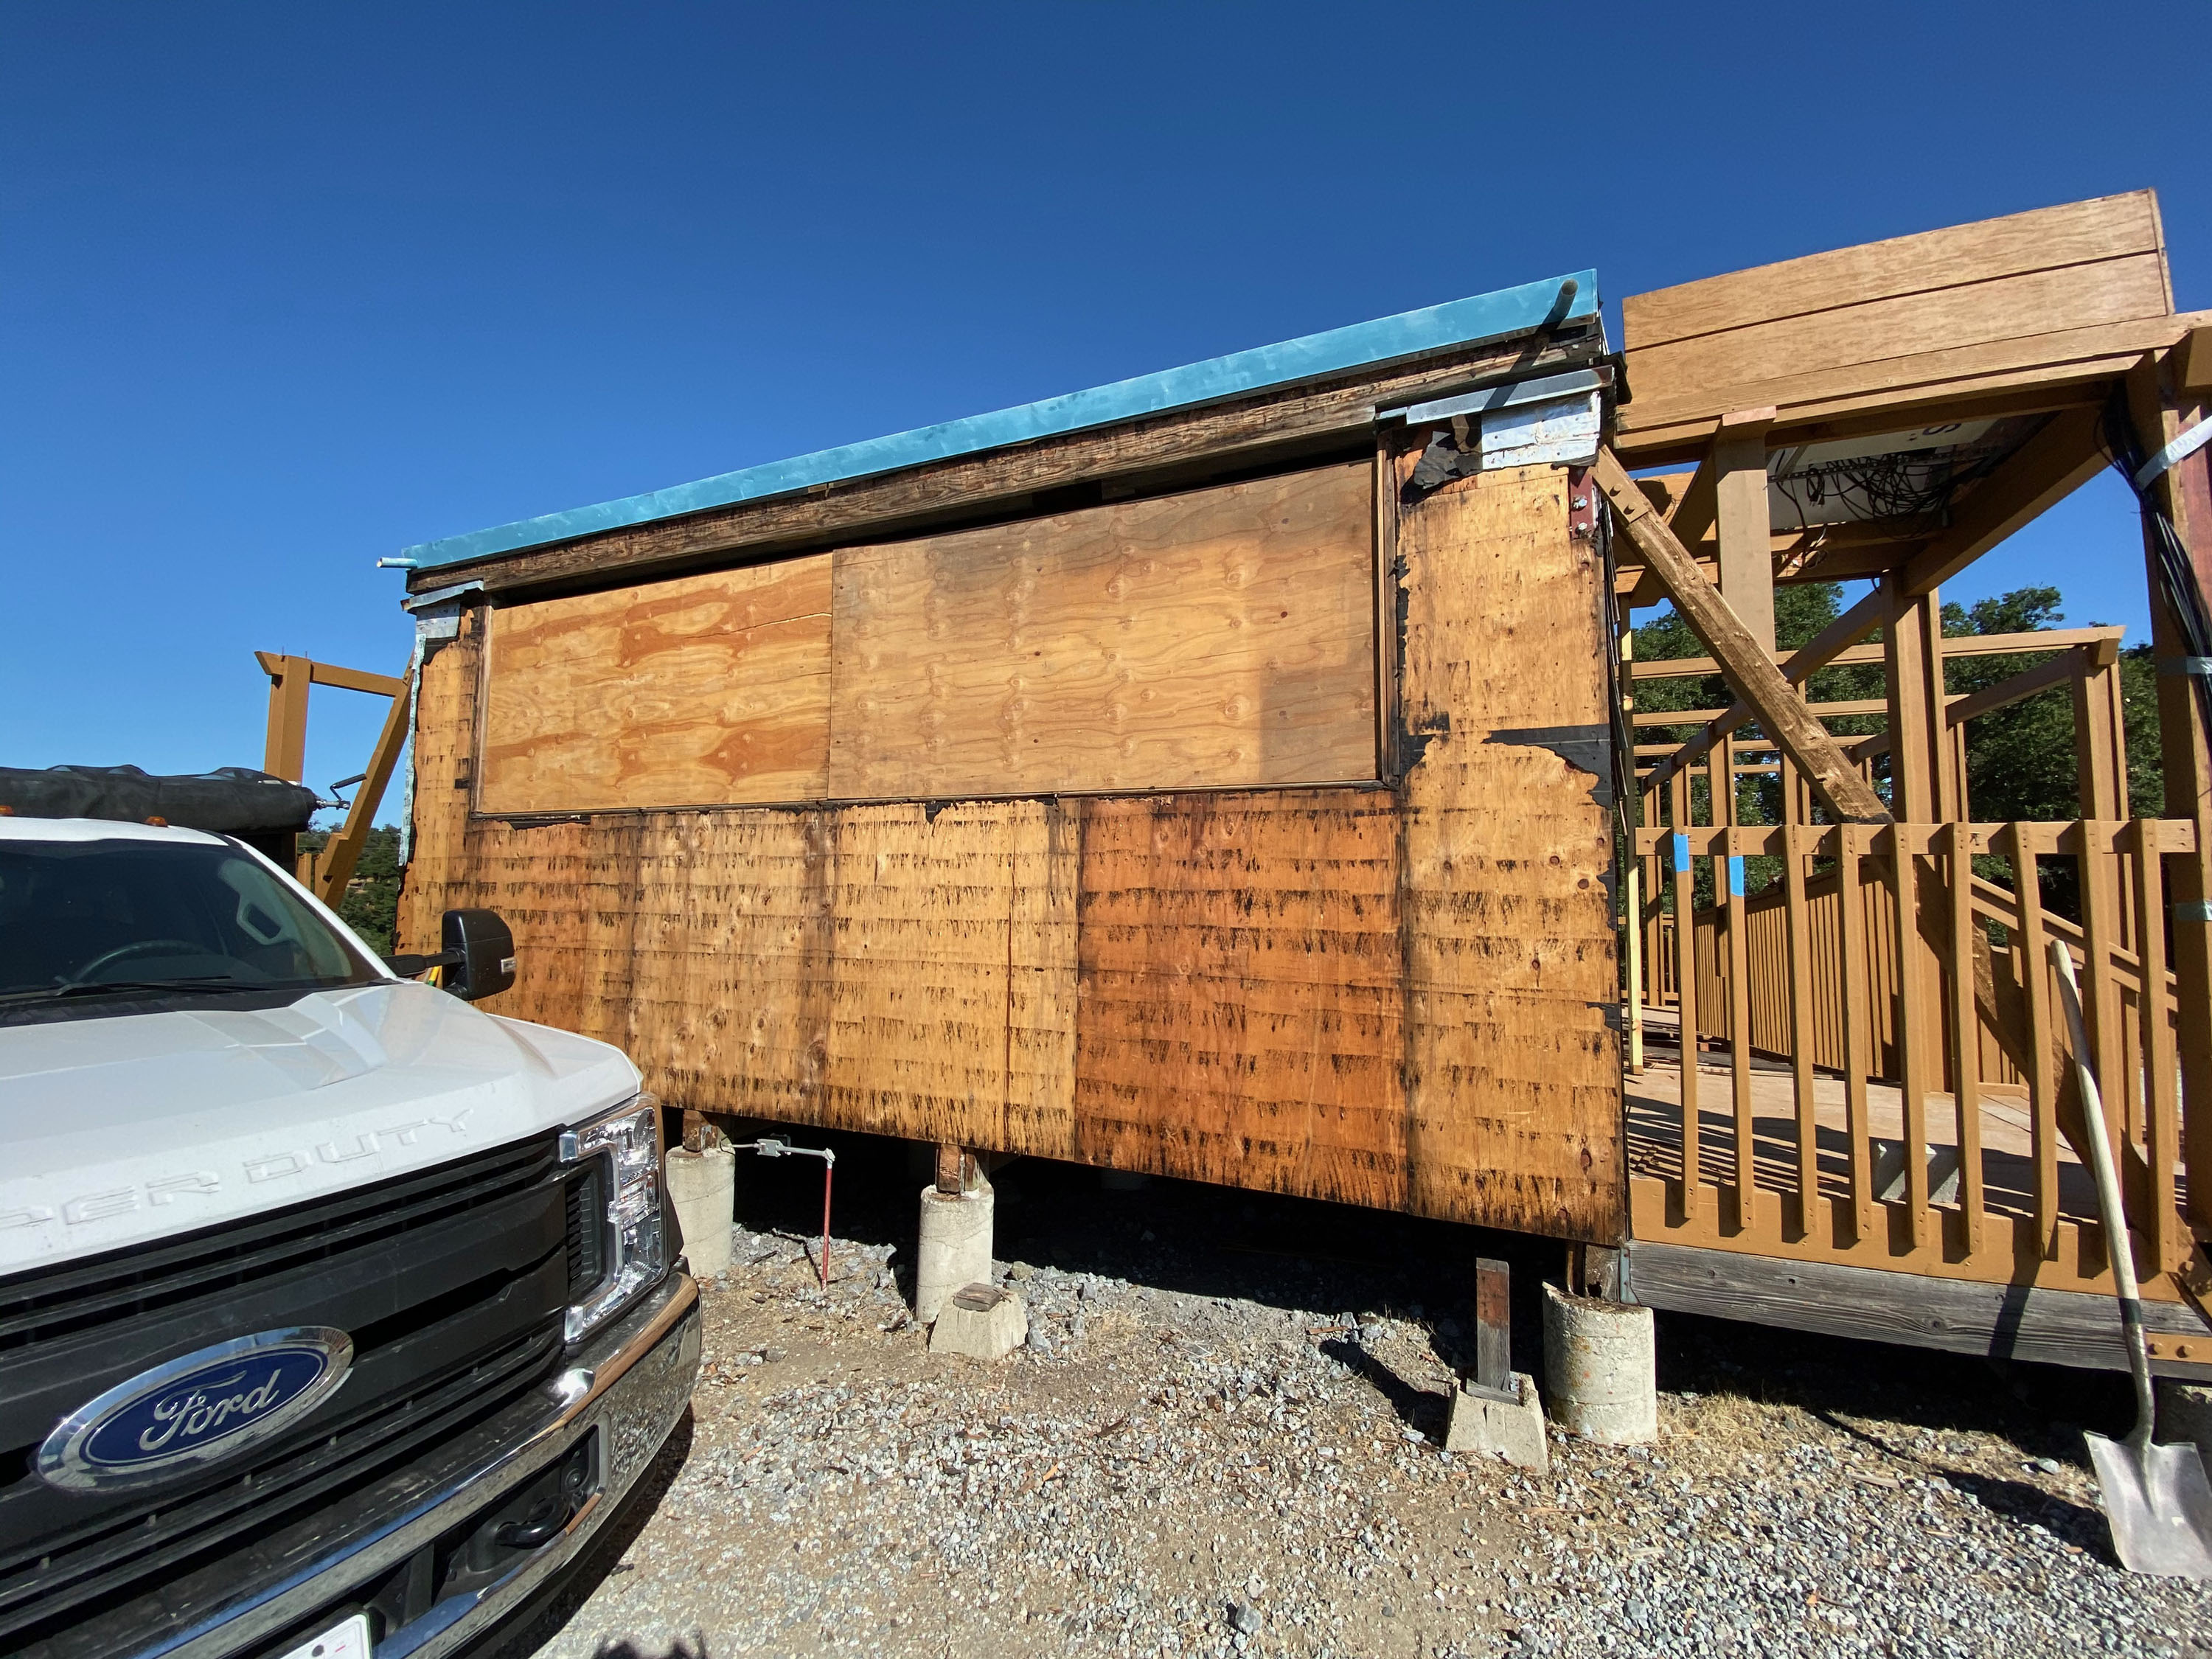
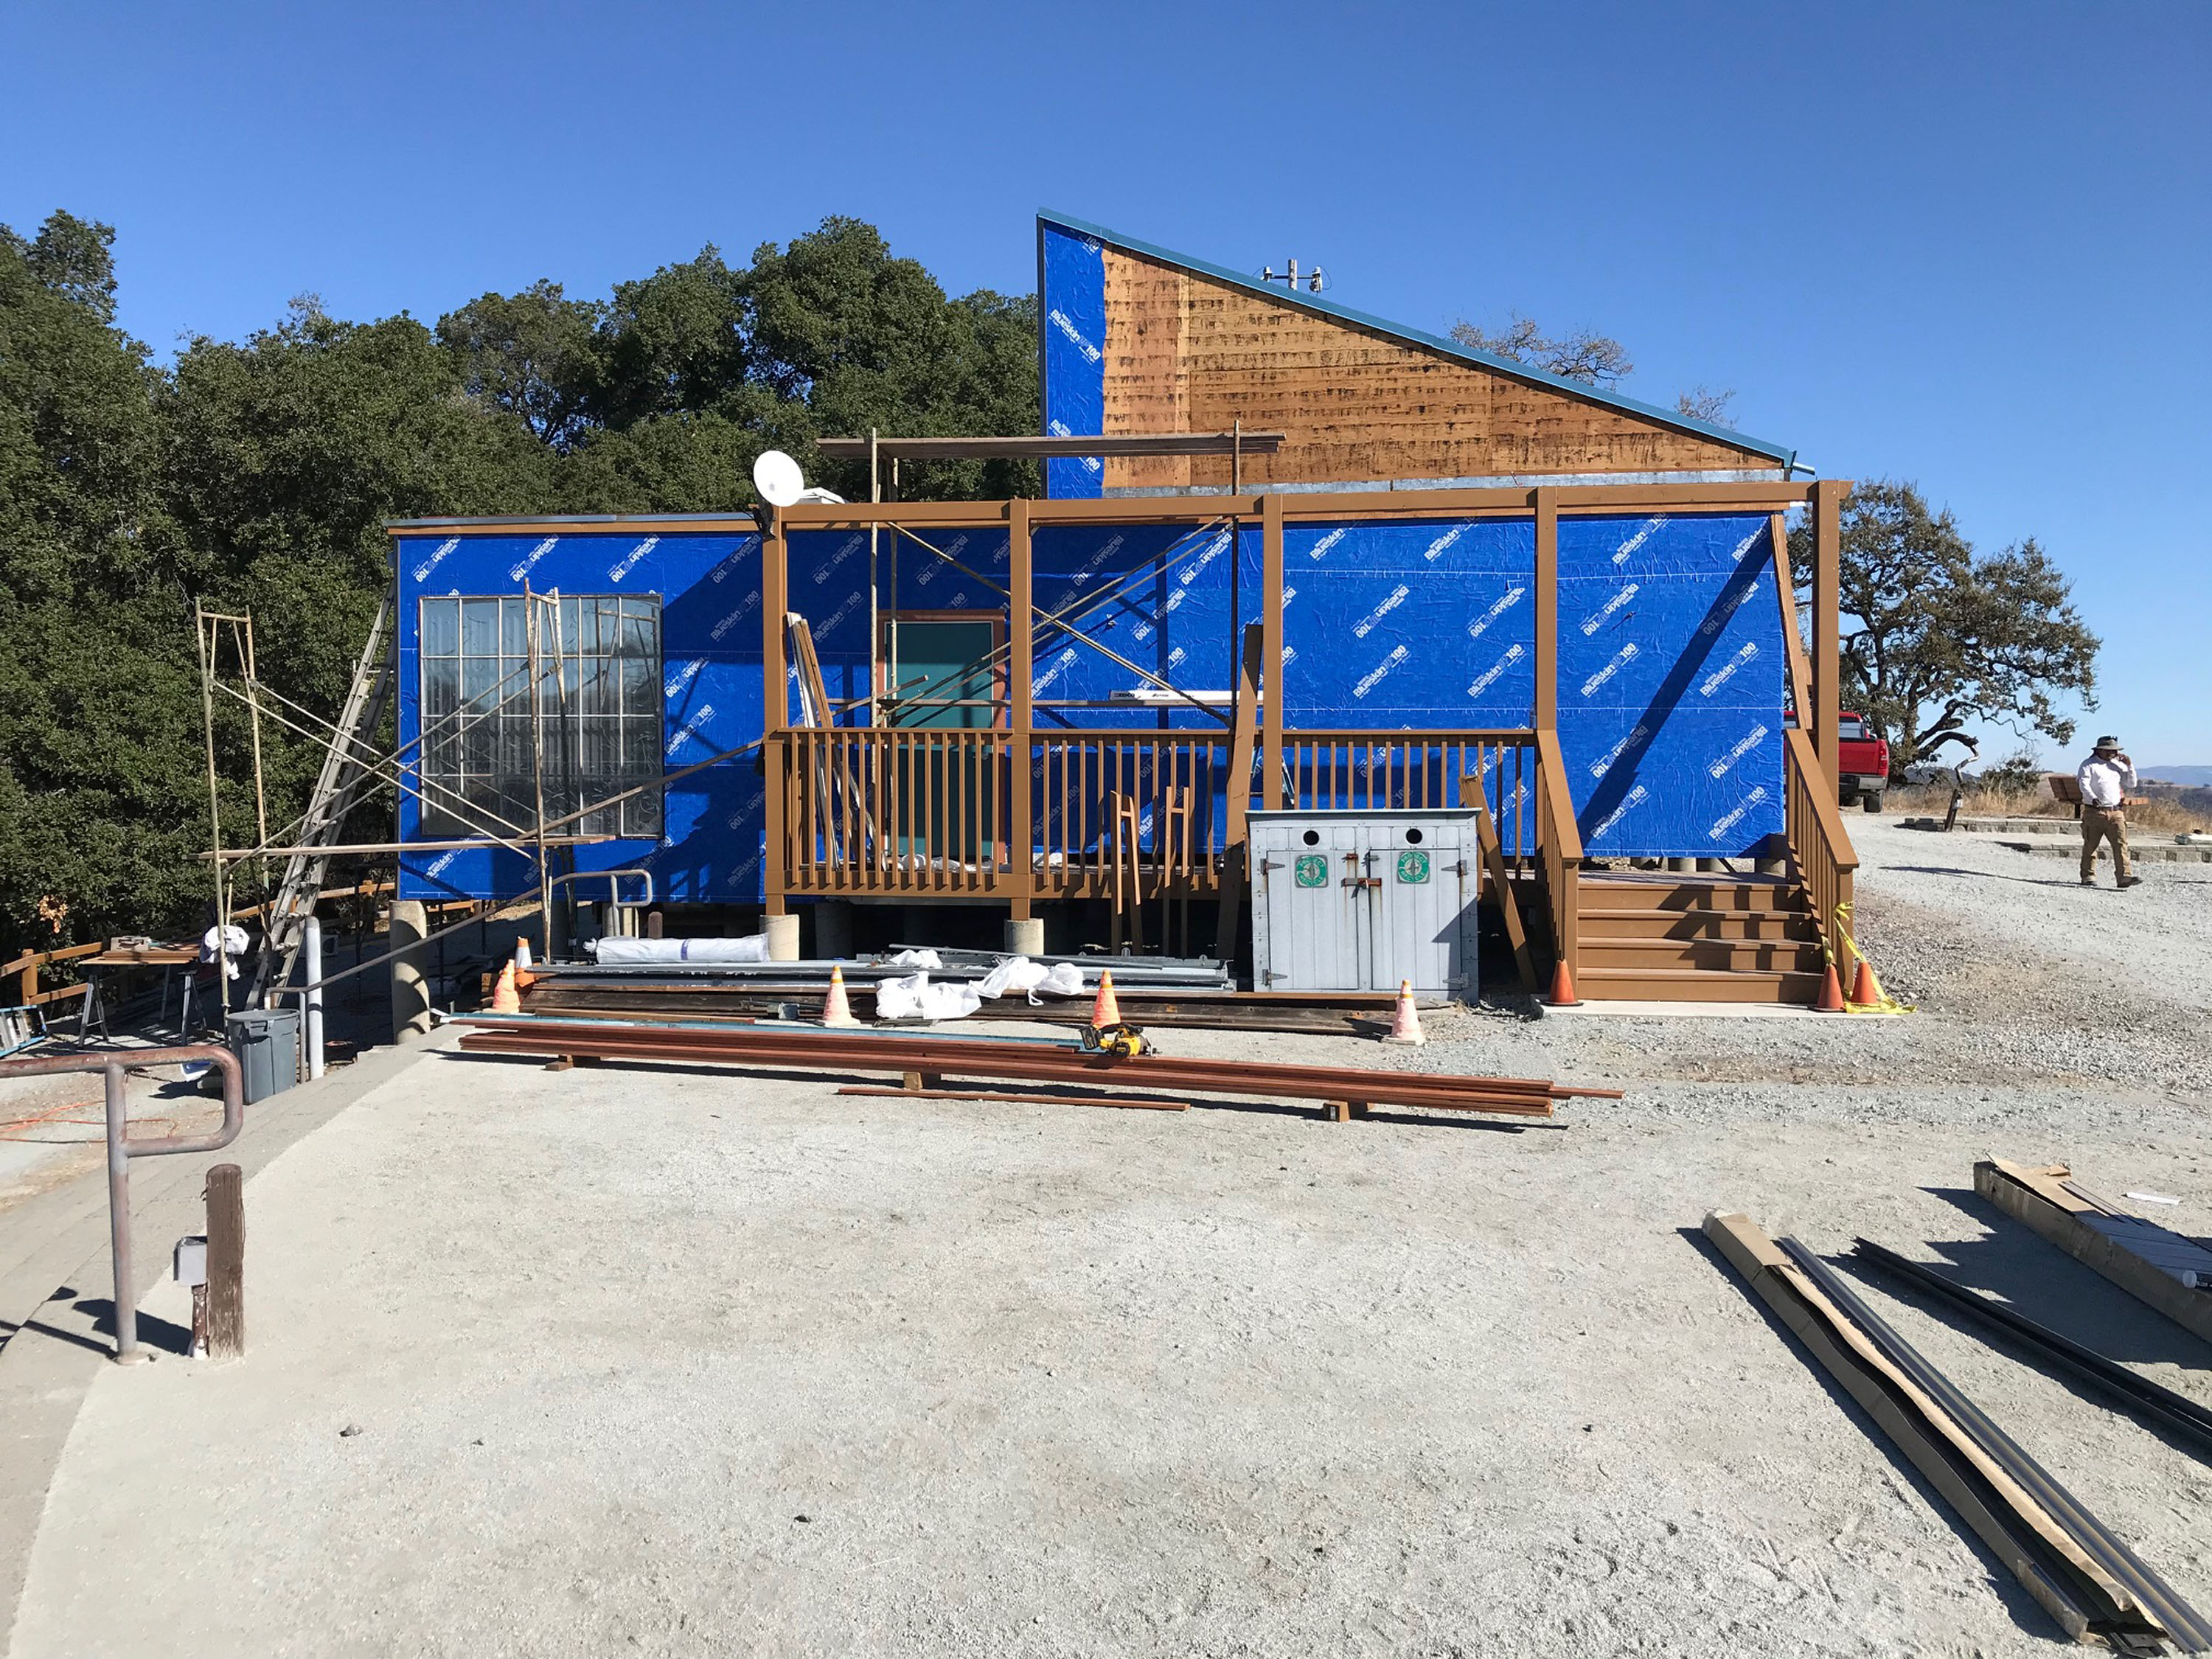
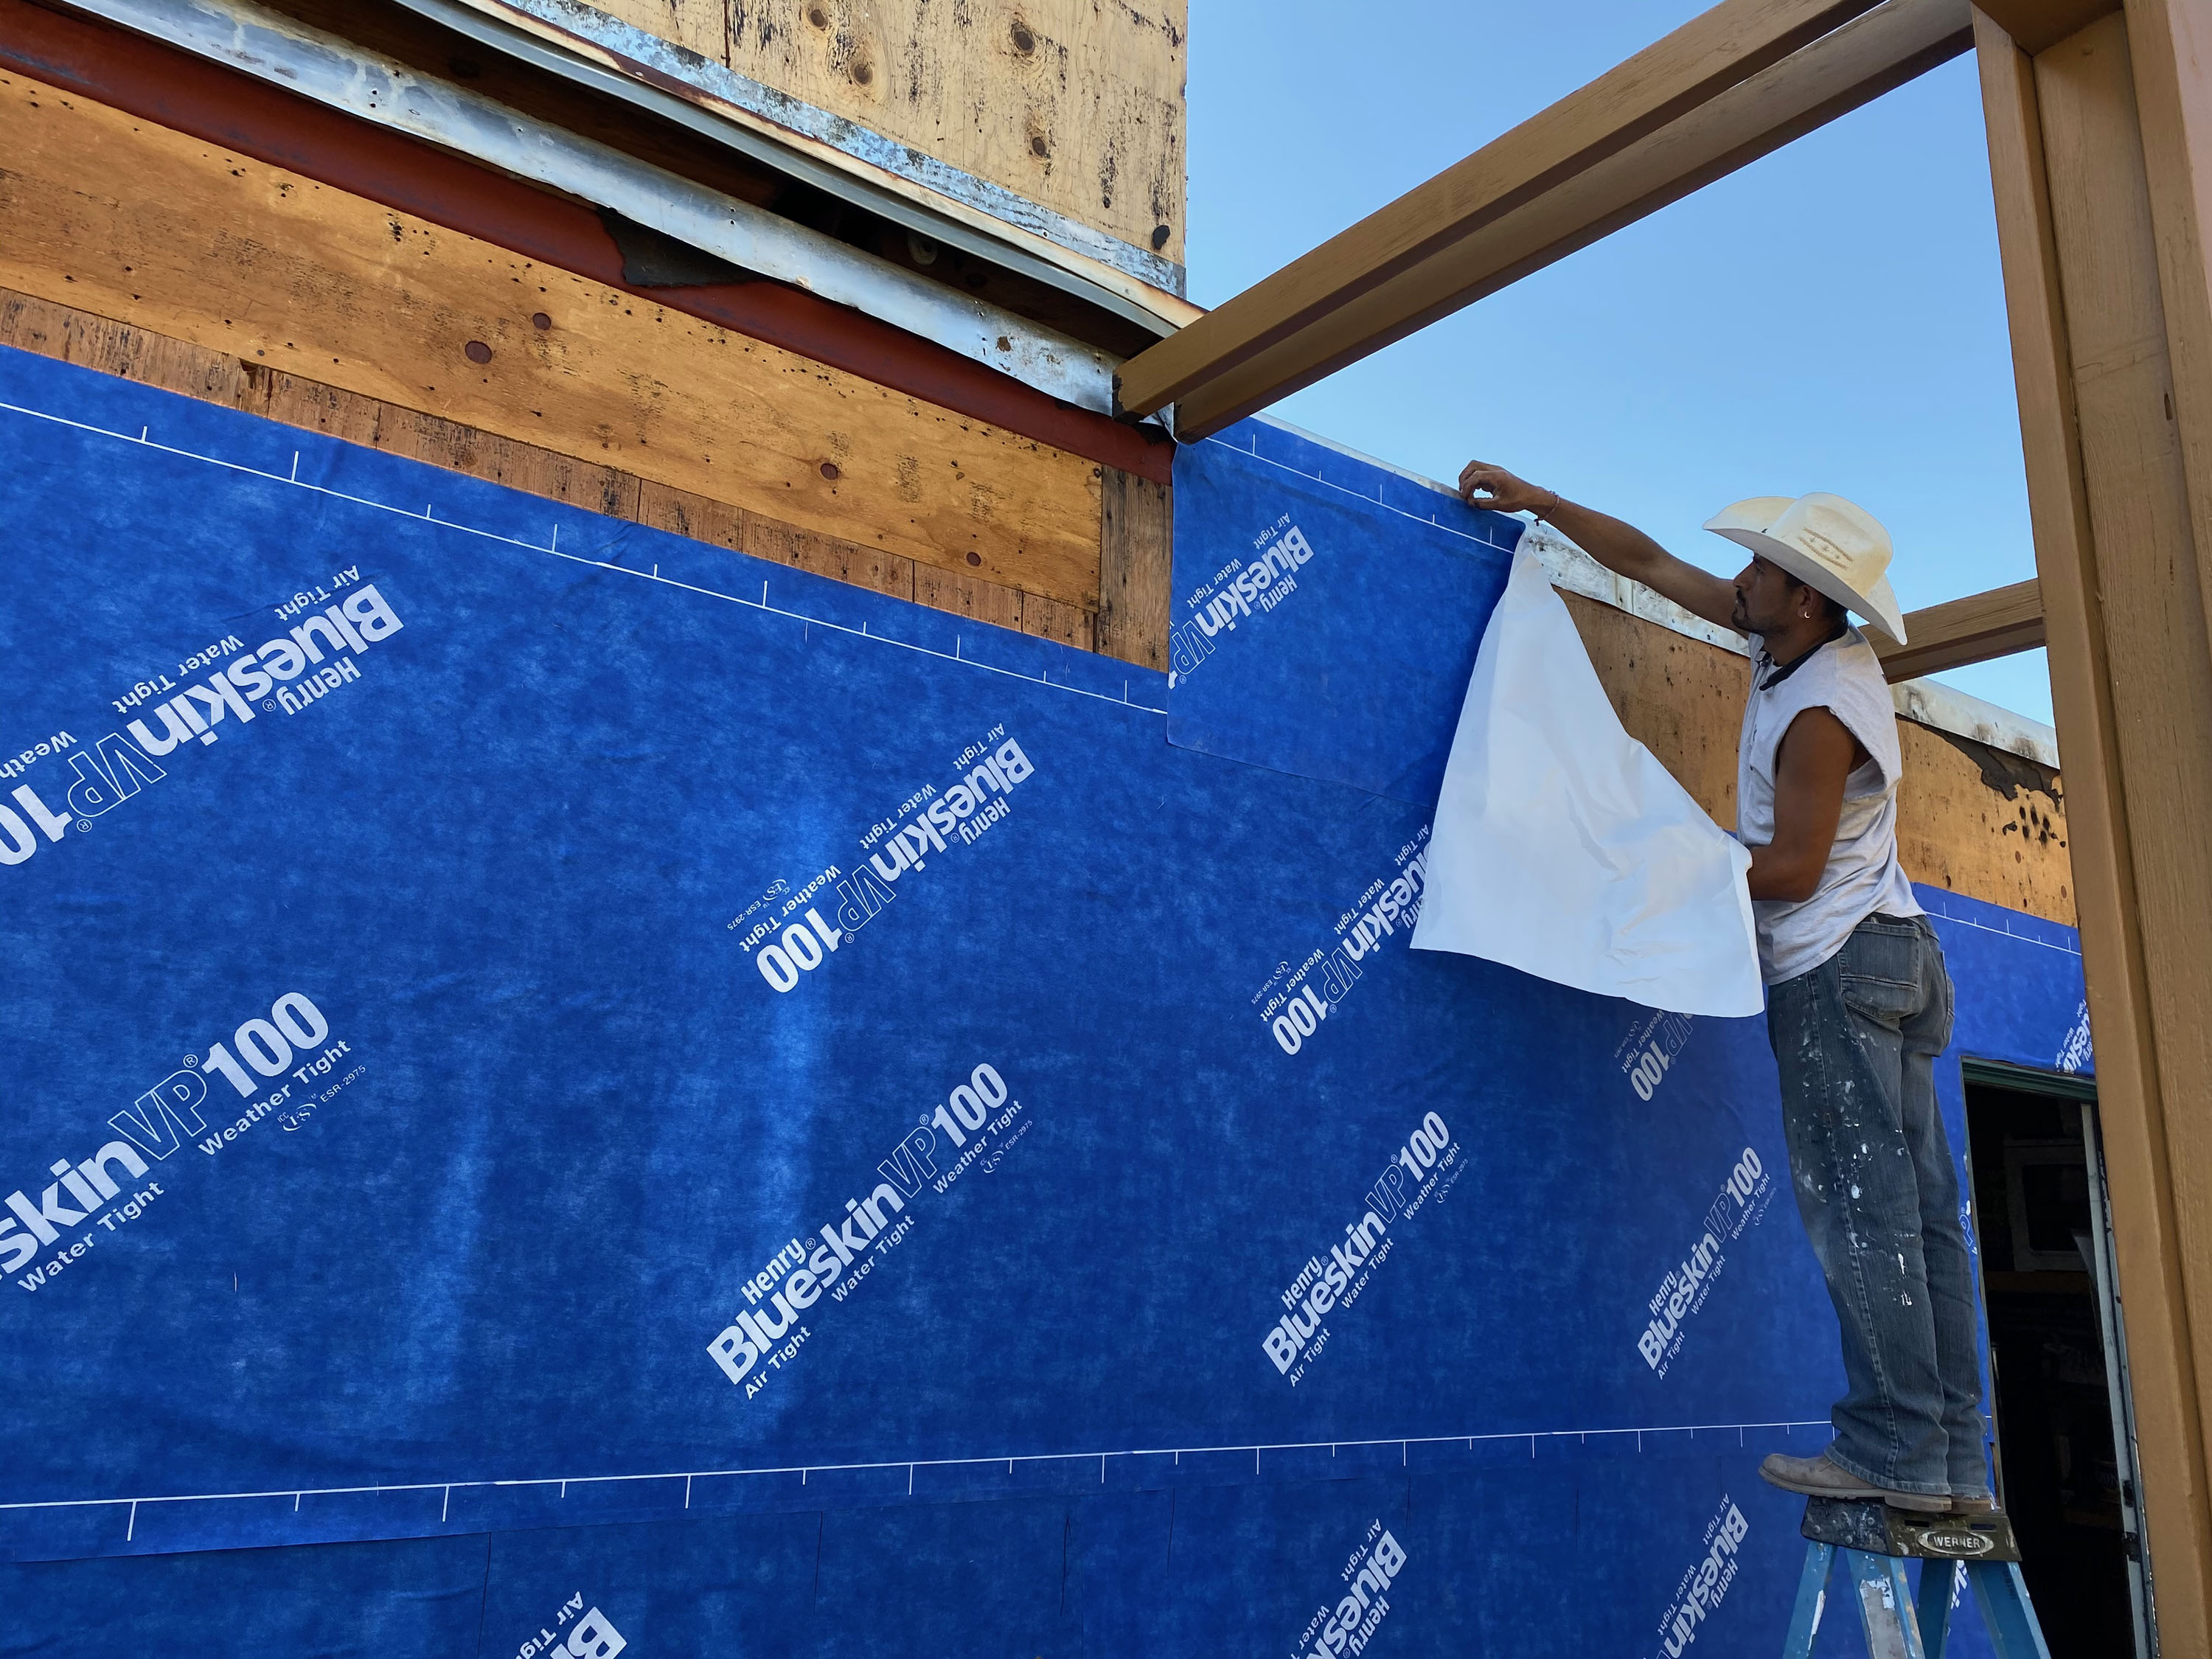
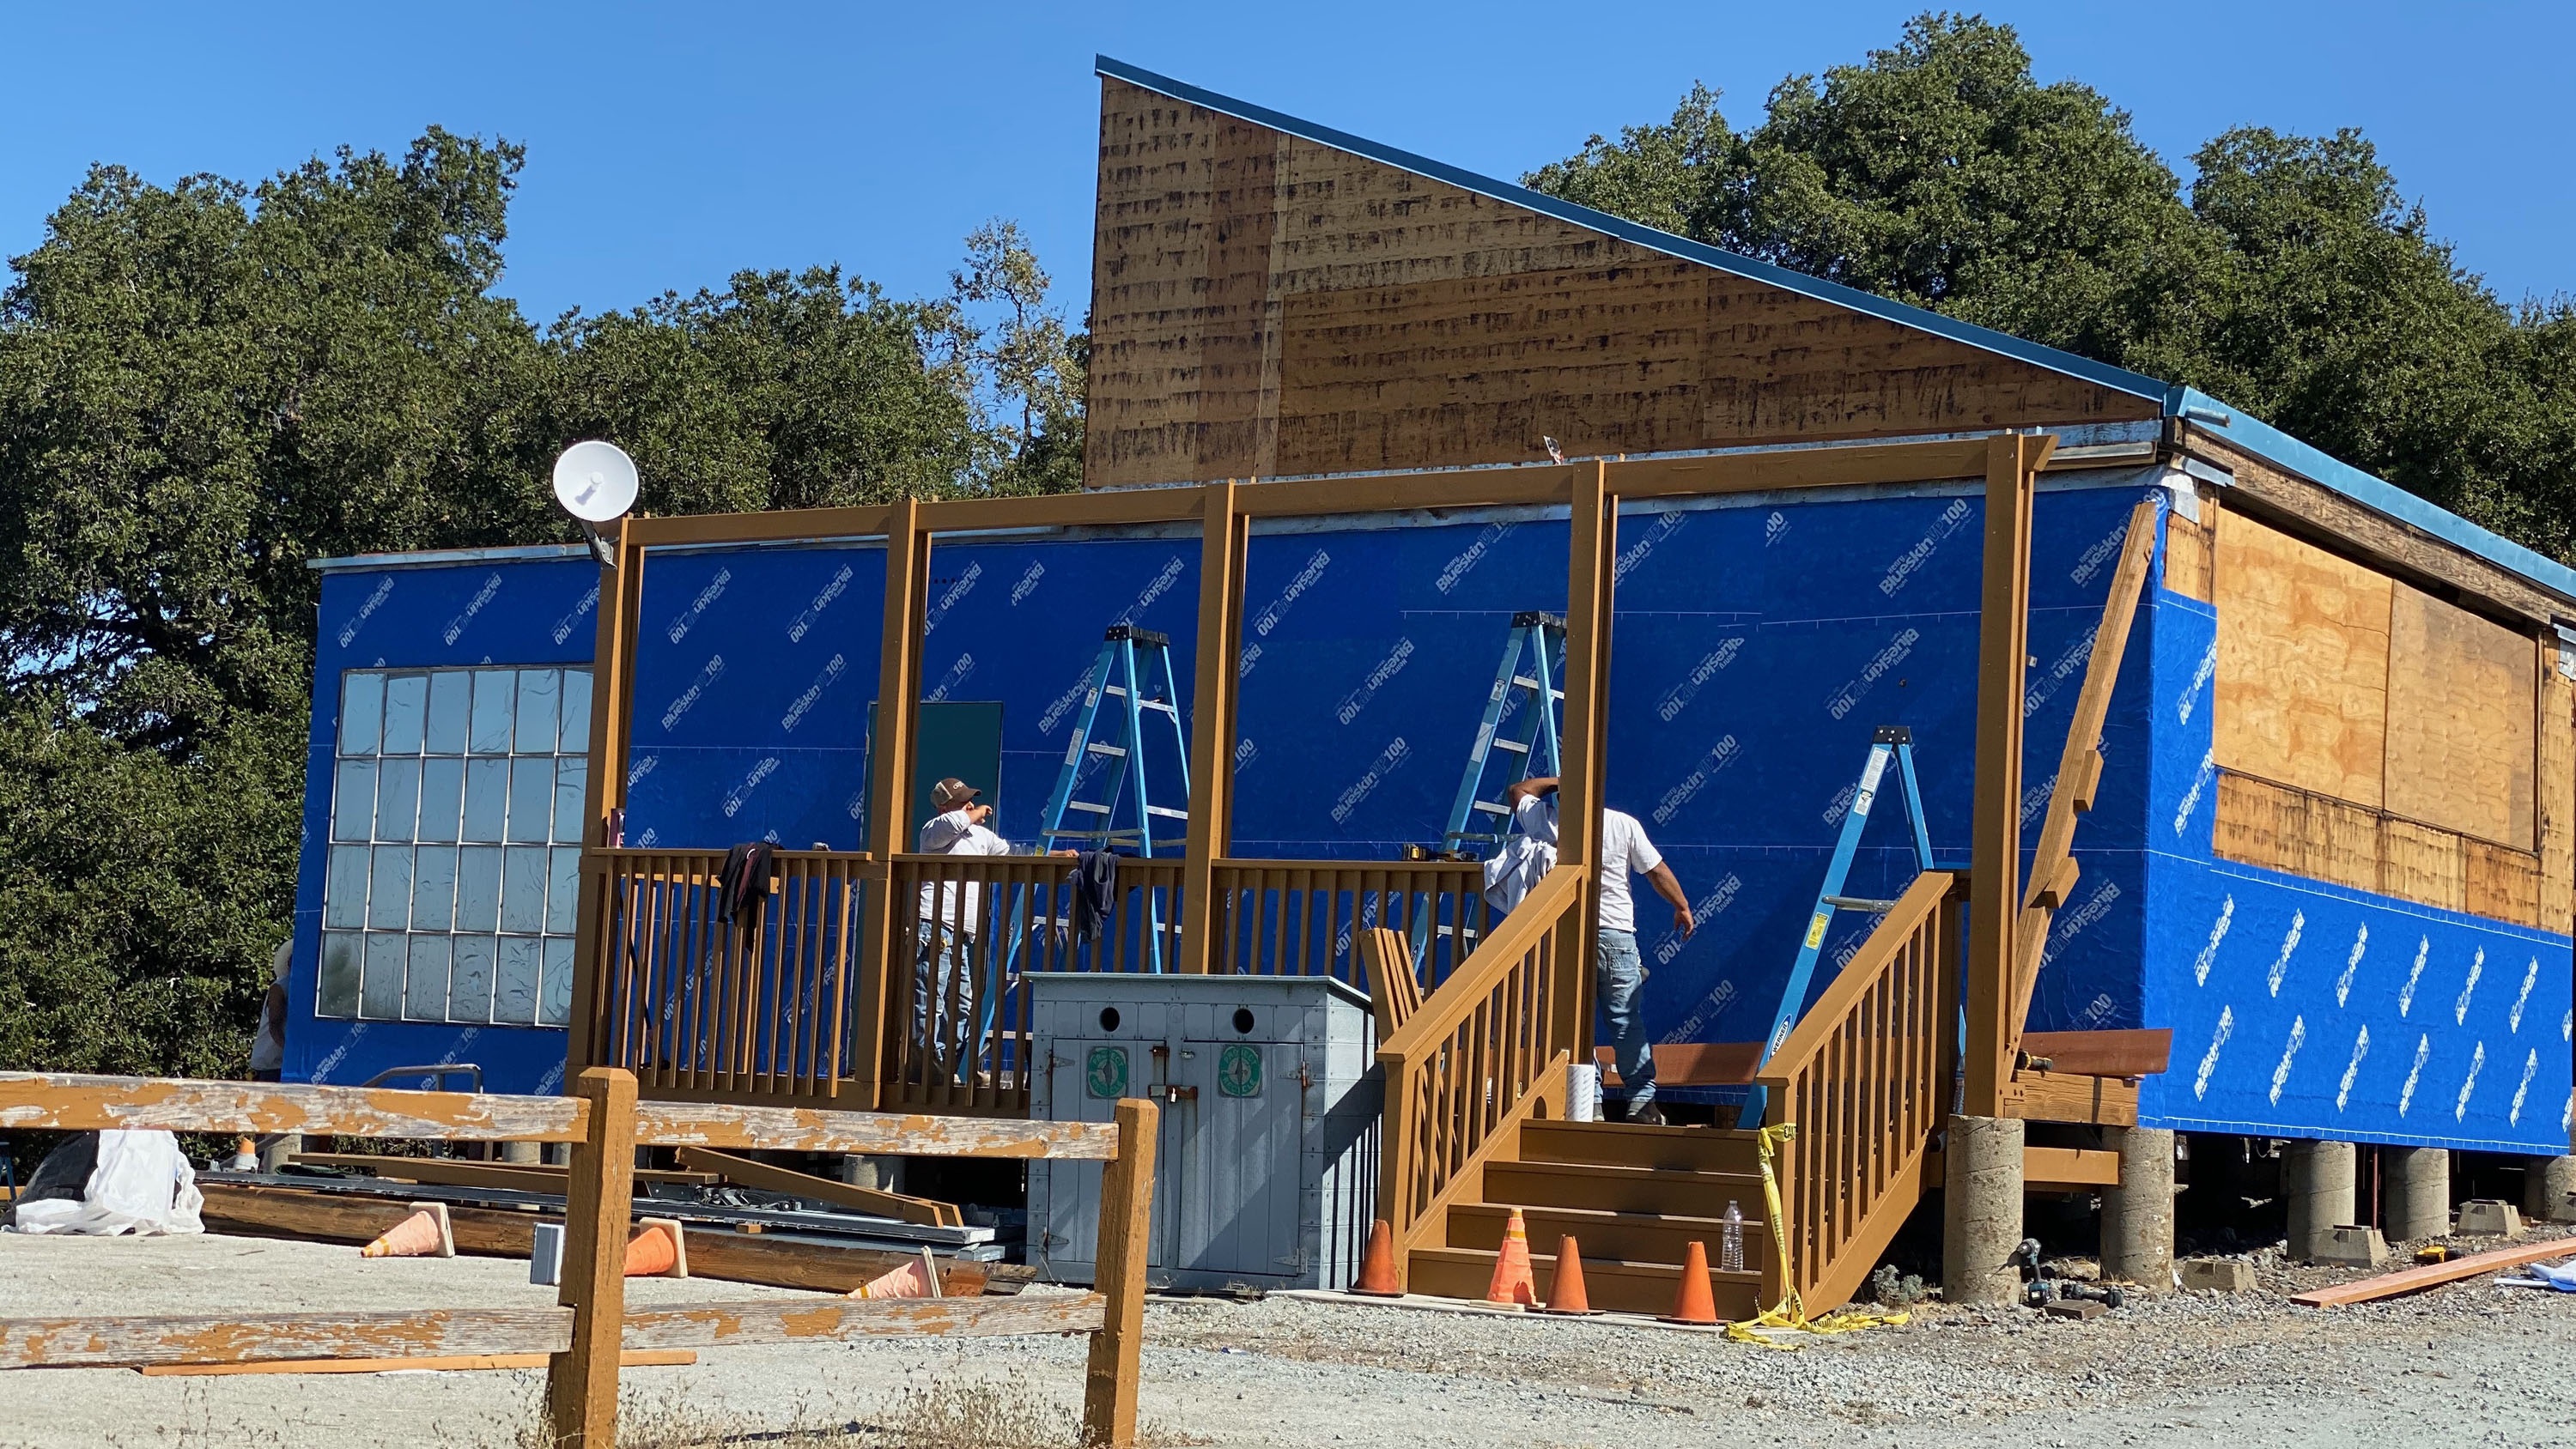
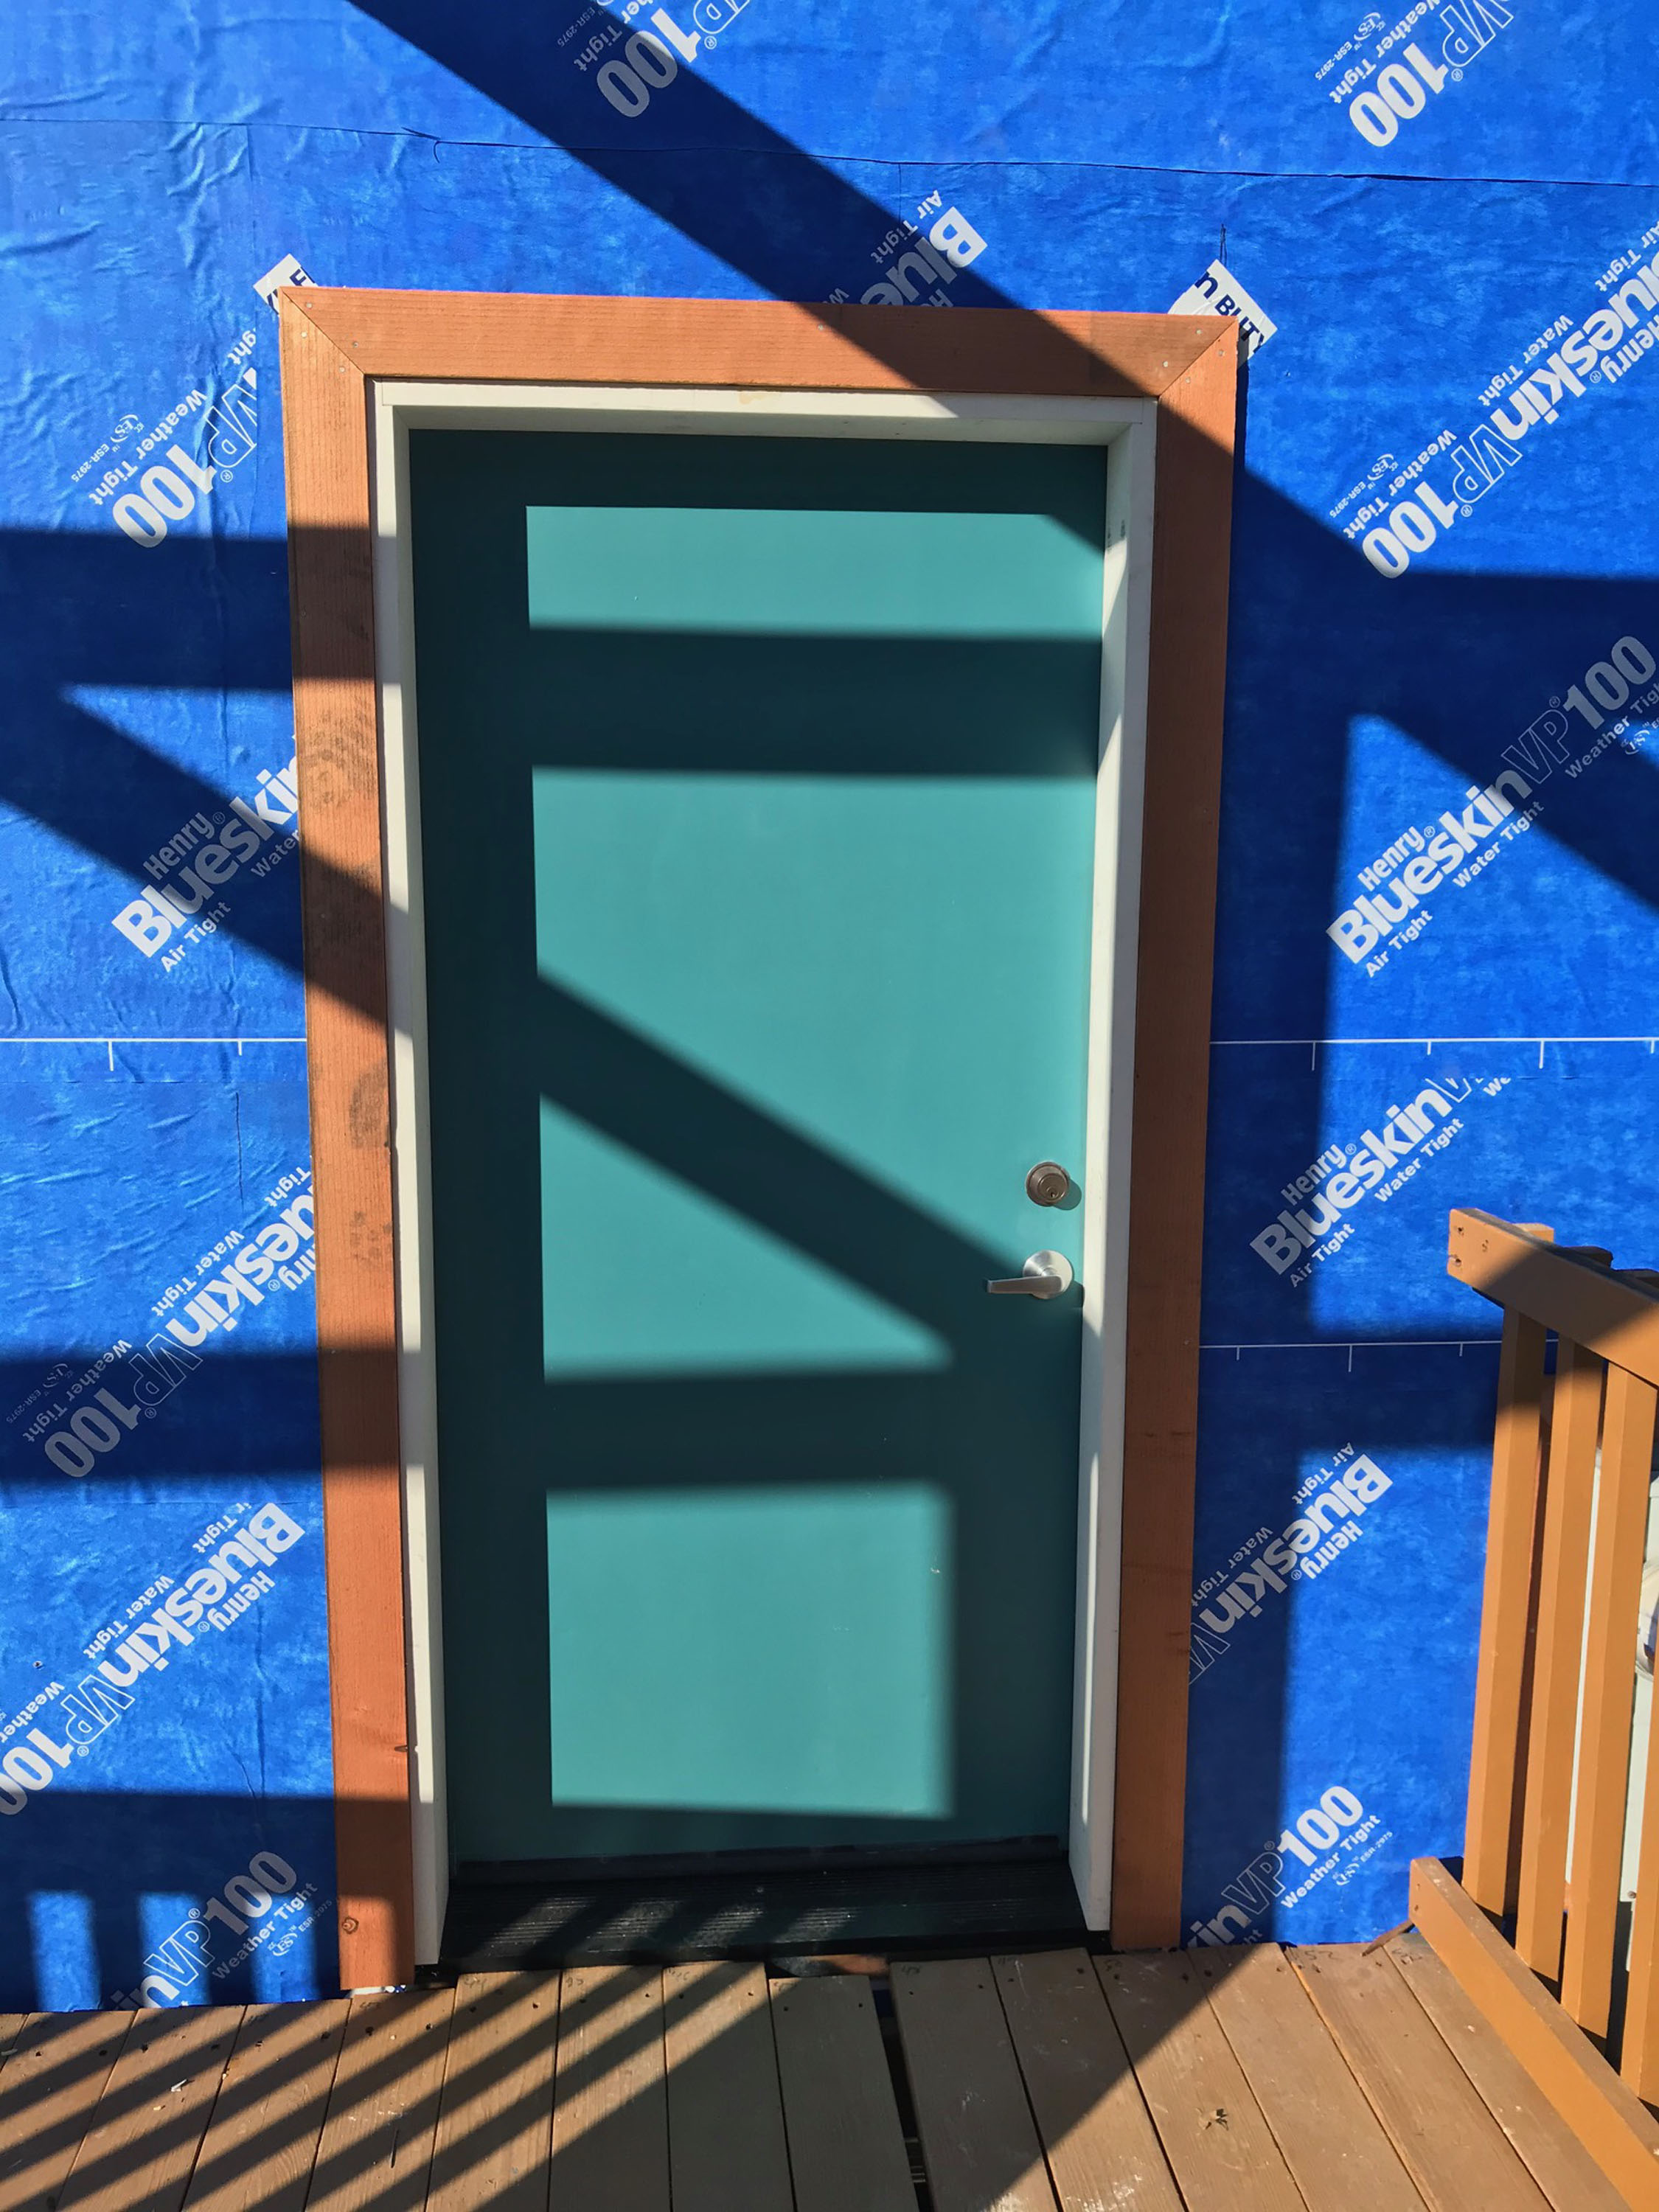
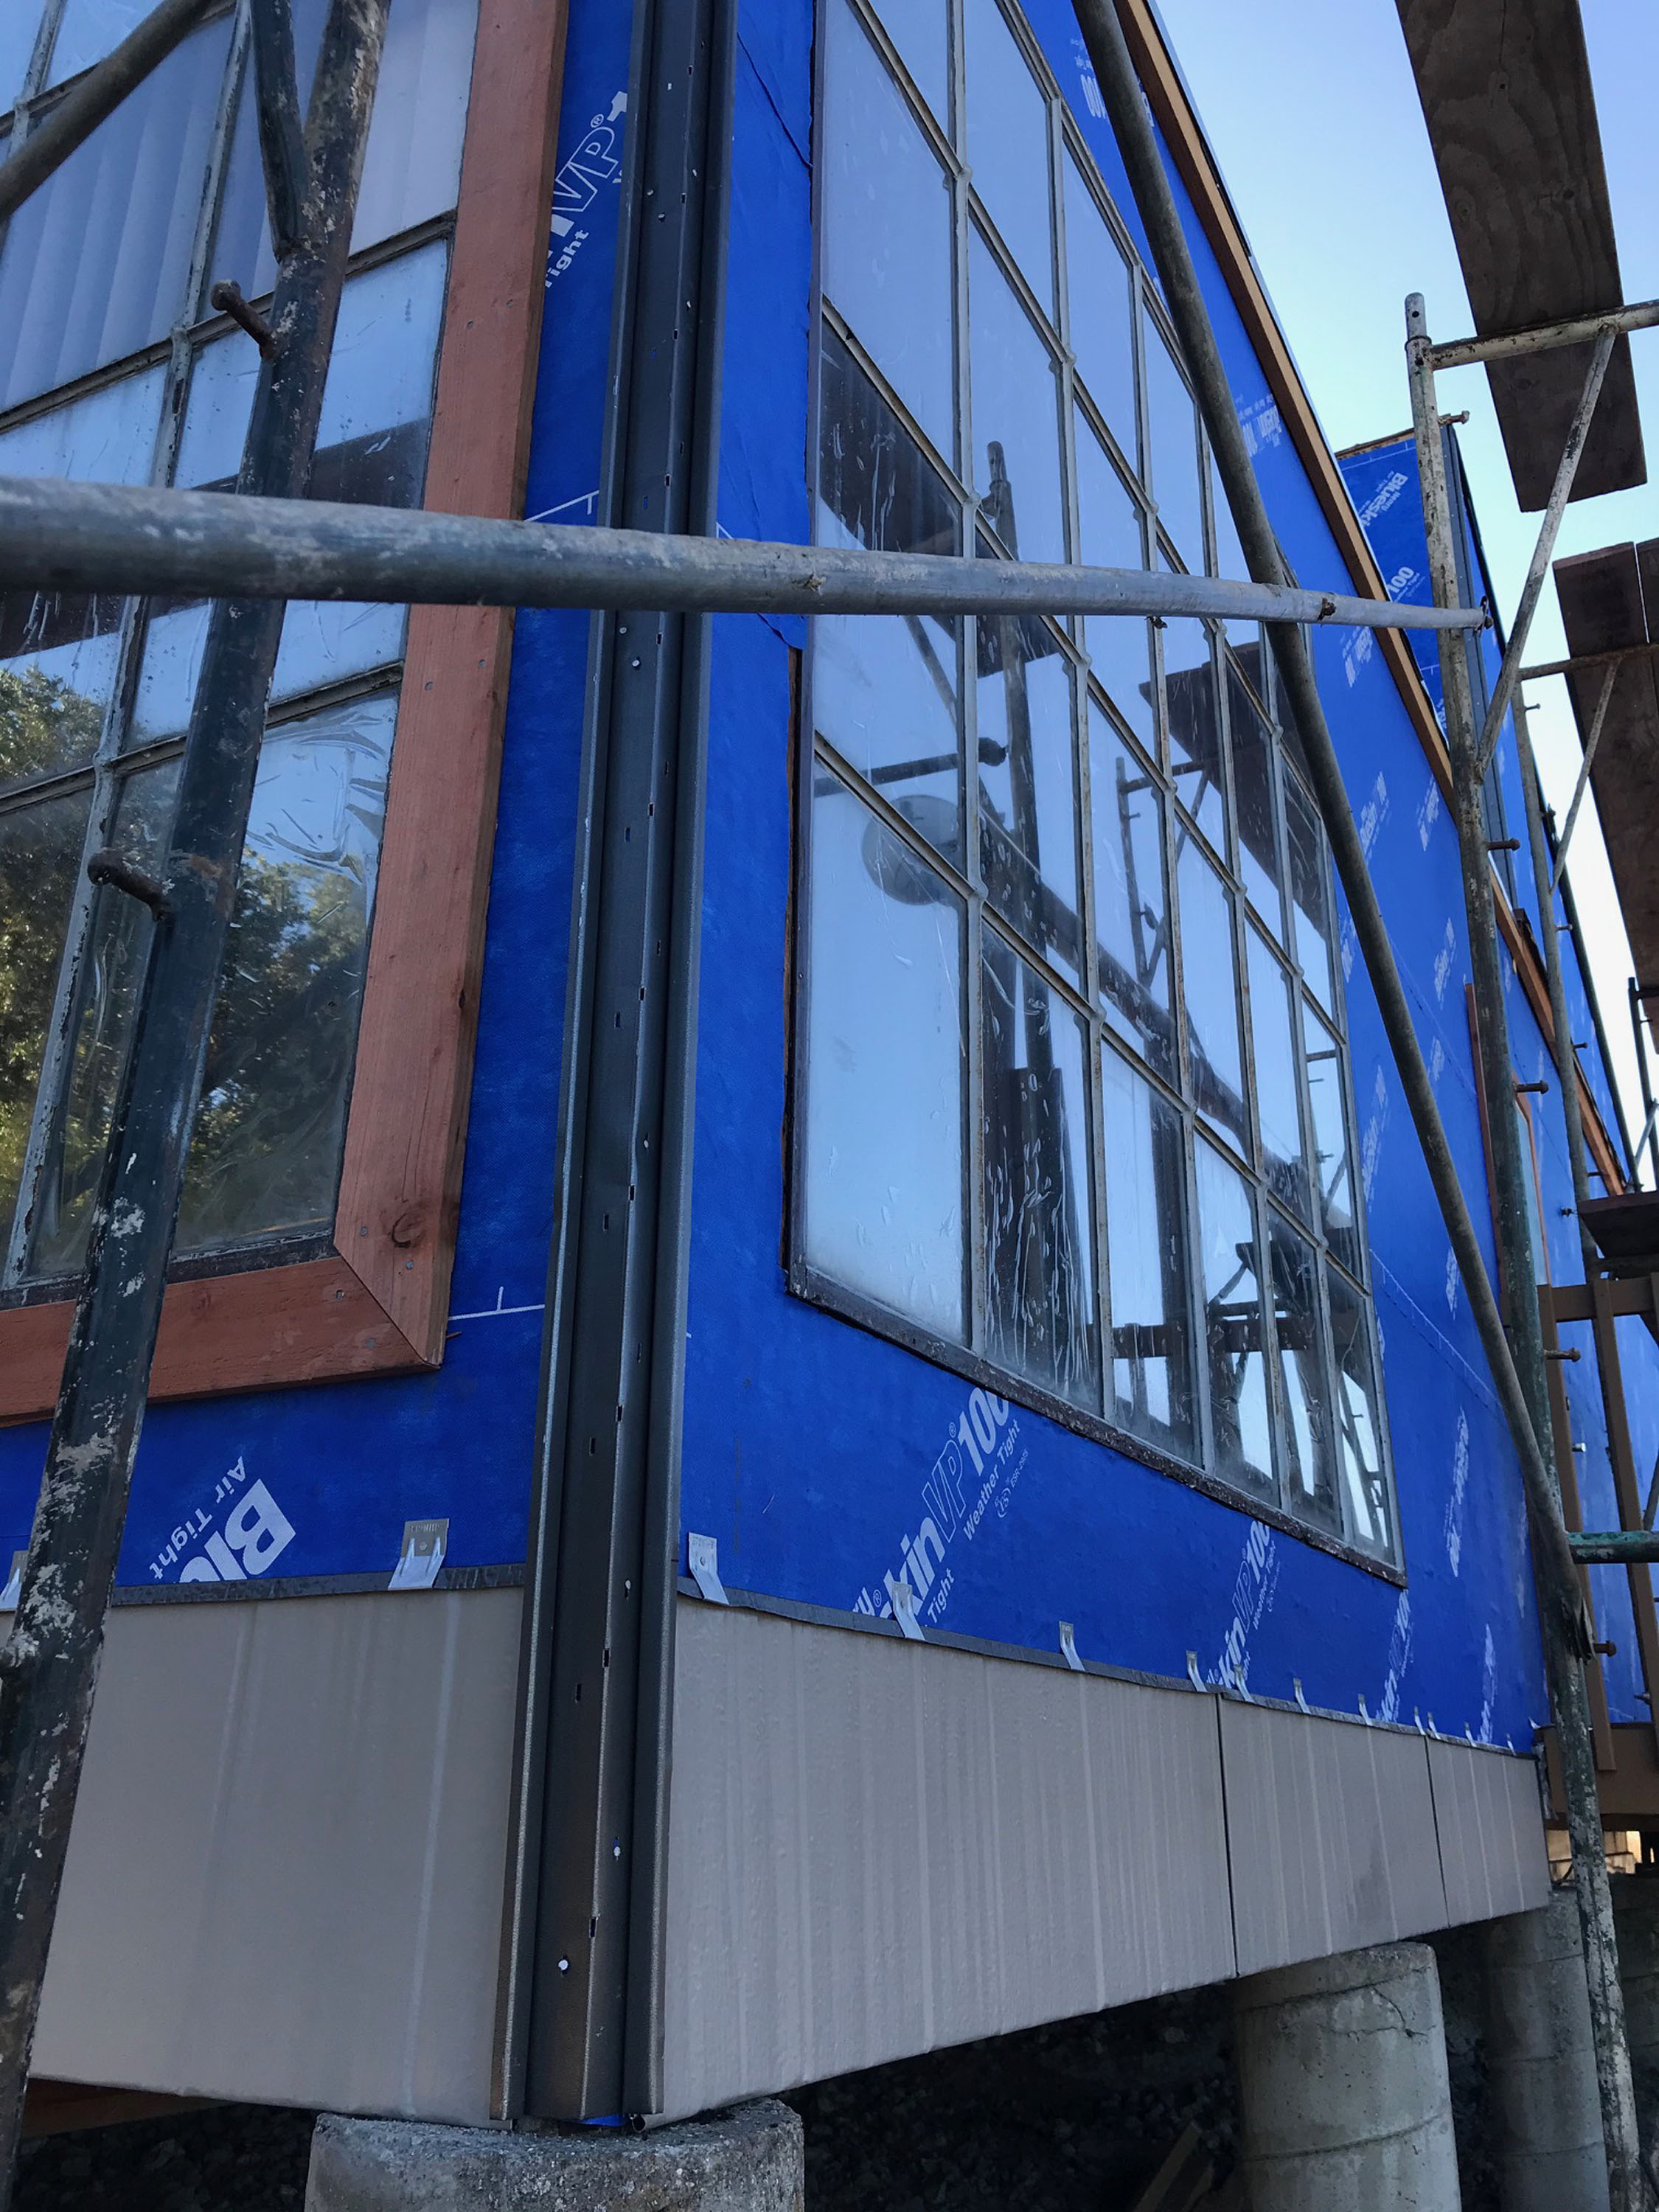
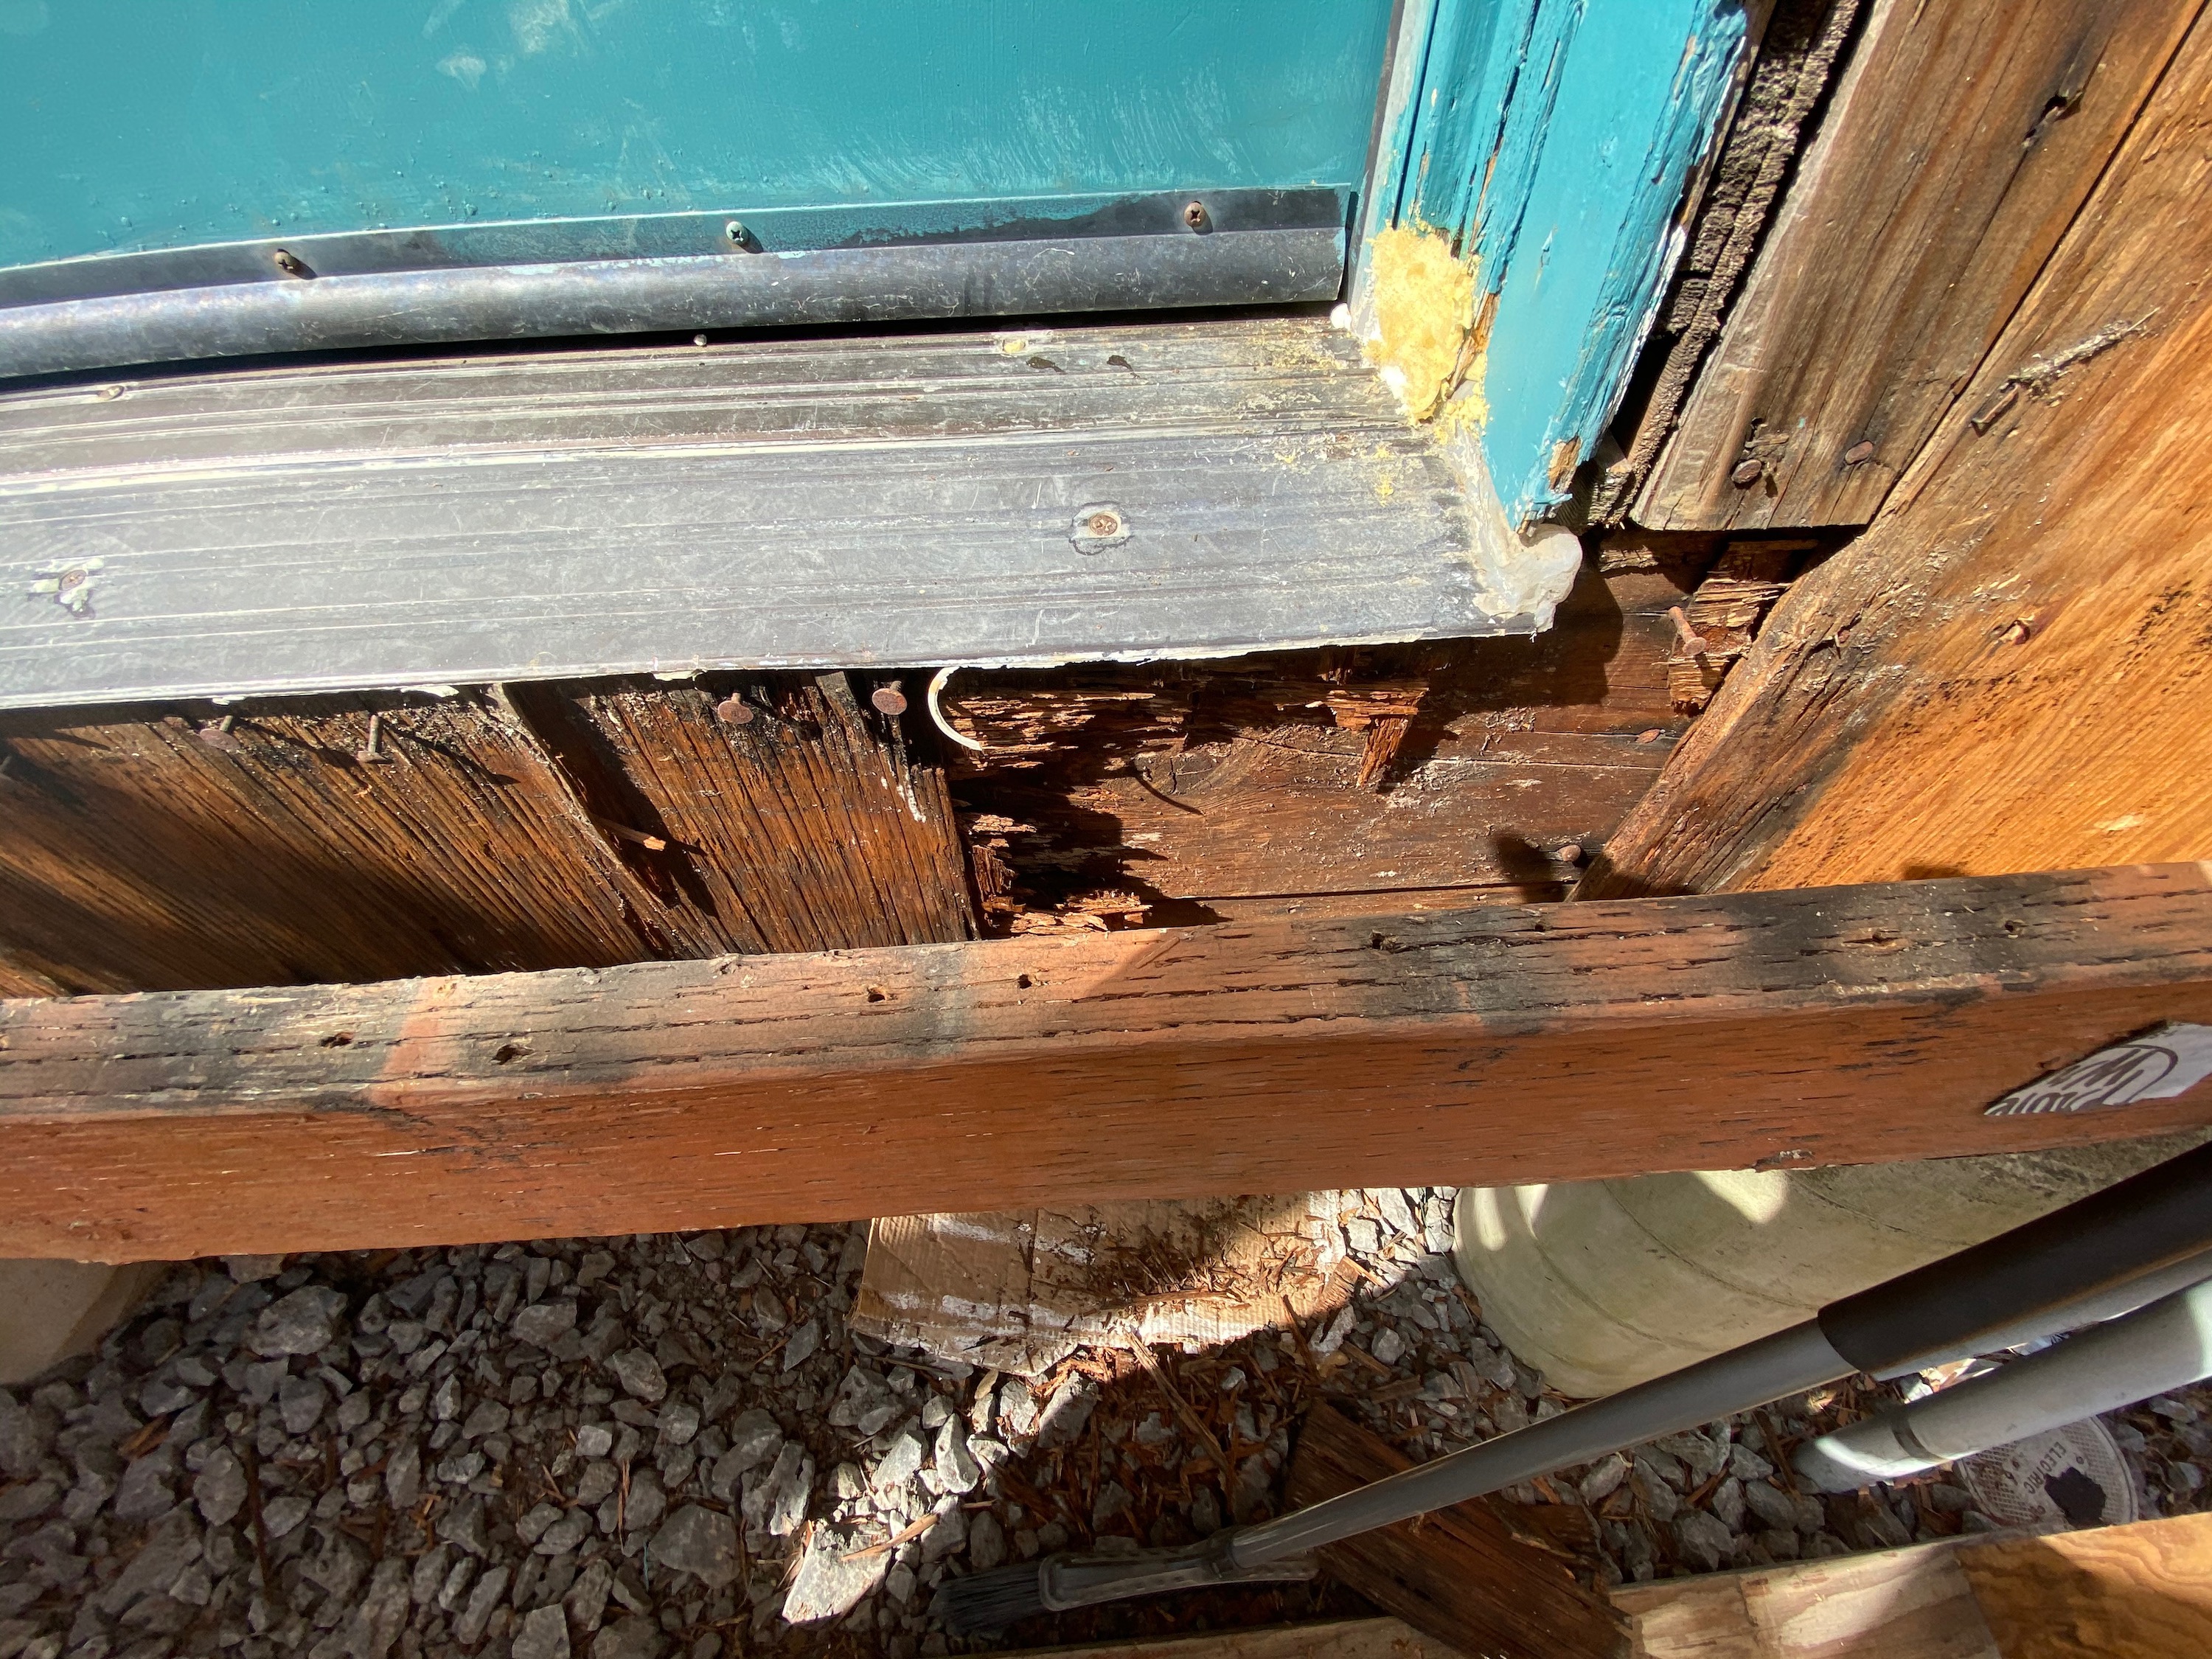
The board voted on Sept 7 to approve the contract with MPS. MPS started siding demolition on October 2, 2019. By October 14 we had the building covered with a modern Tyvek vapor barrier that gave more complete protection than the original tar paper. For many years, we endured decay of both door thresholds on the east side of the building. We suspected holes in the floor, but maintenance was deferred. Some of the decay on the west side was repaired during the west deck project, but the door frame hadn’t been replaced and the latch mortise was loose.
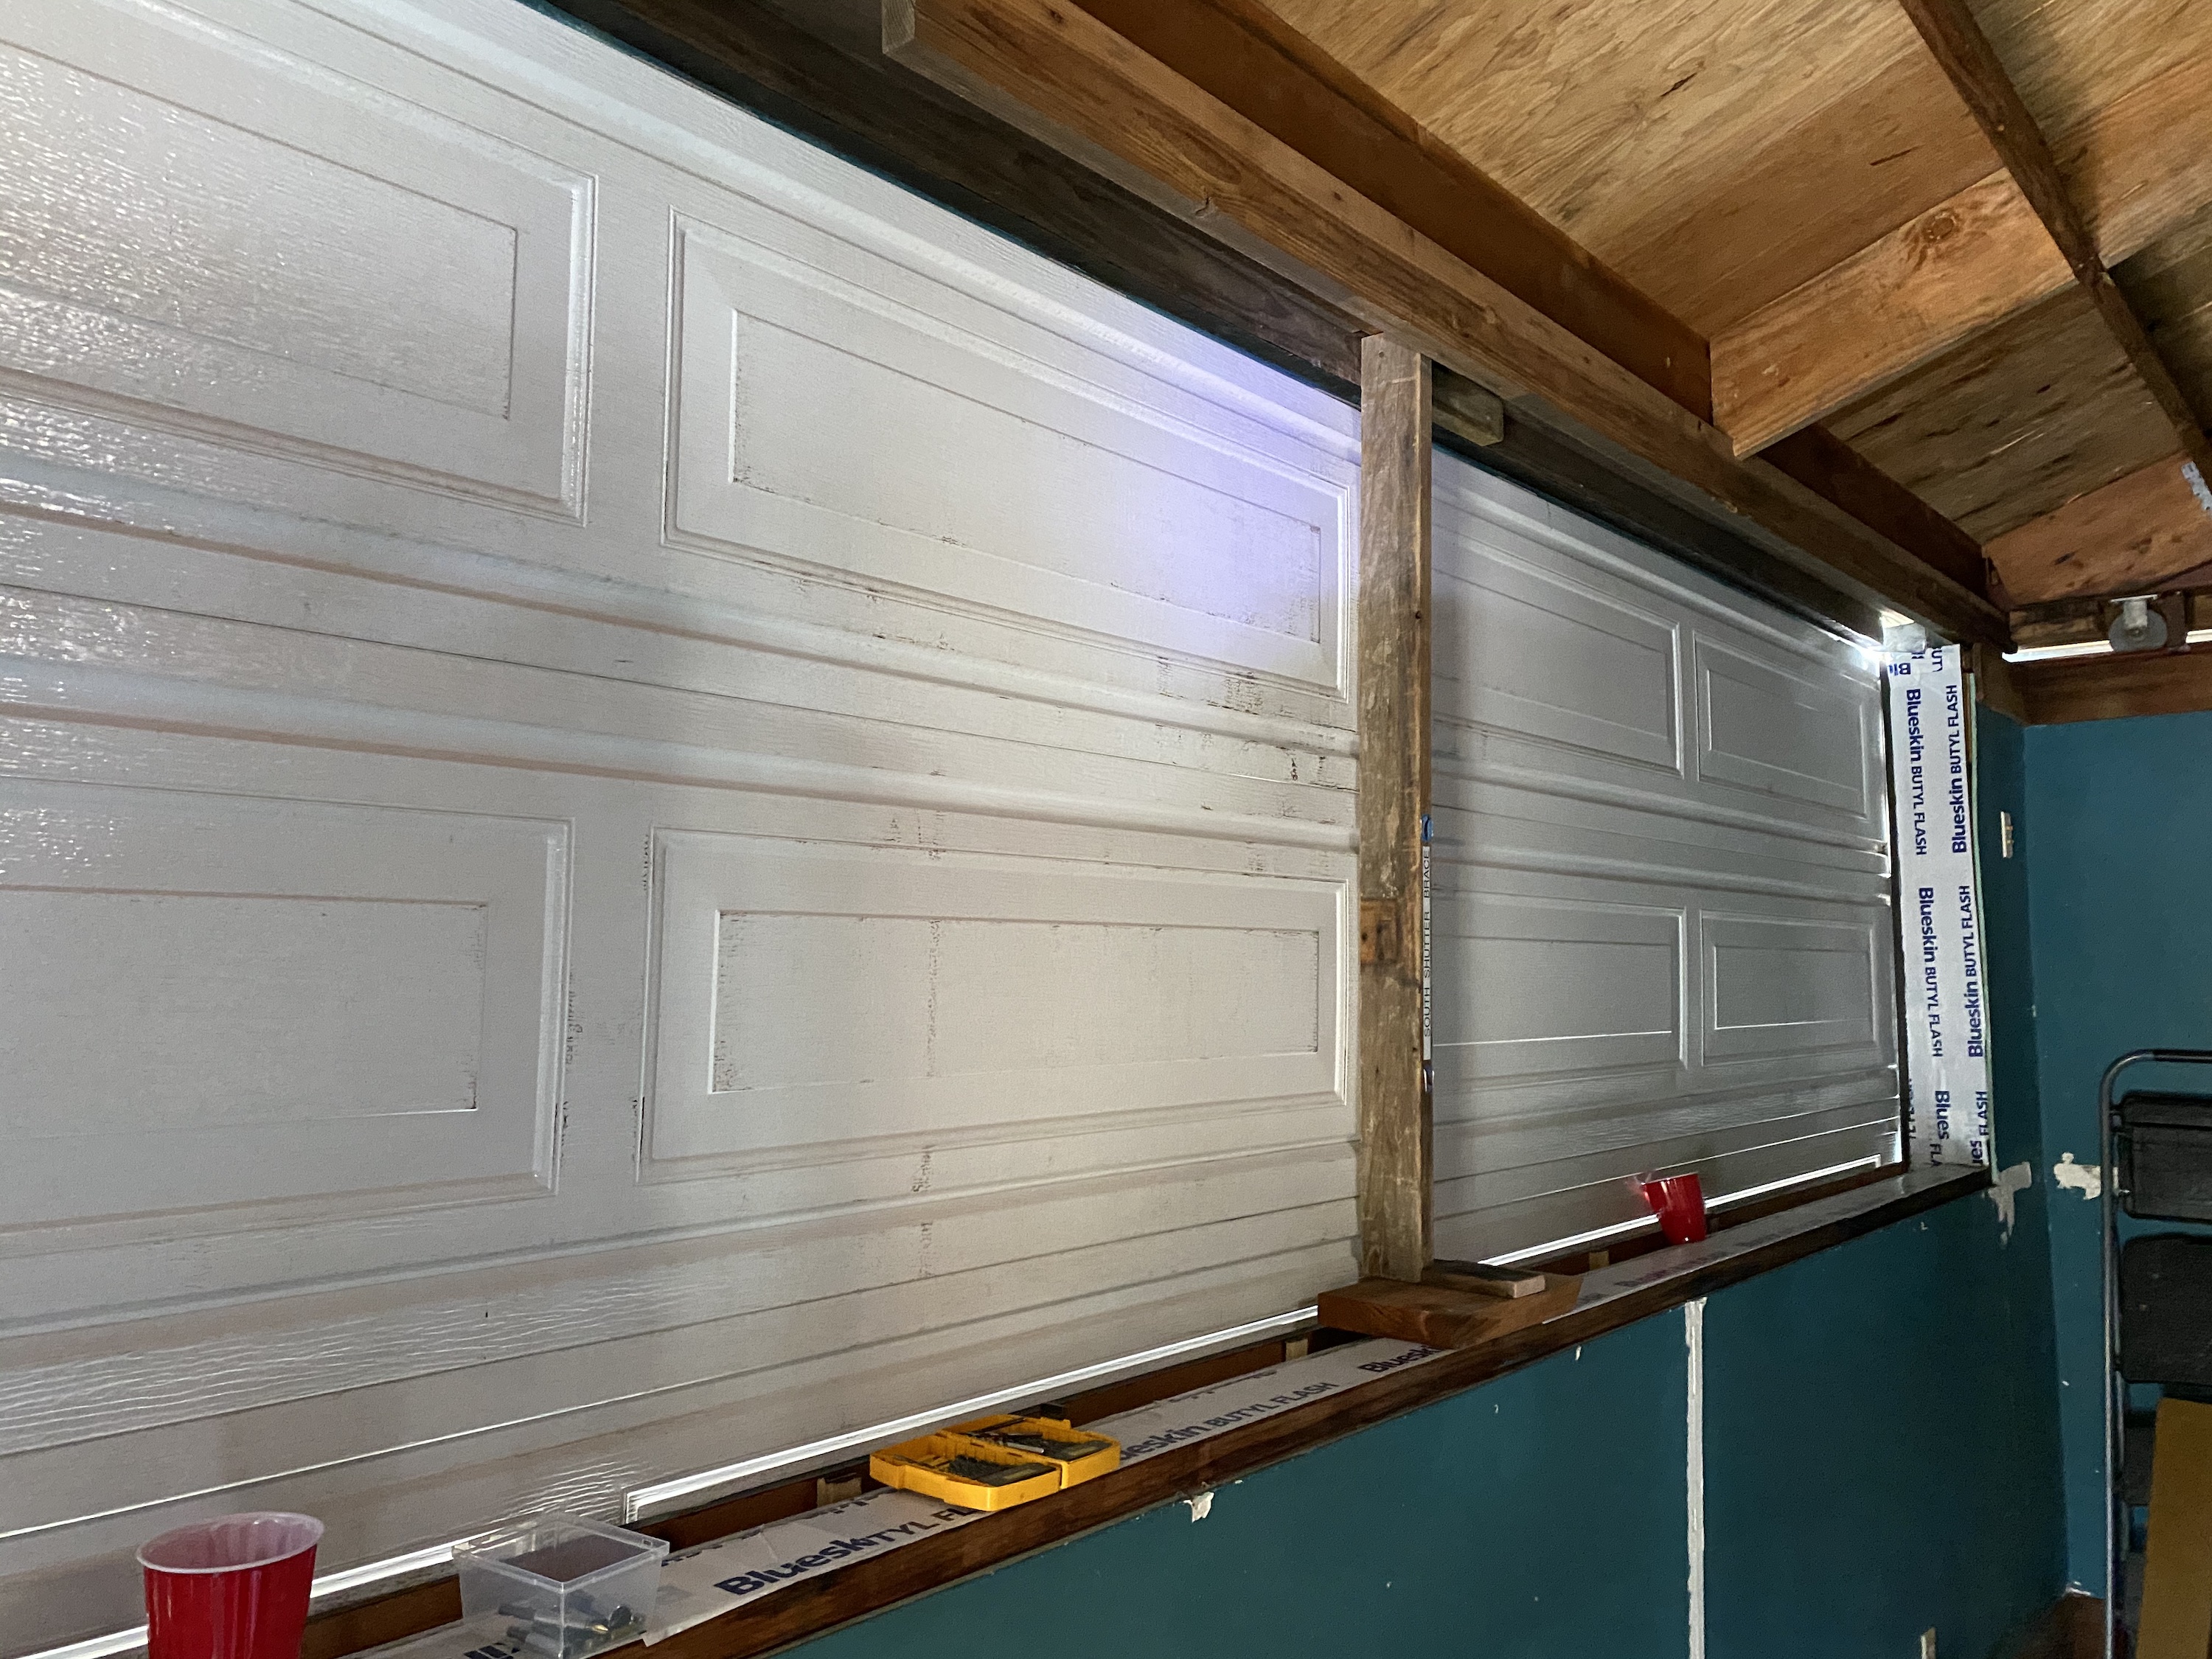
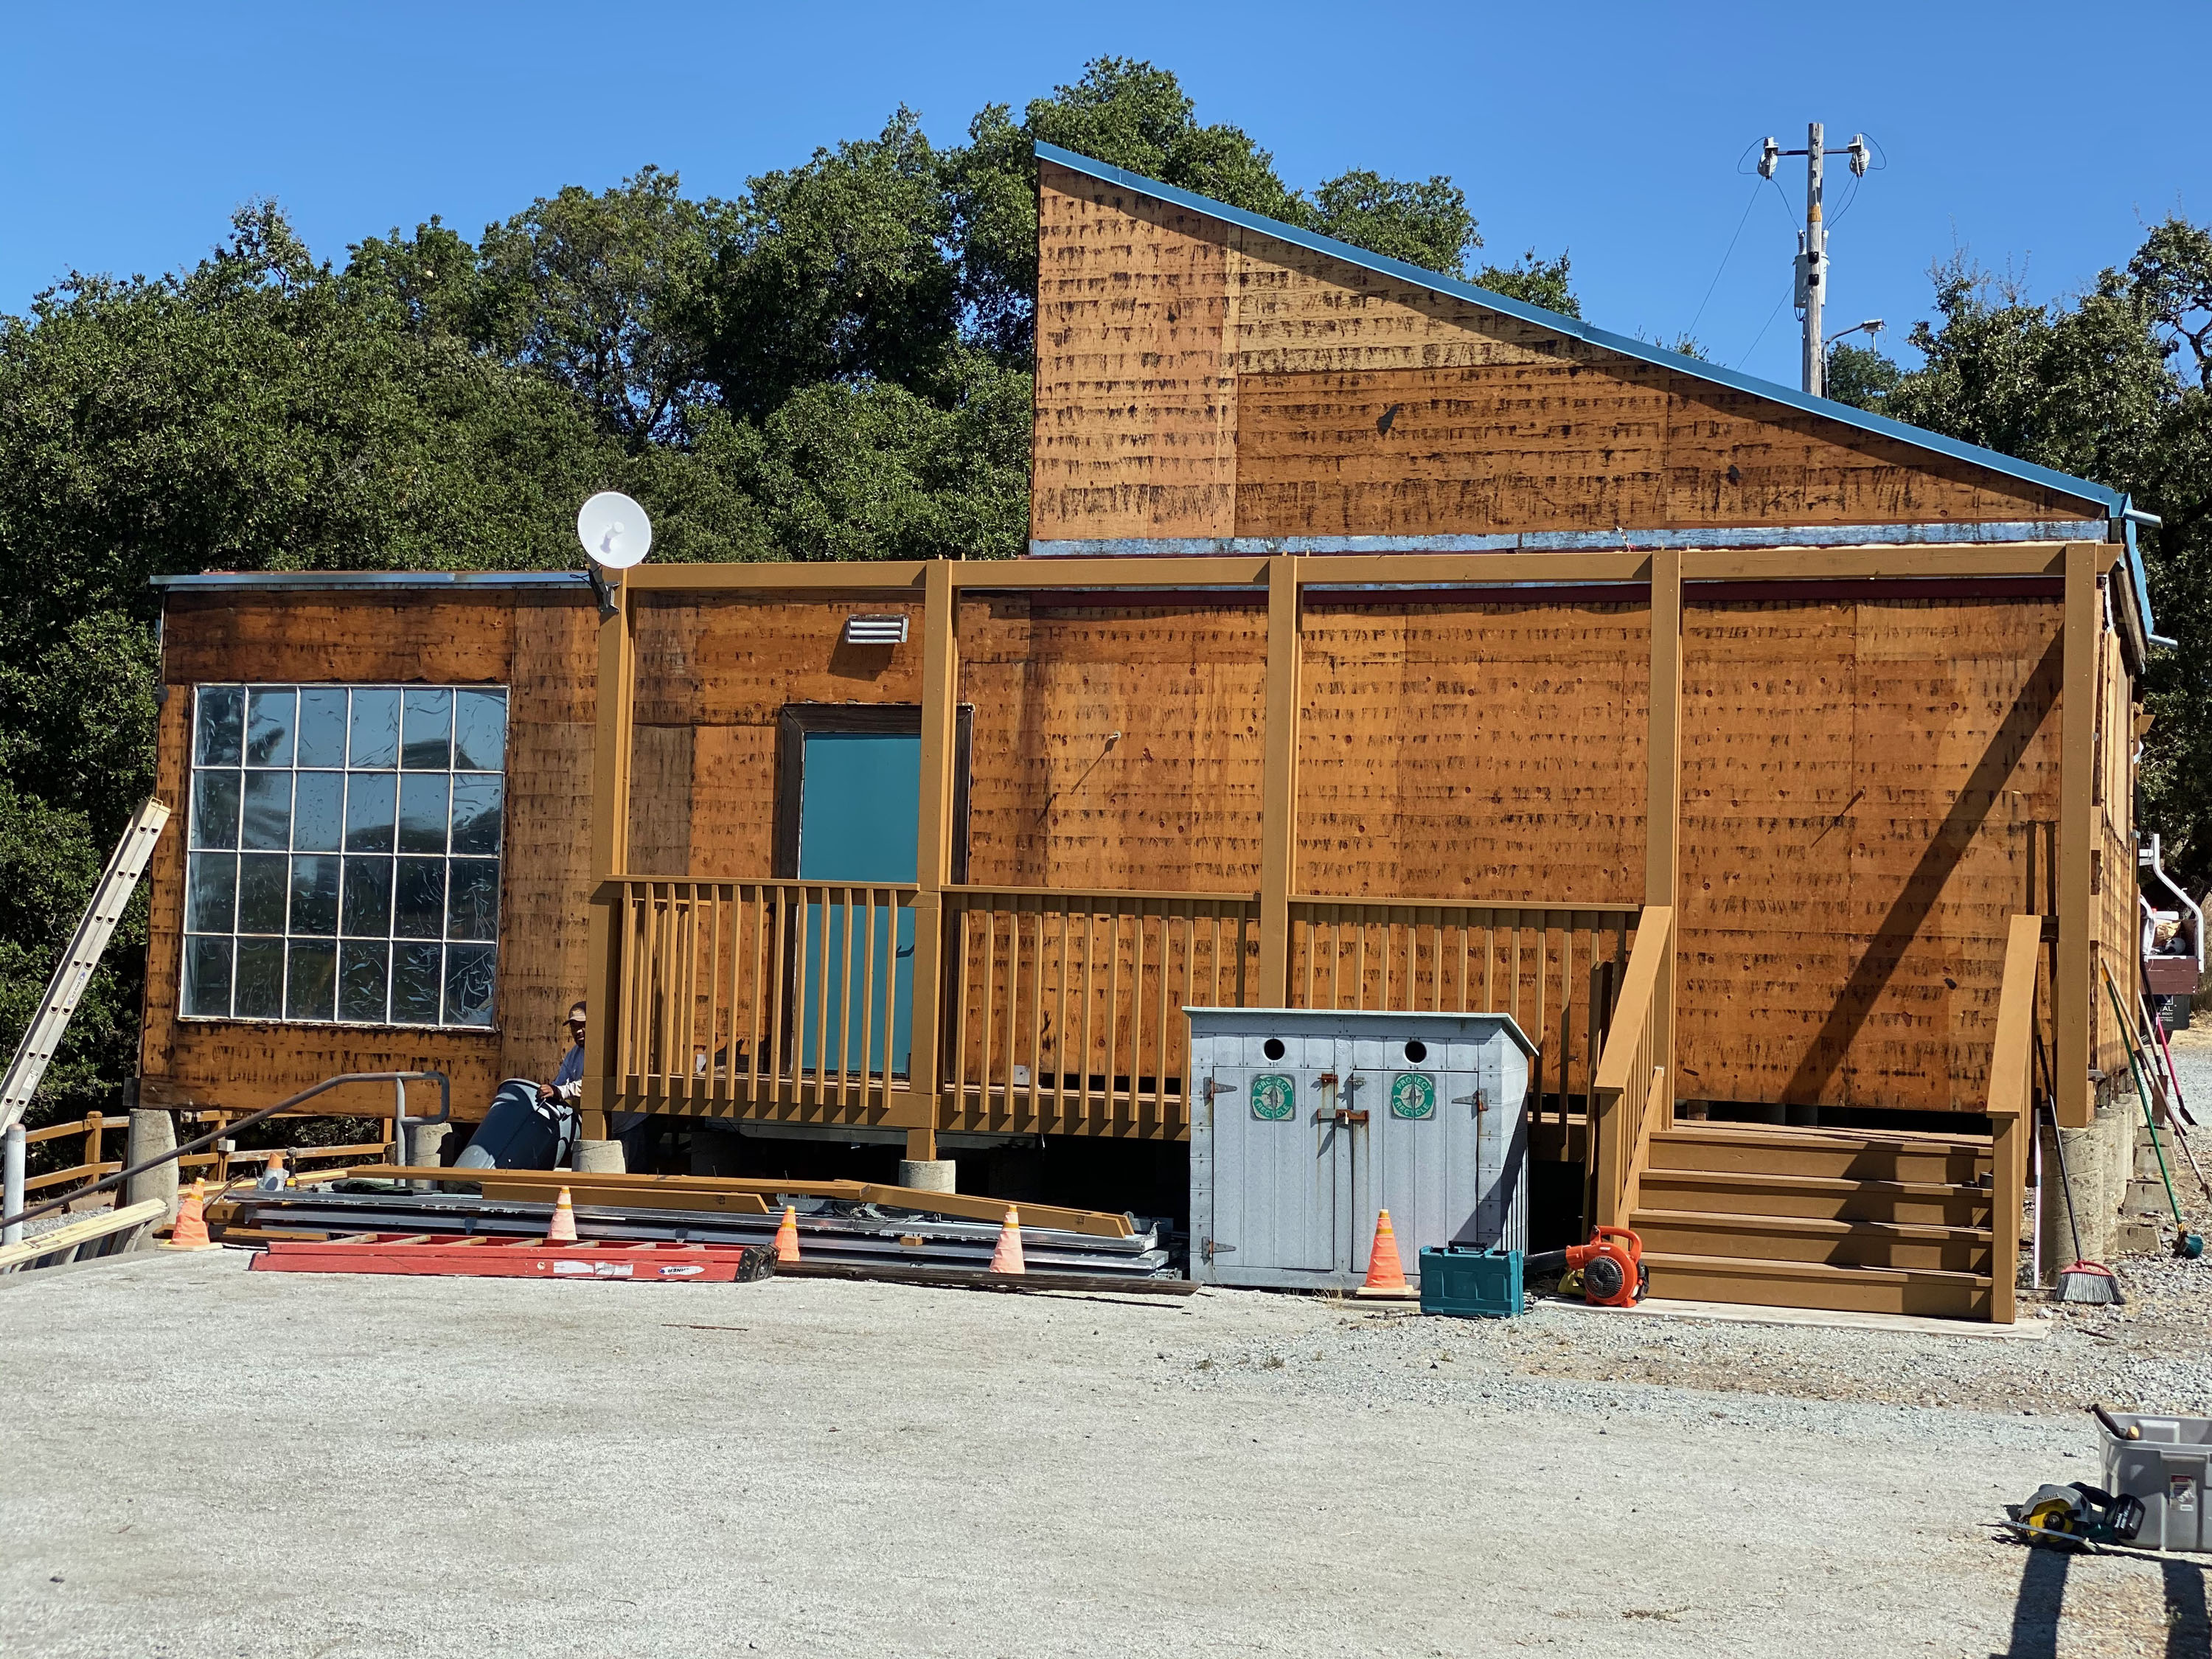
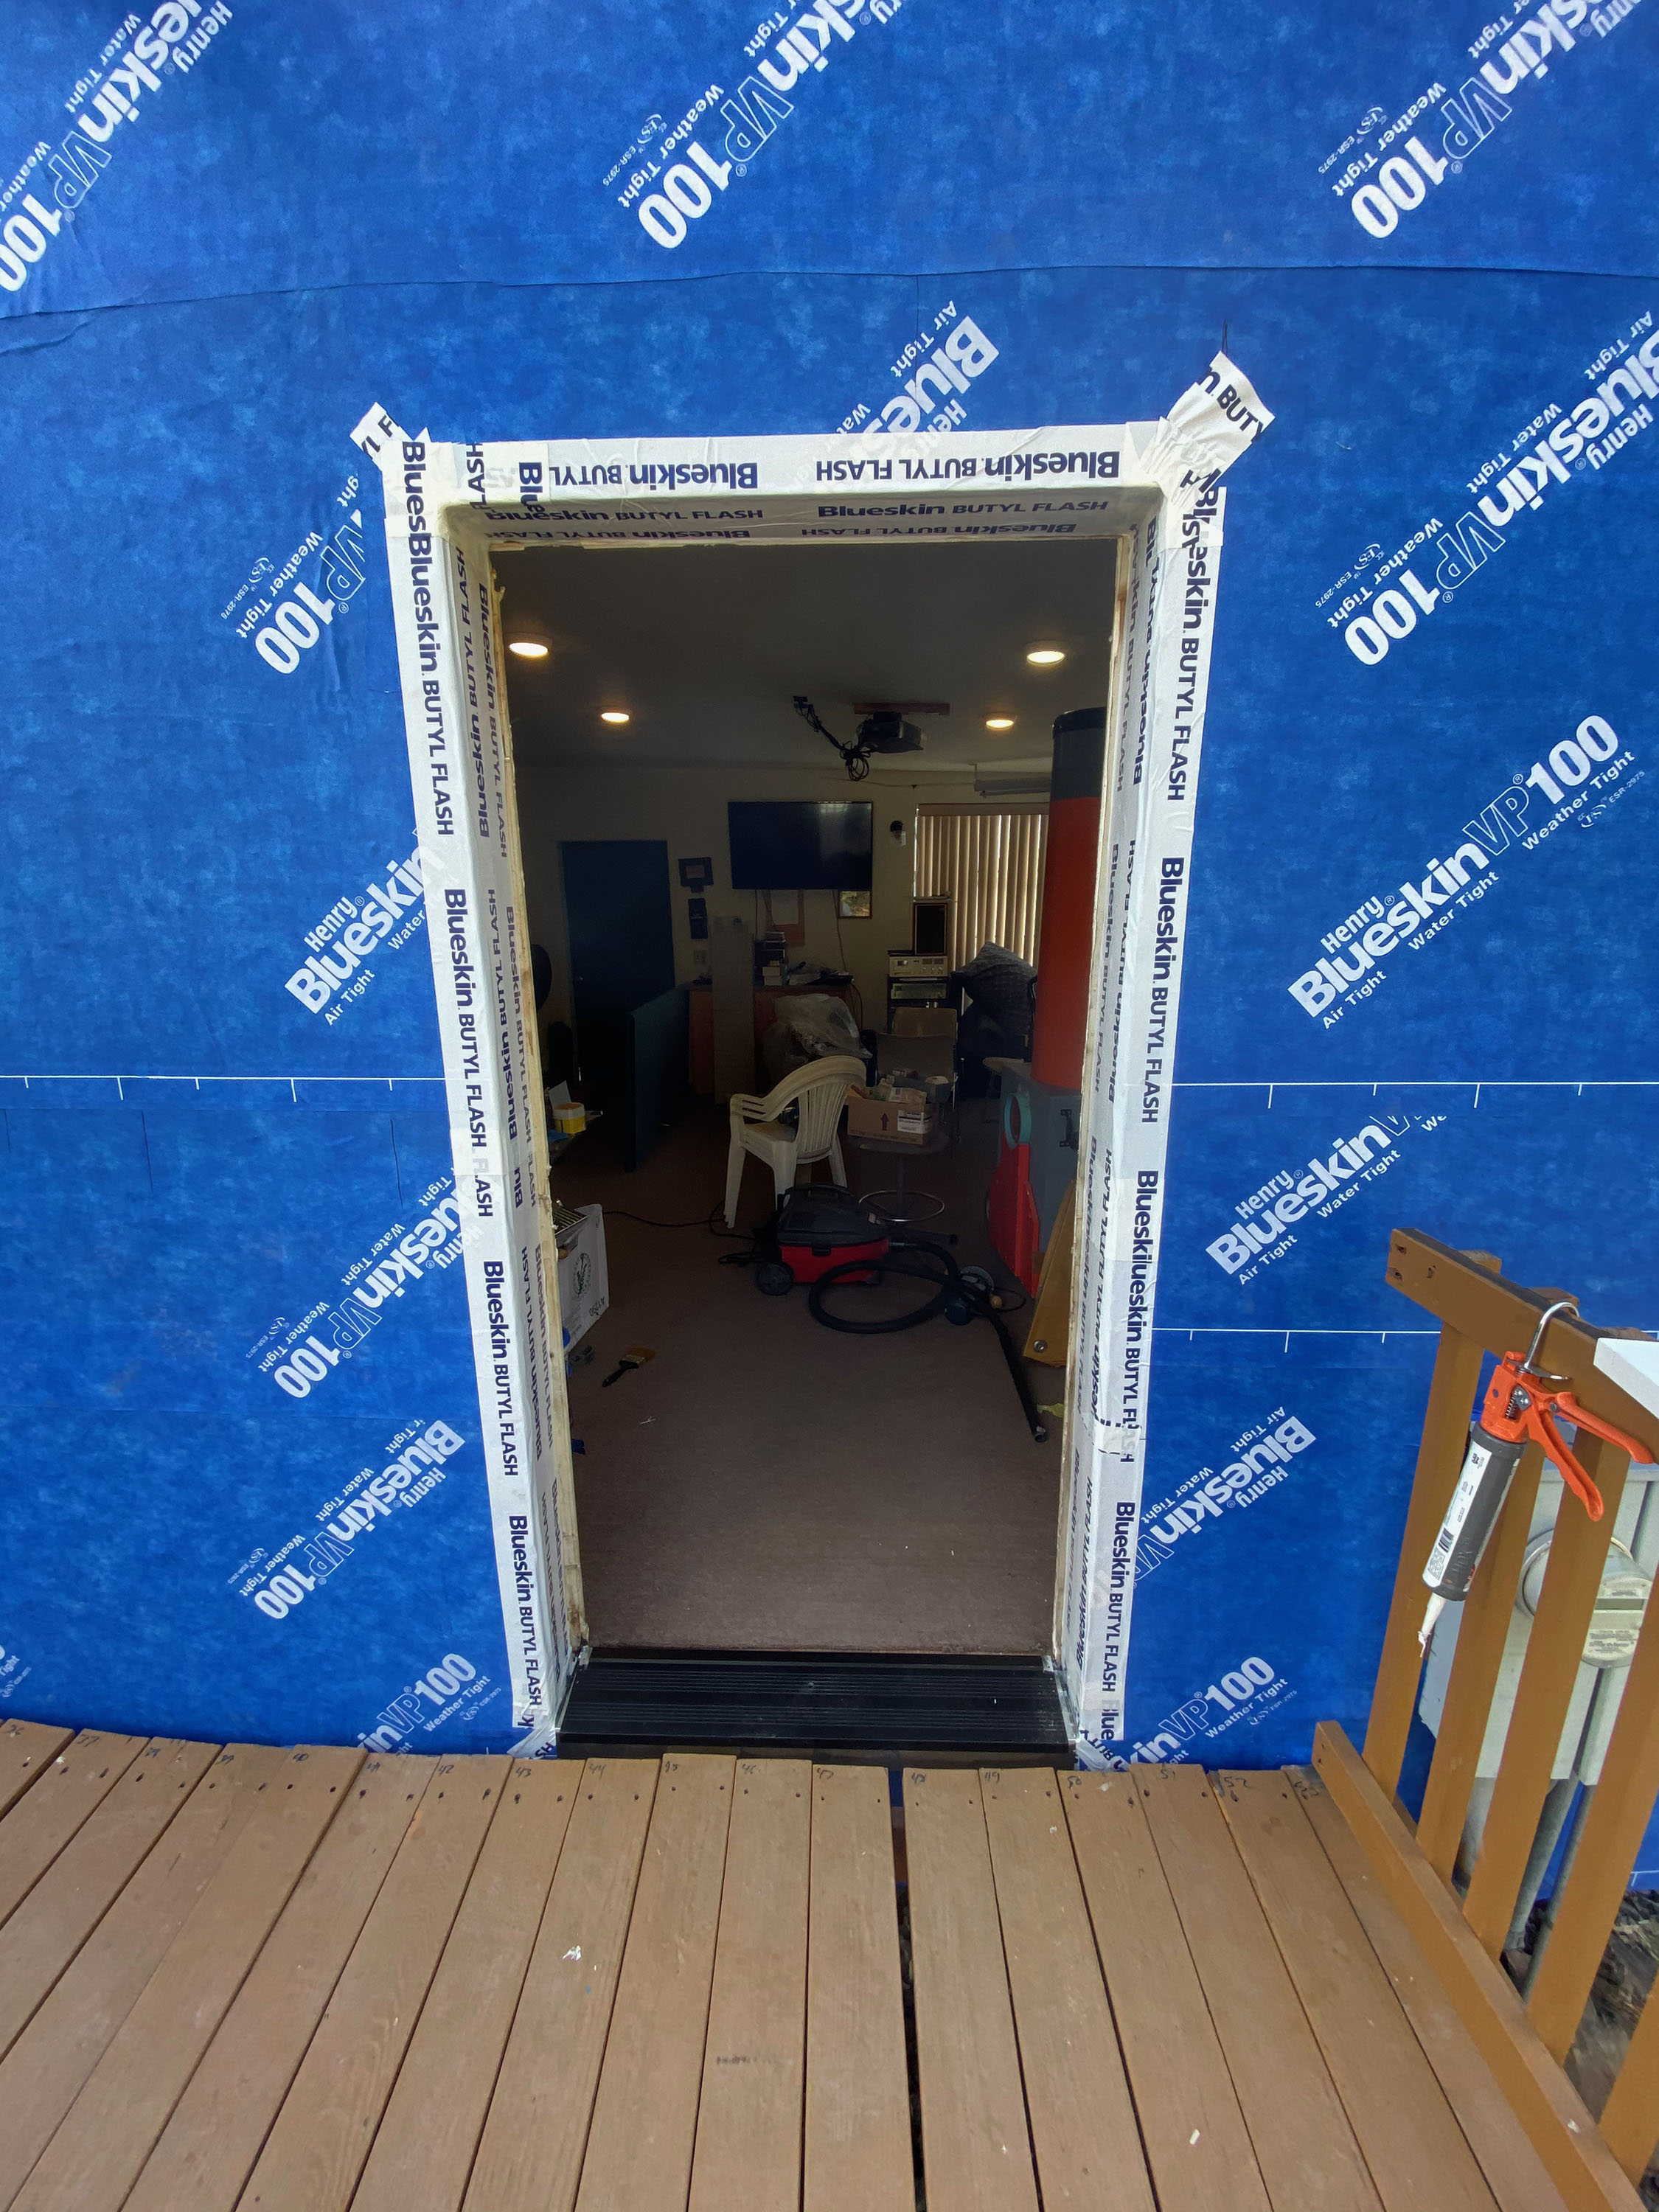
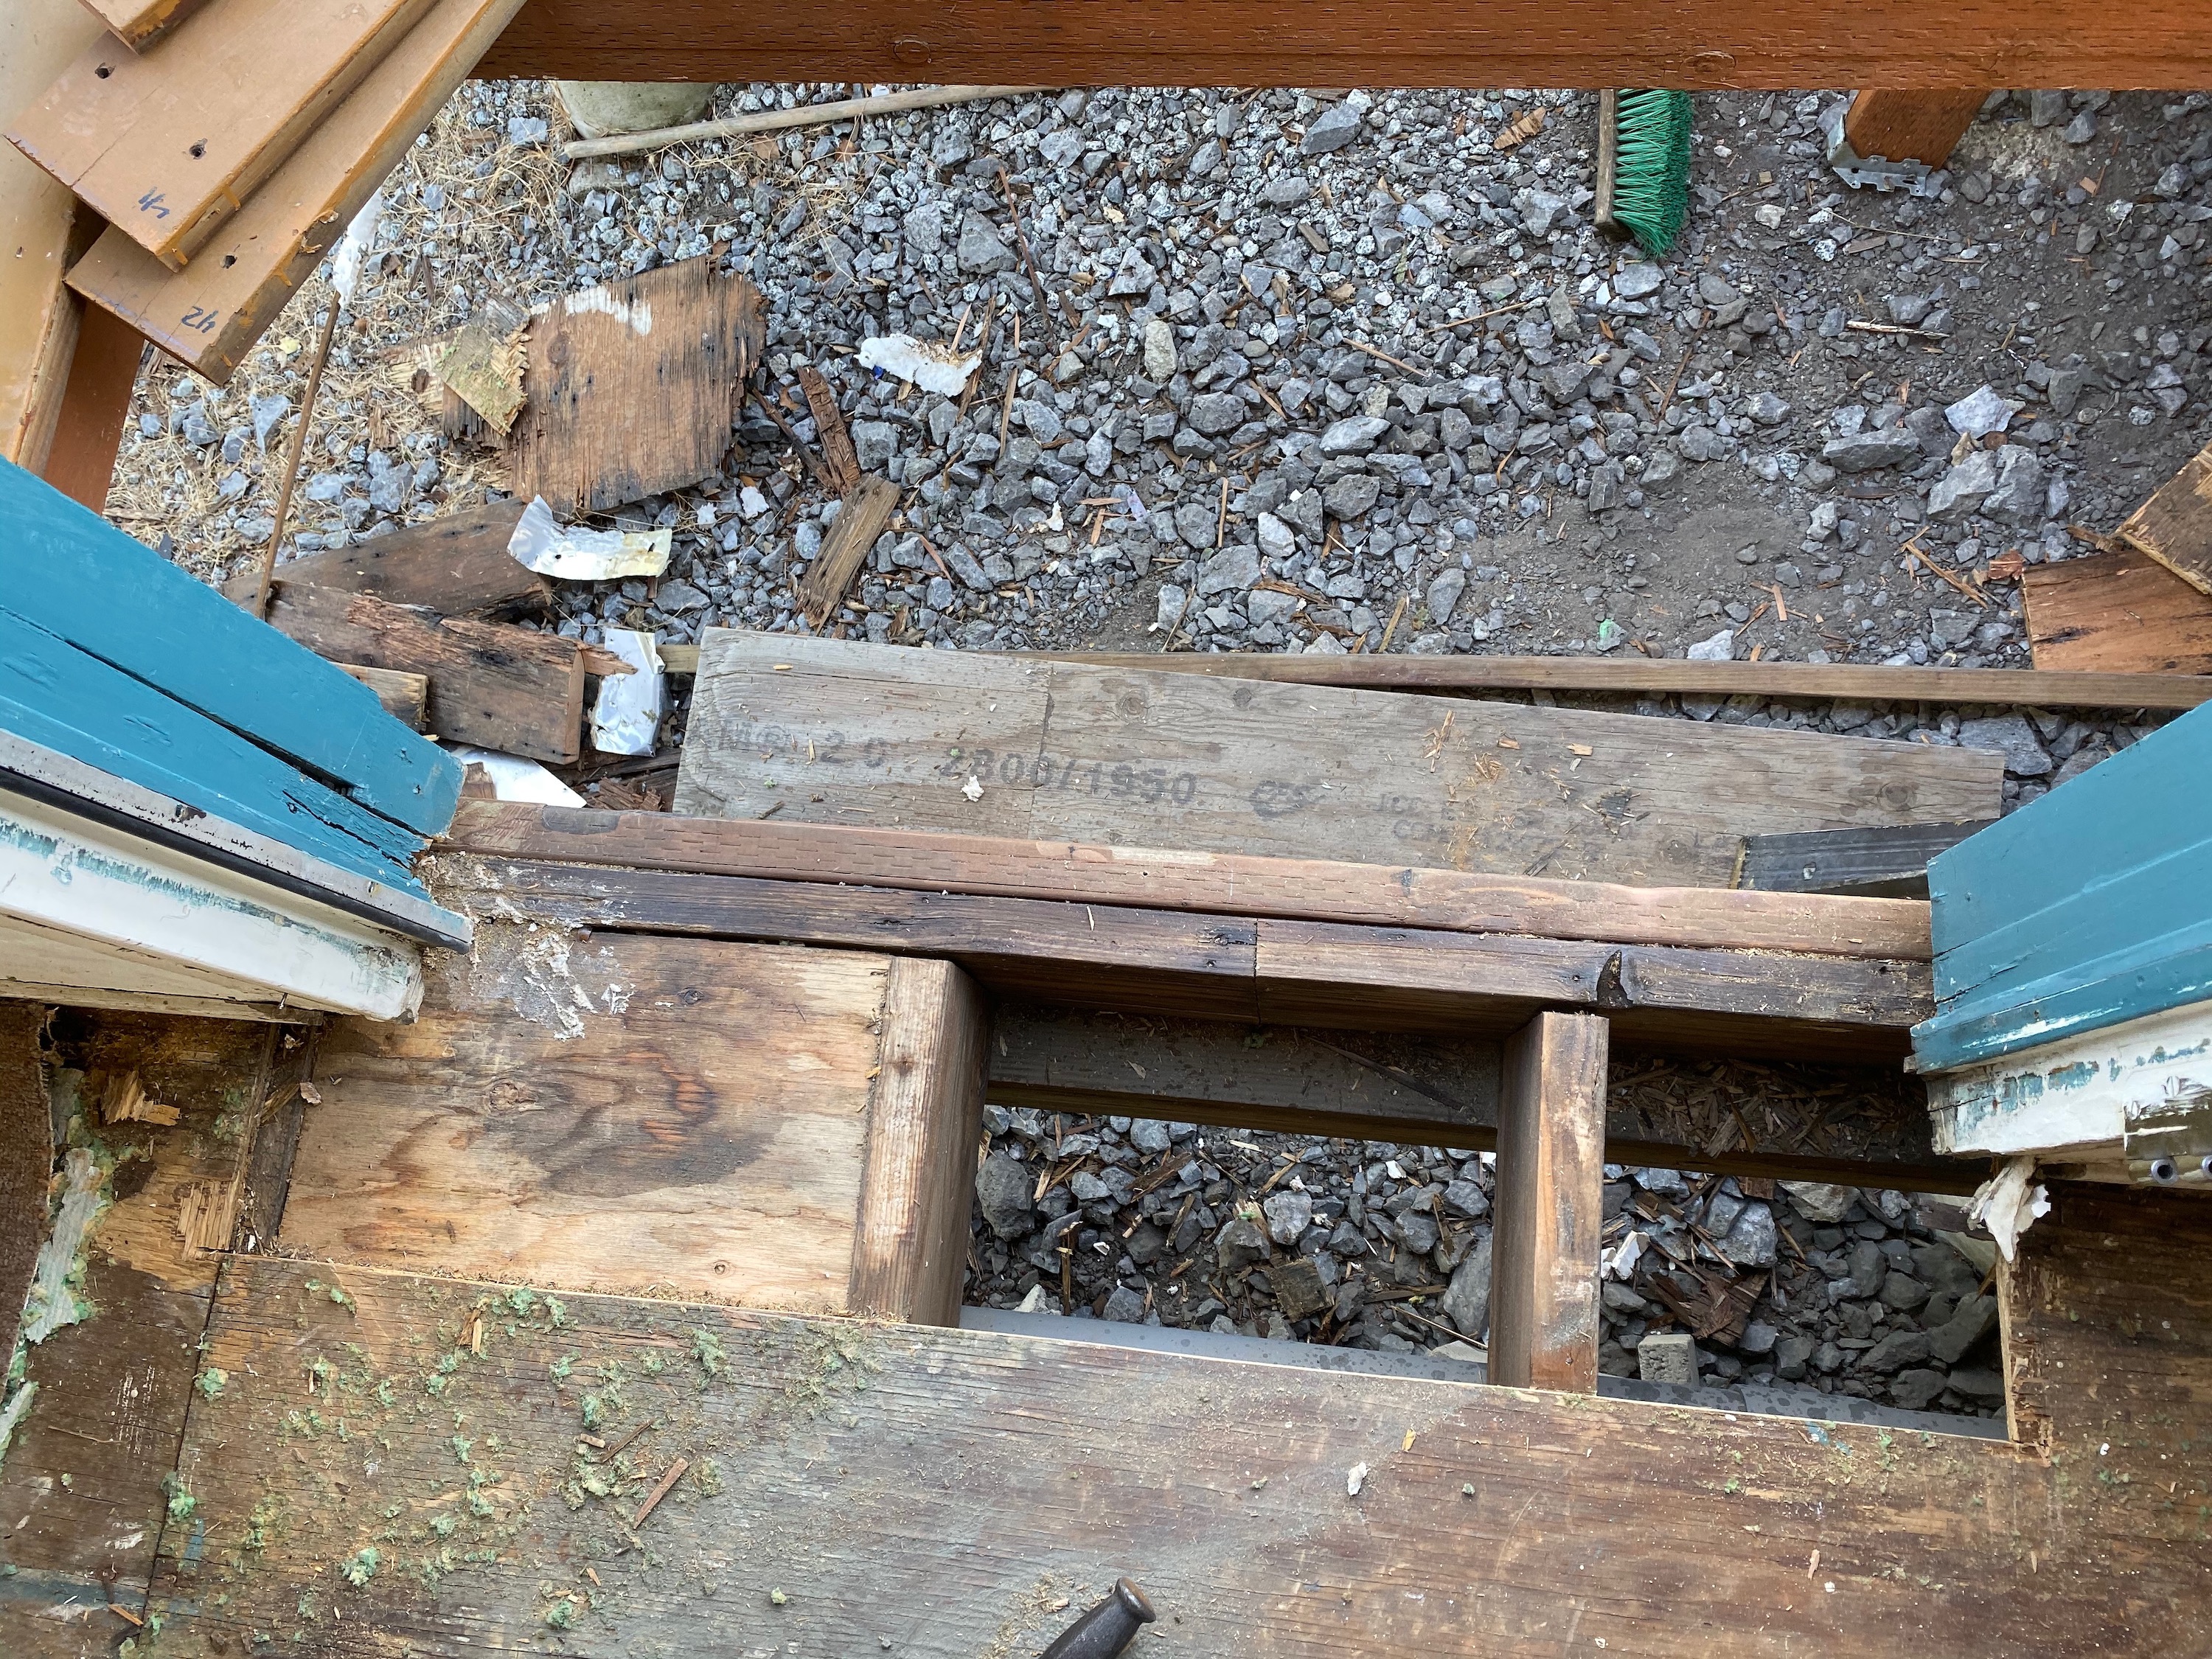
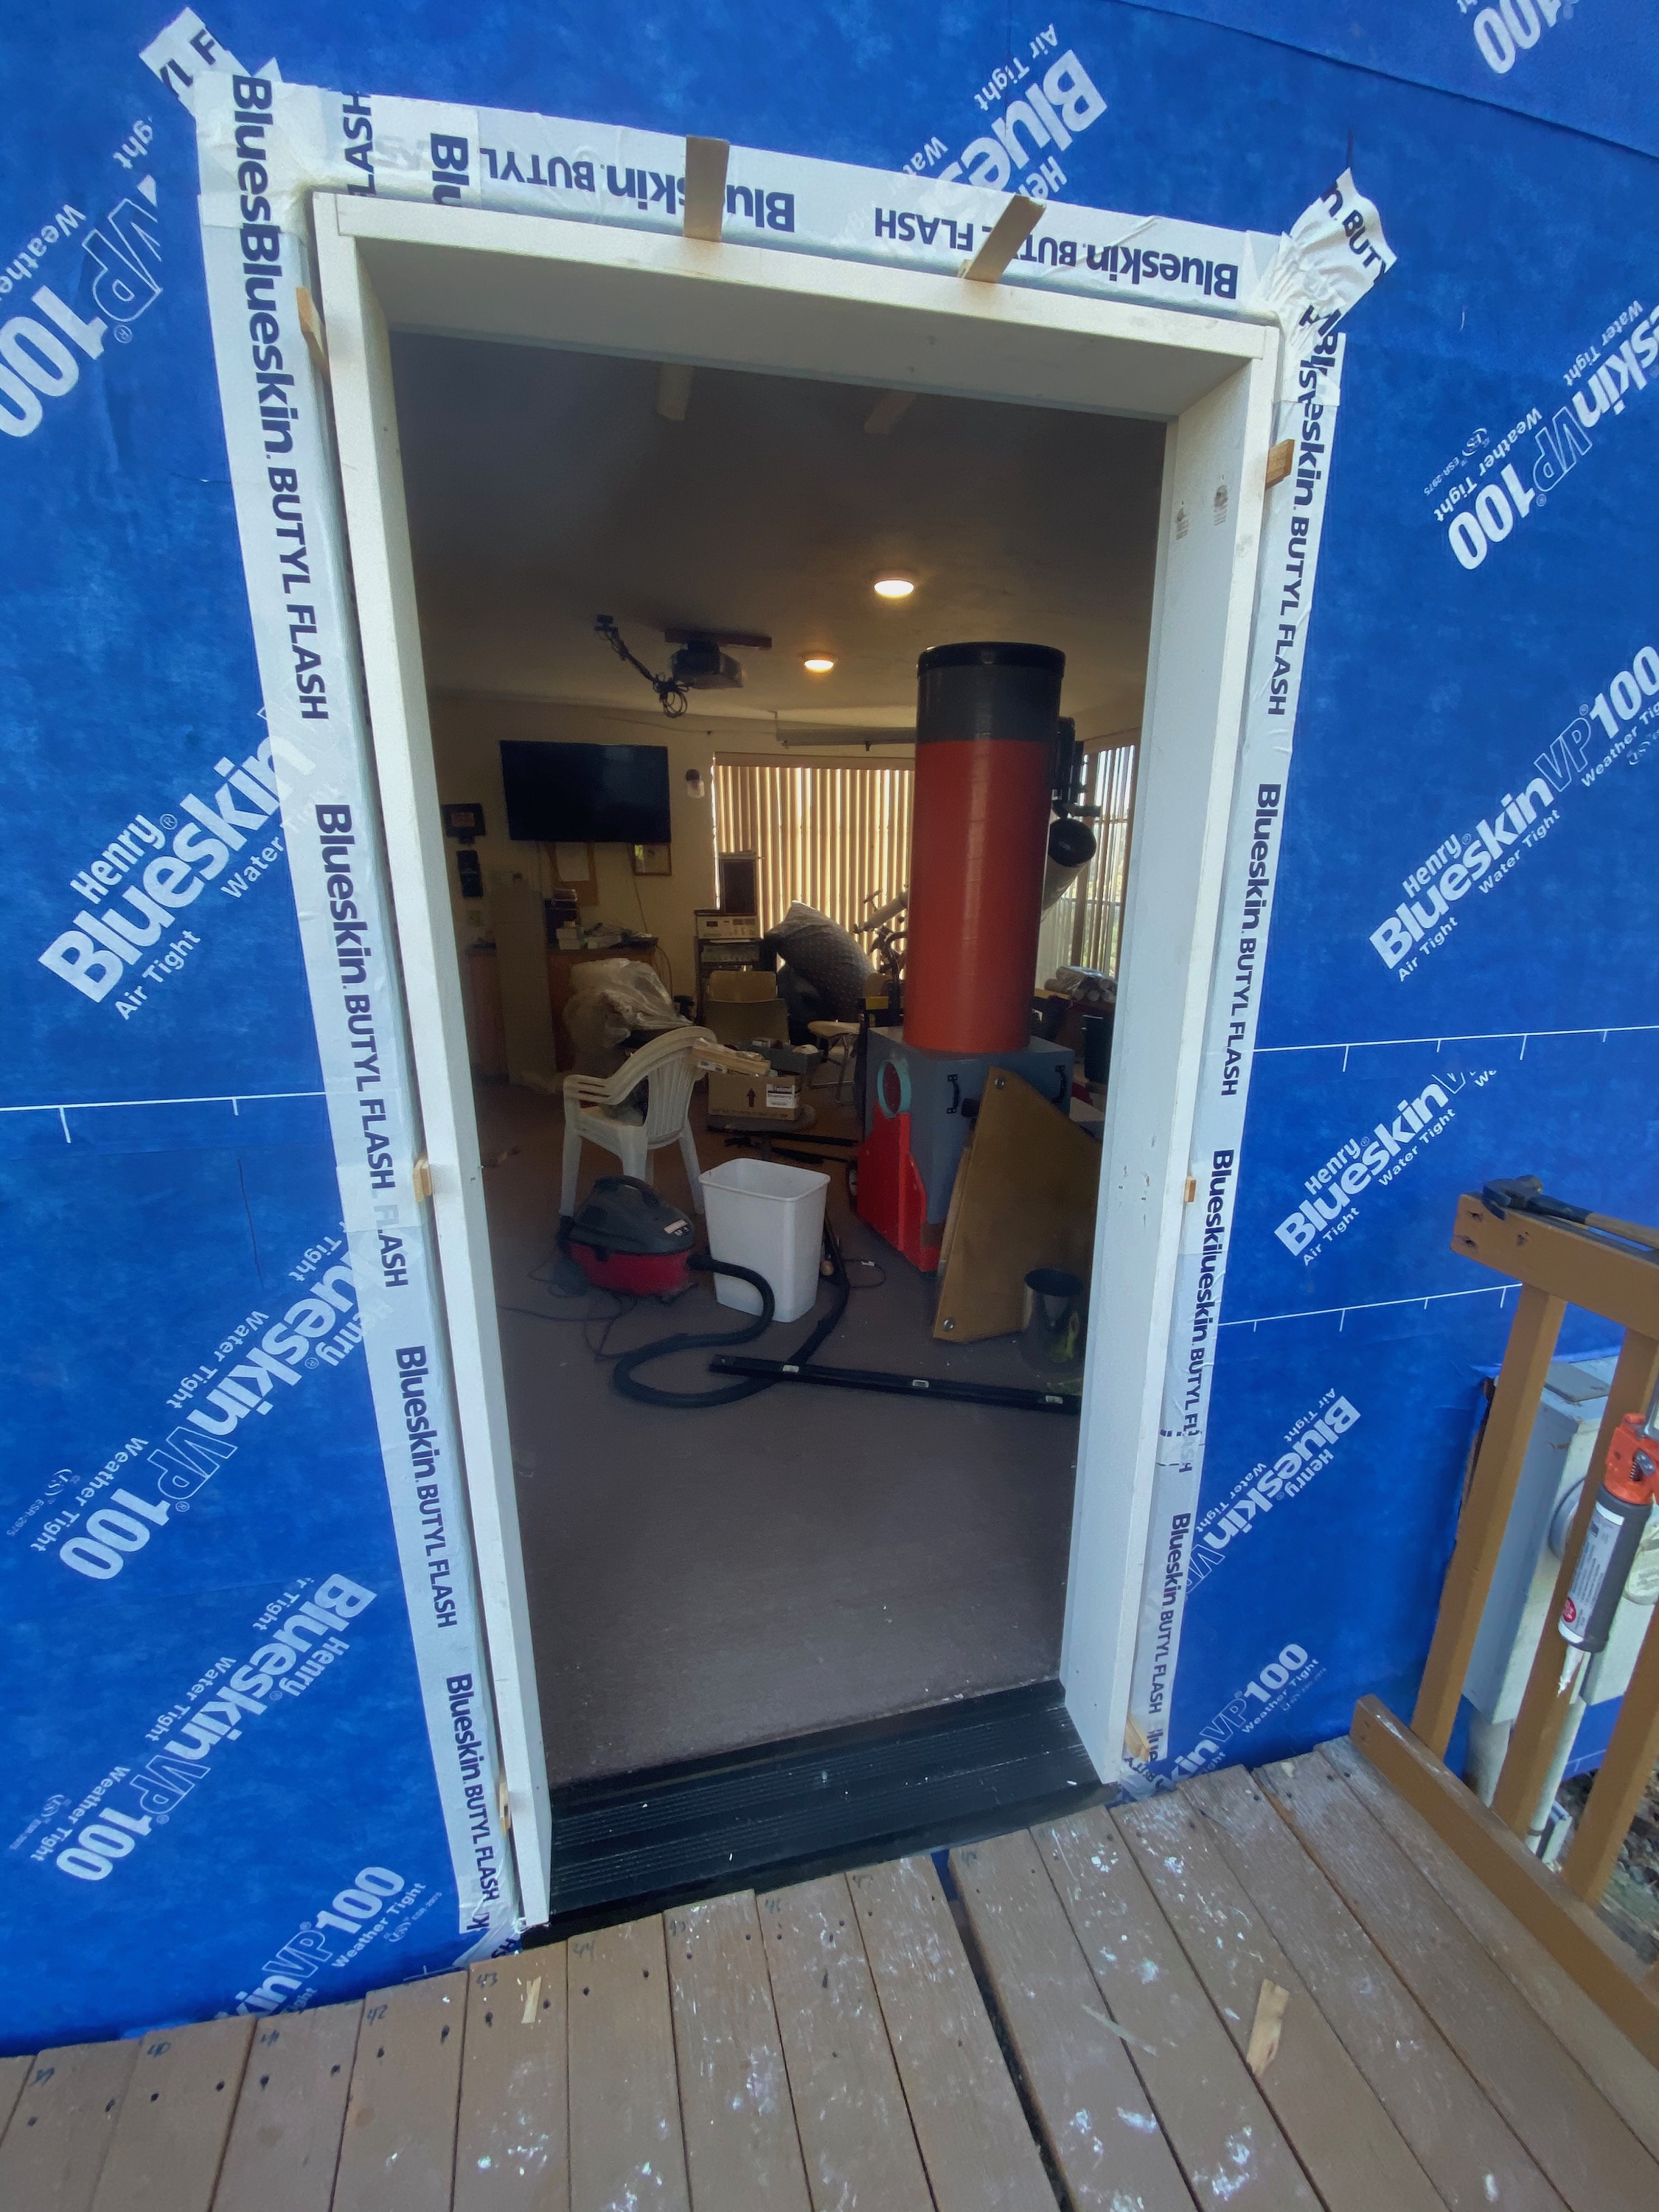
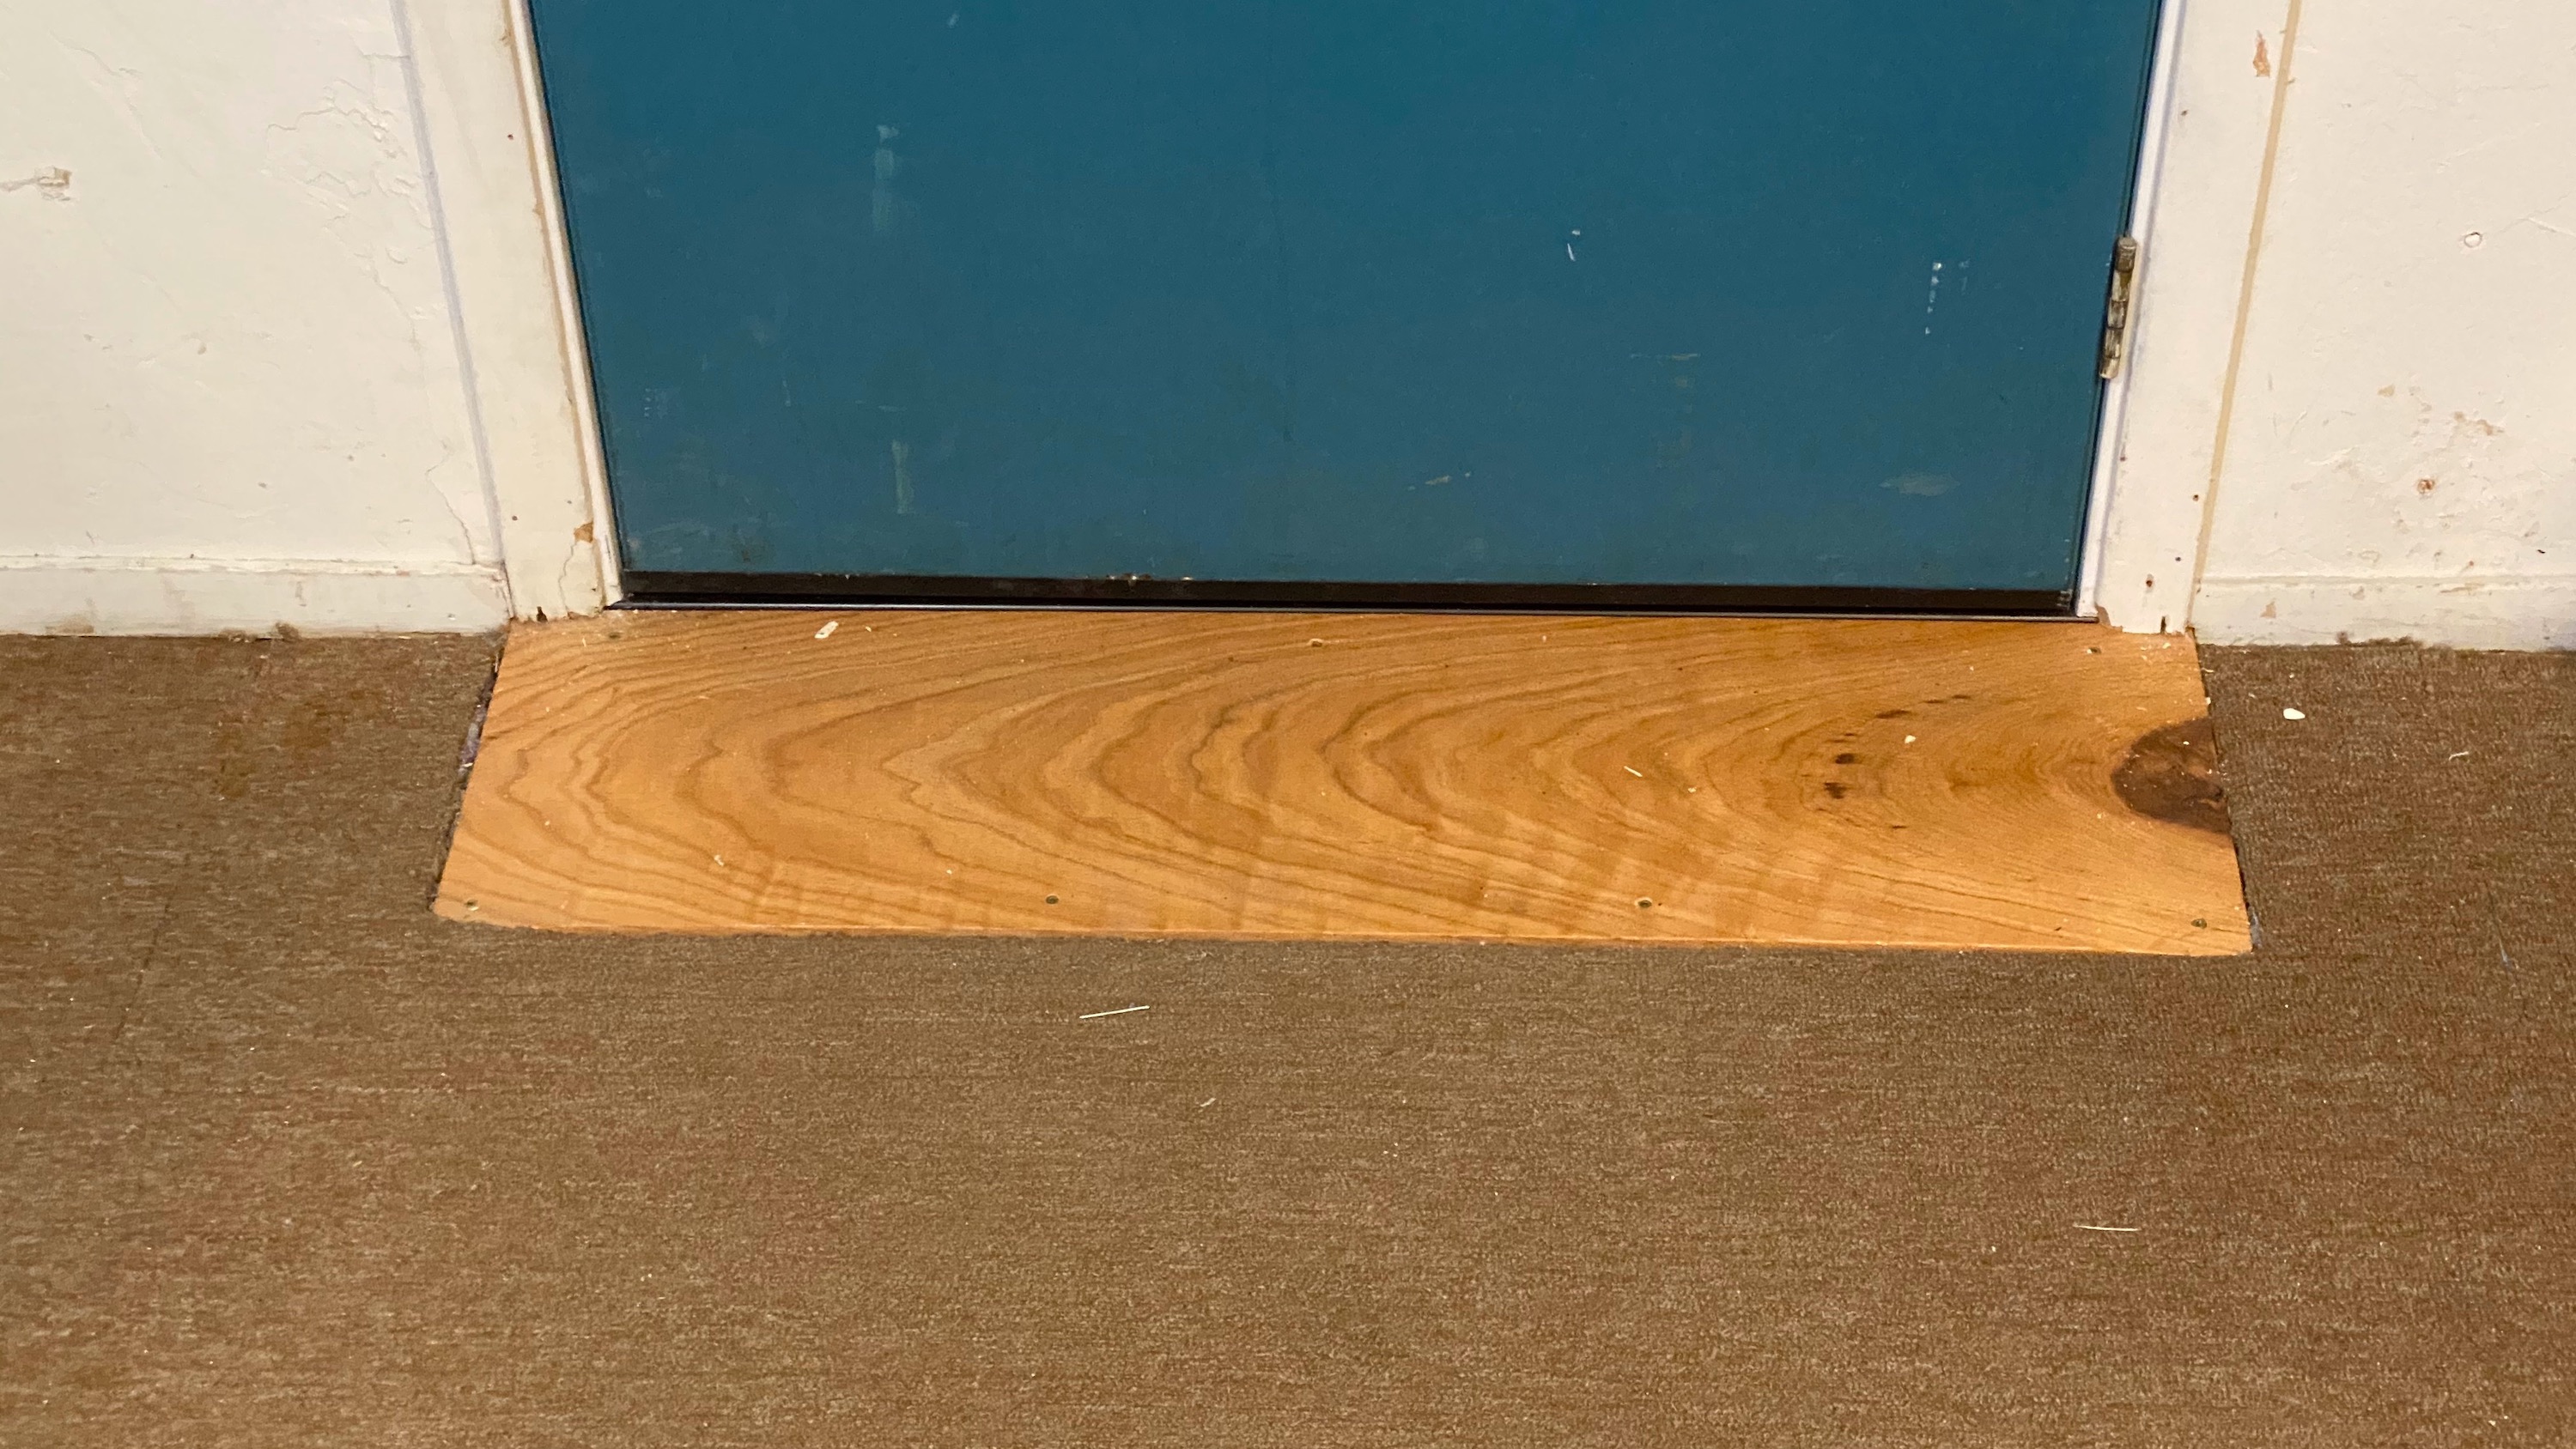
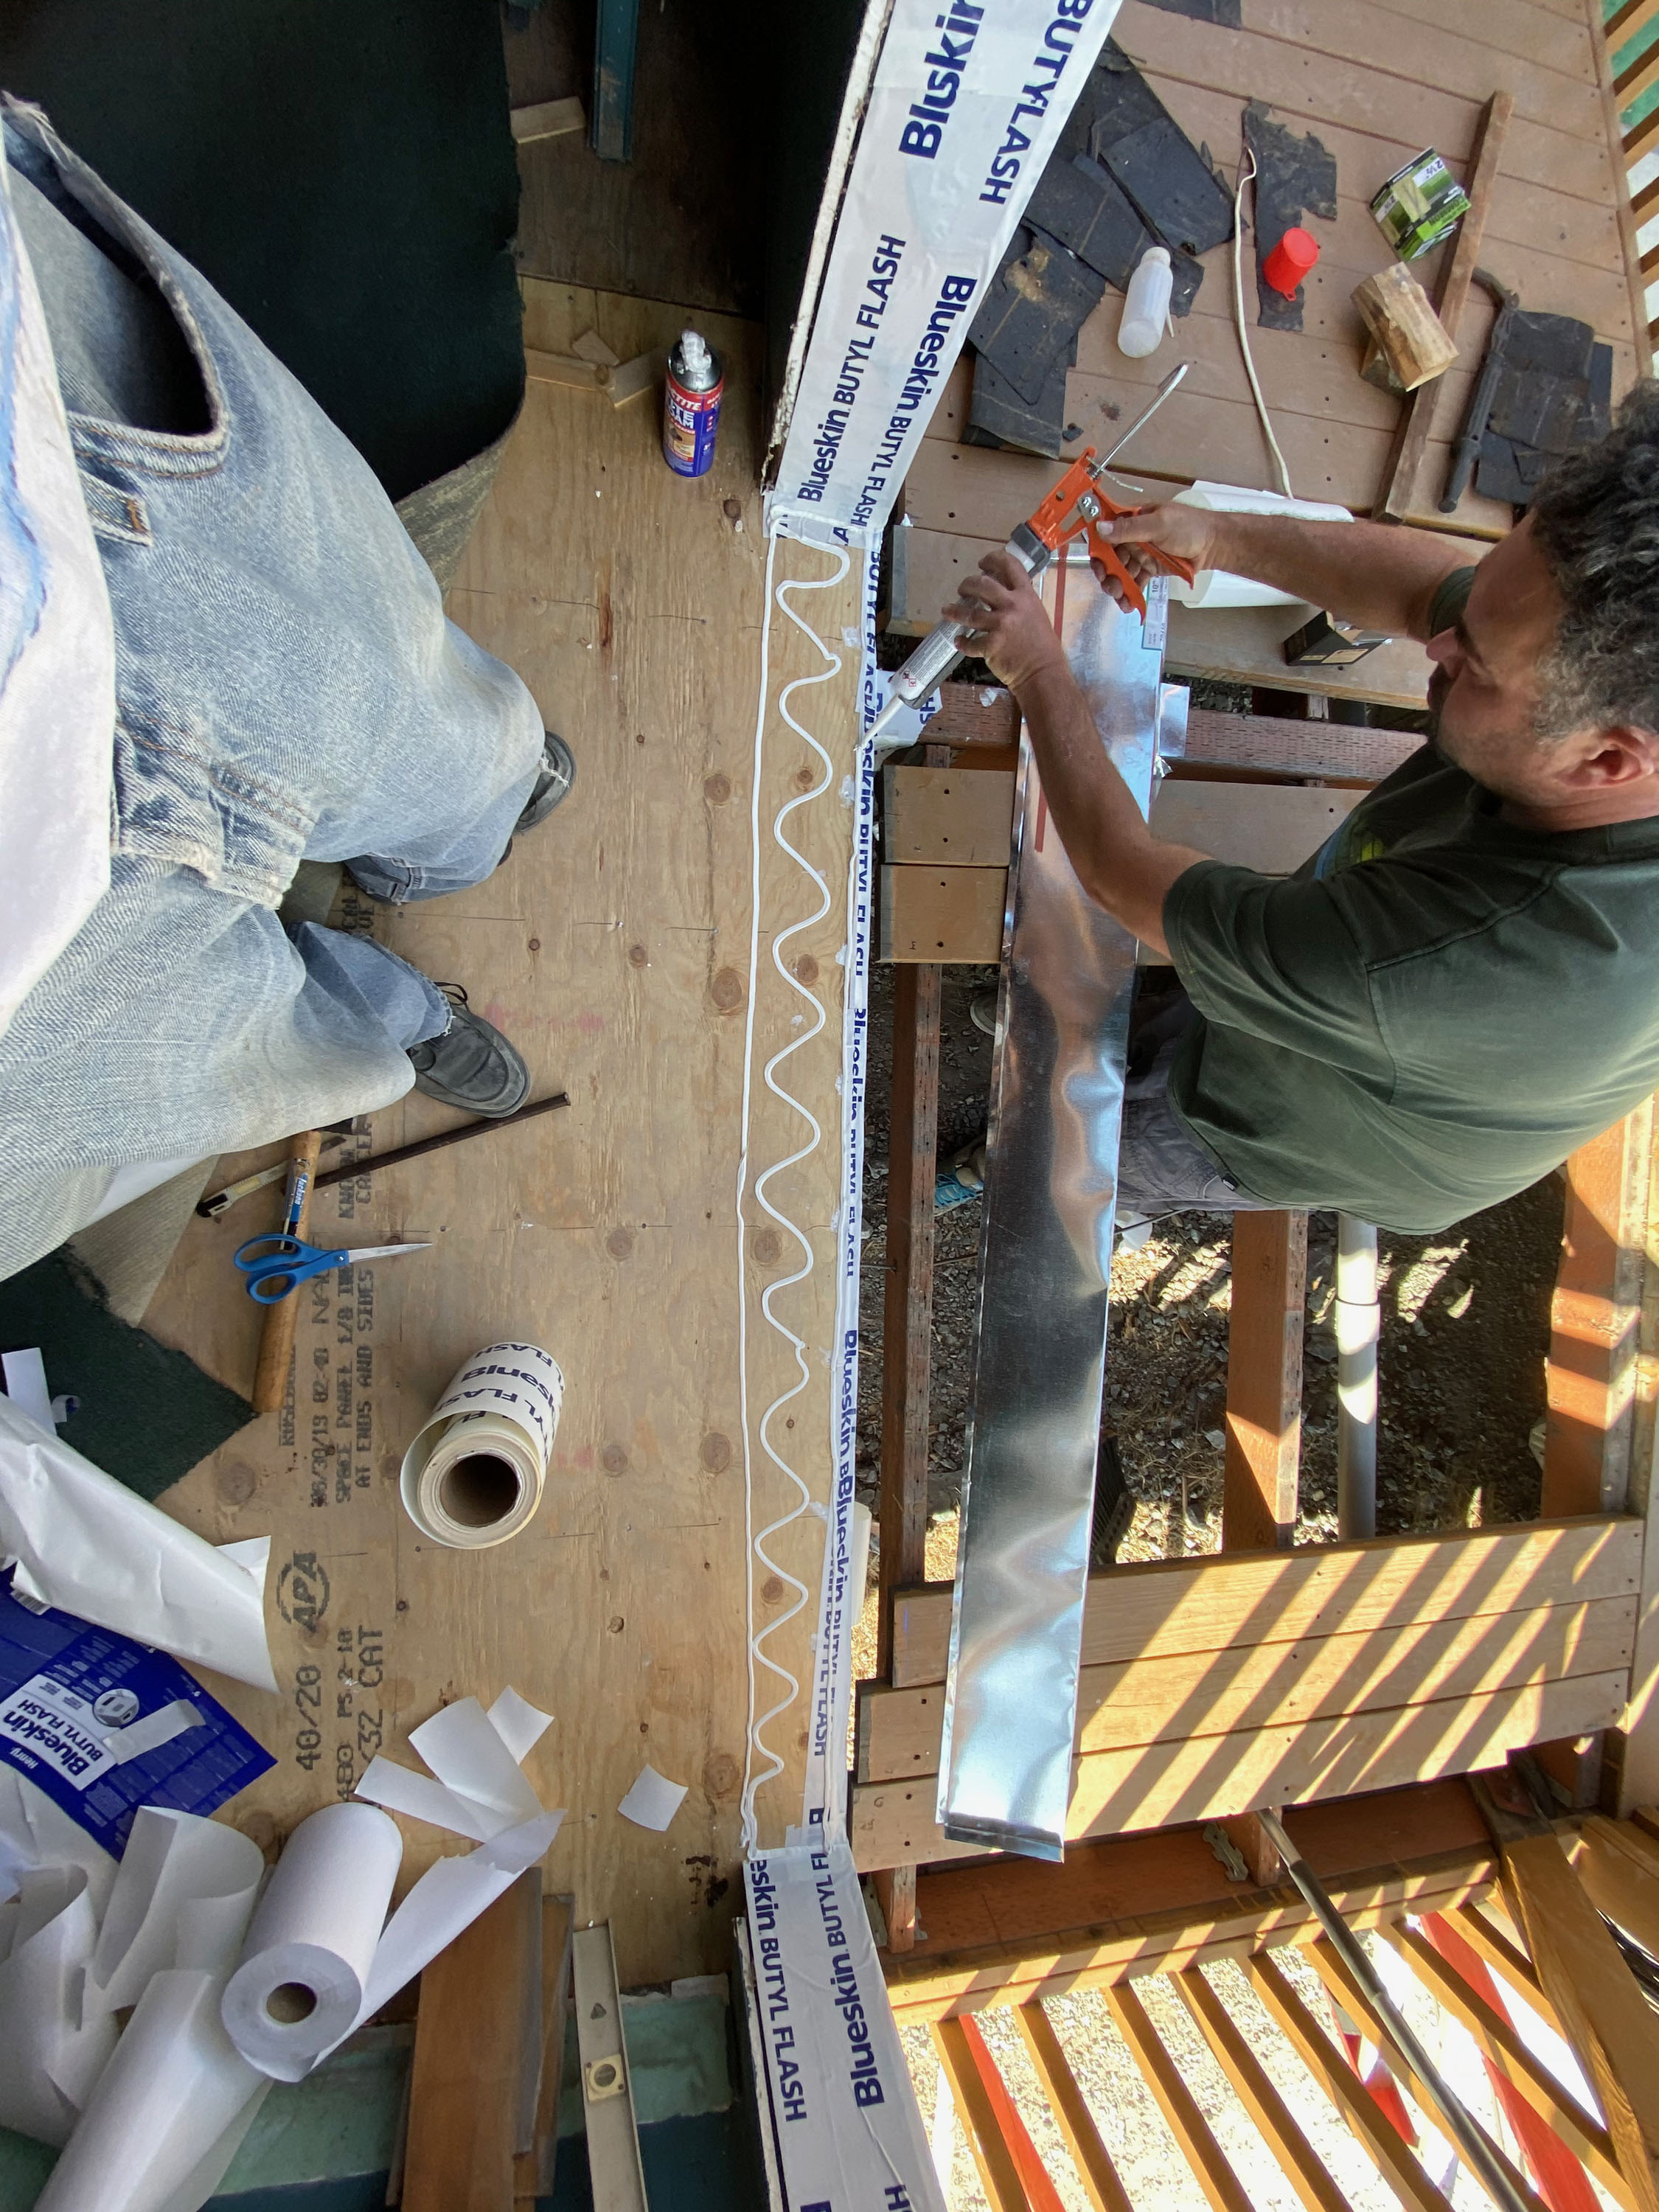
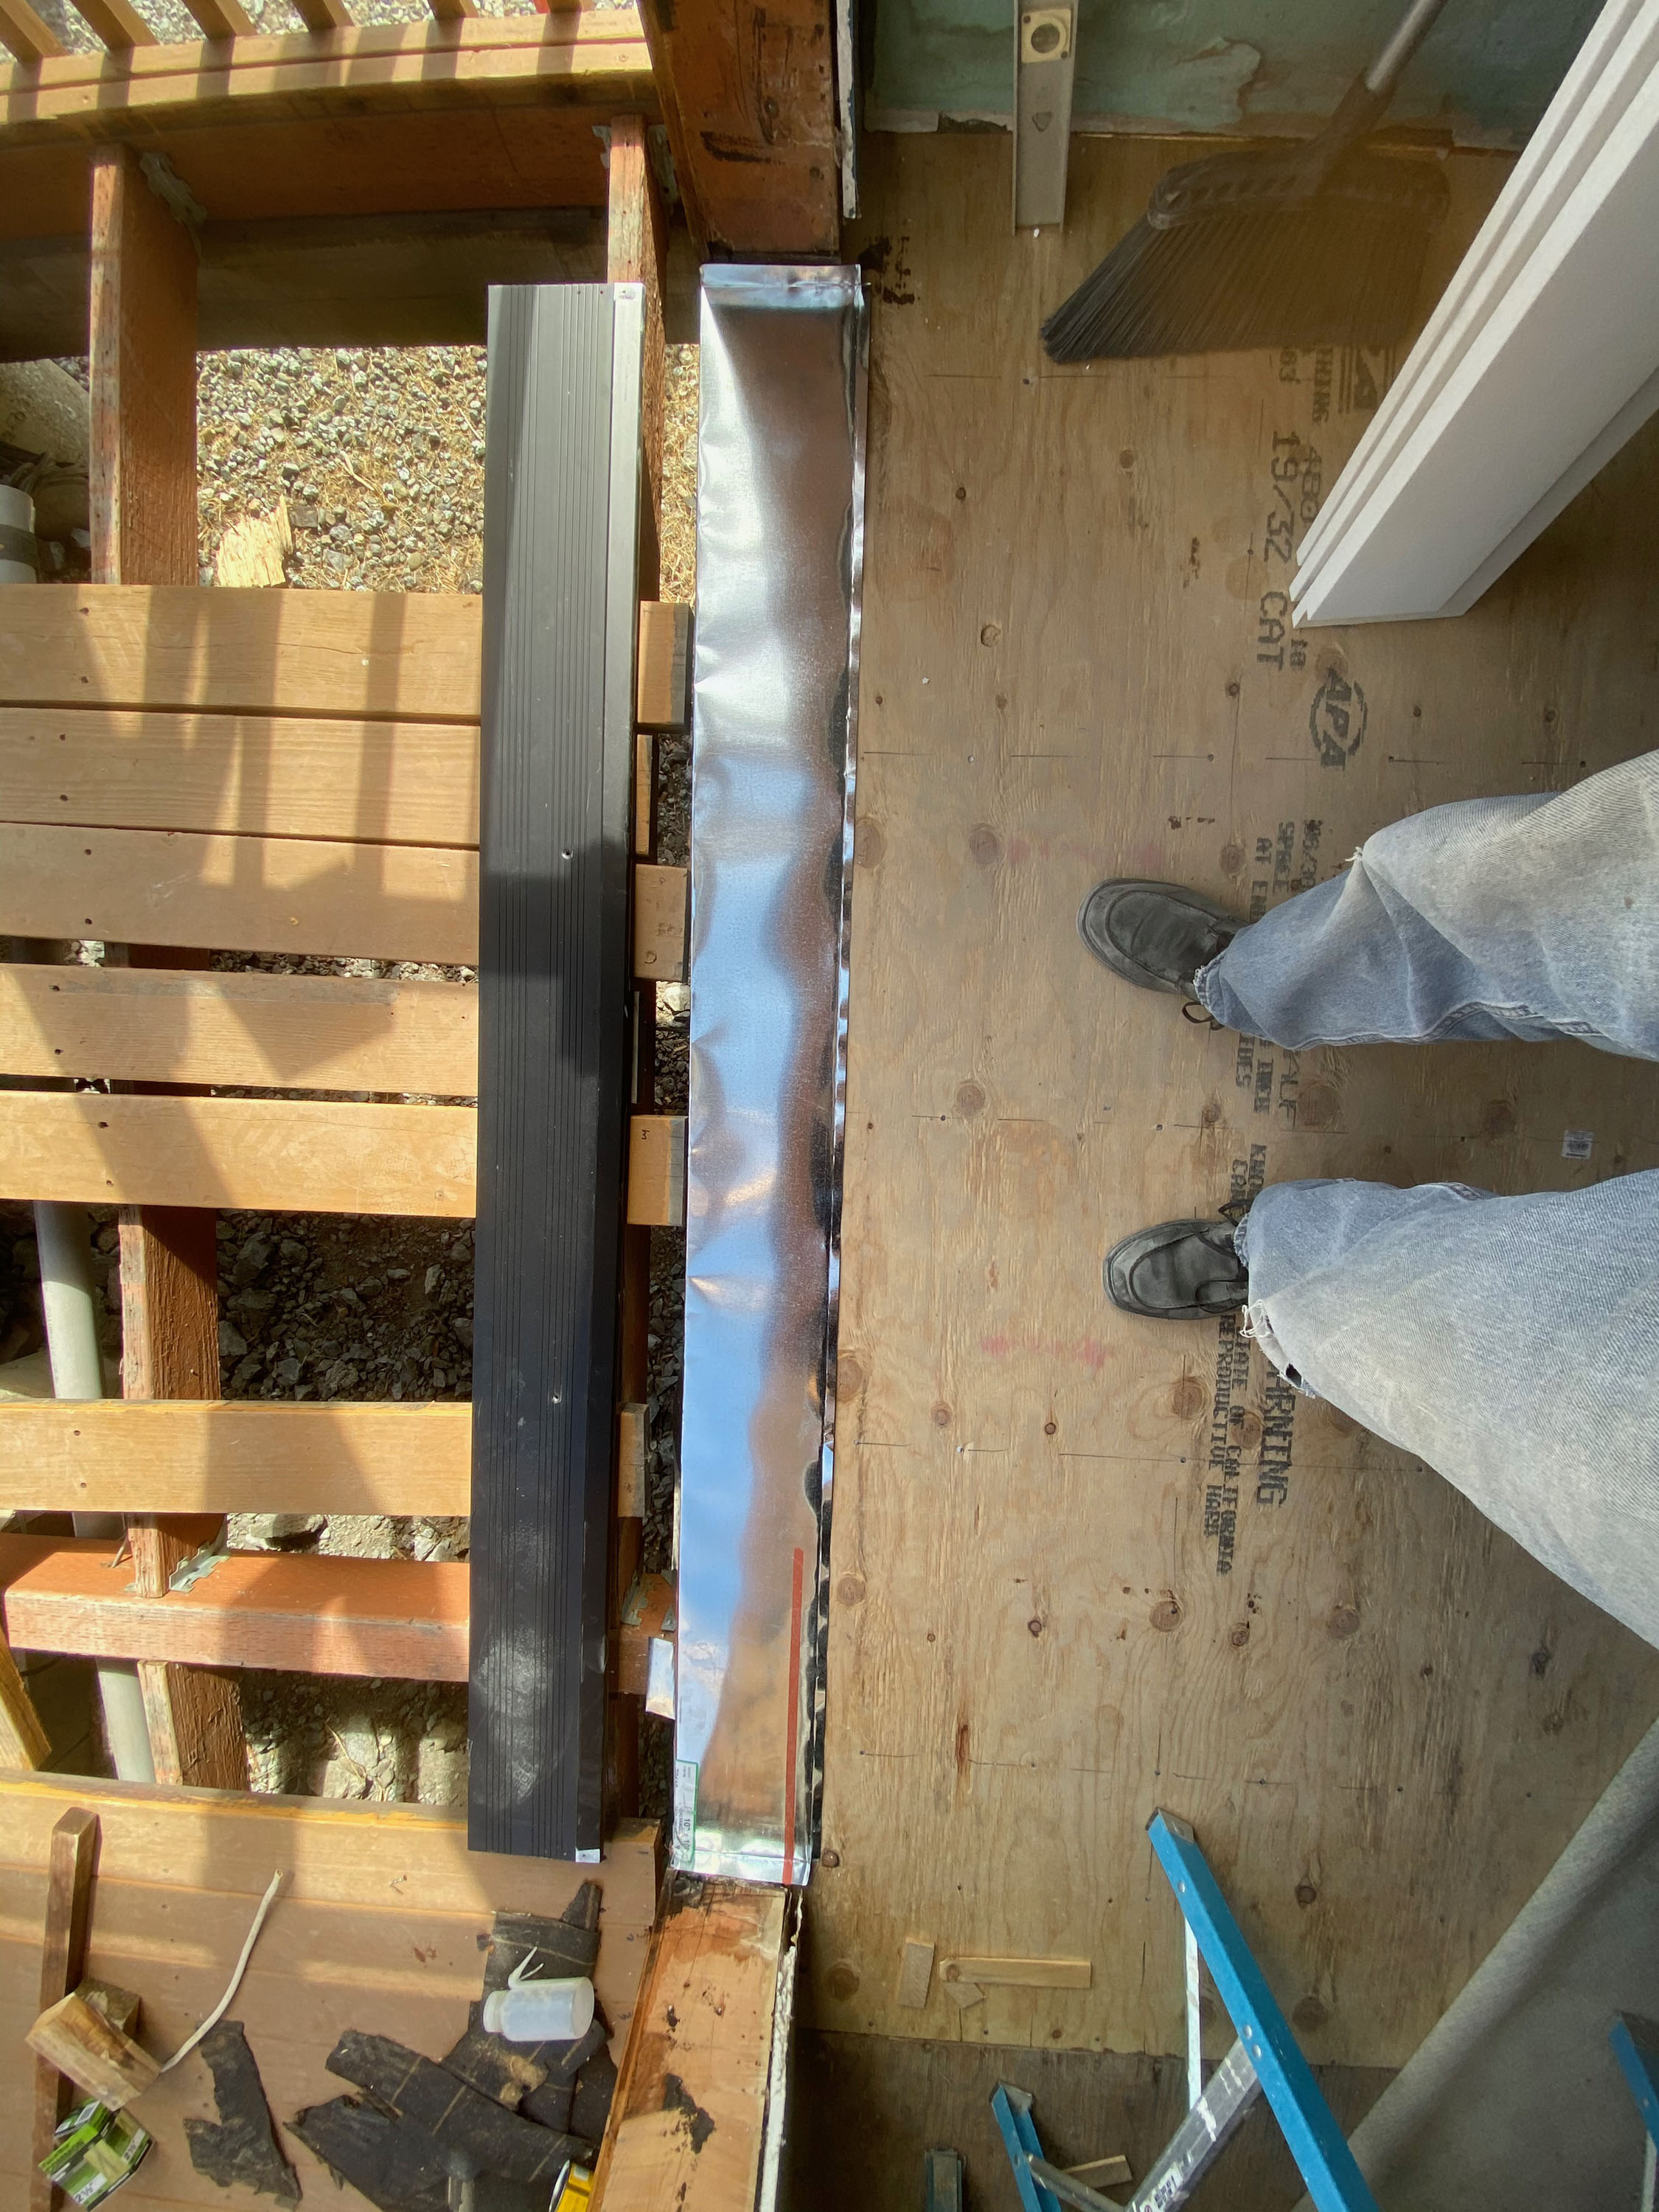
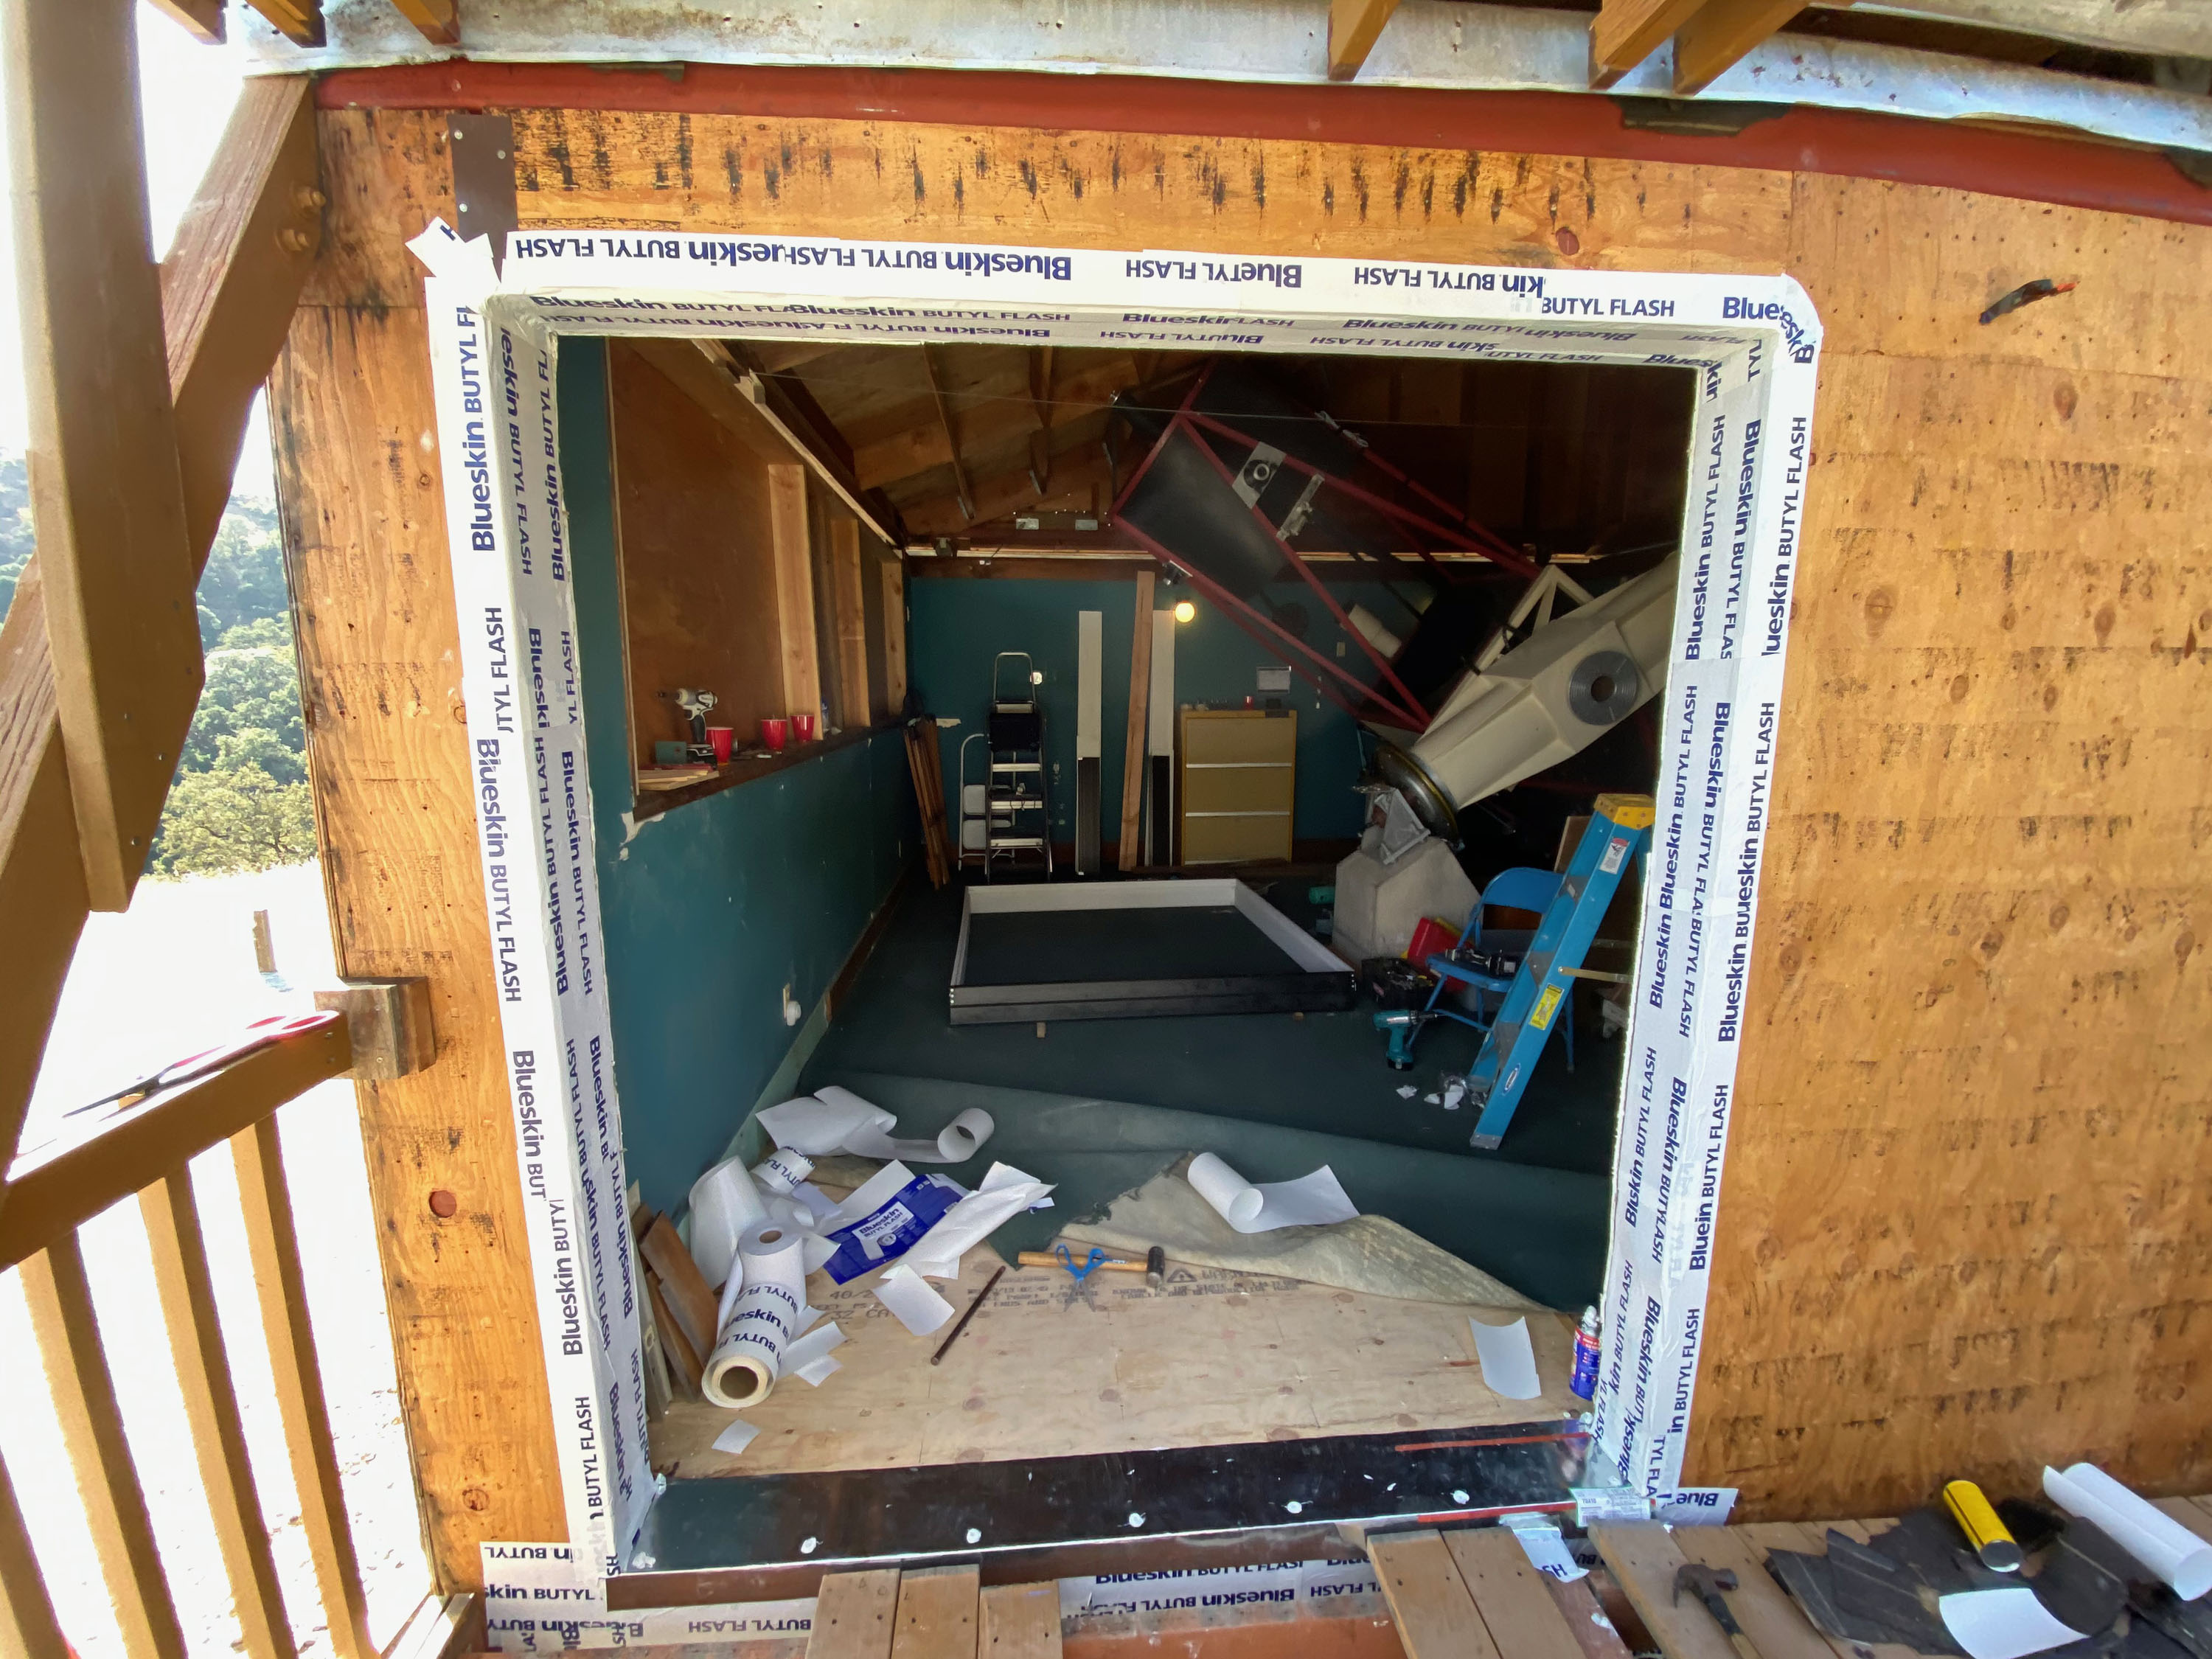
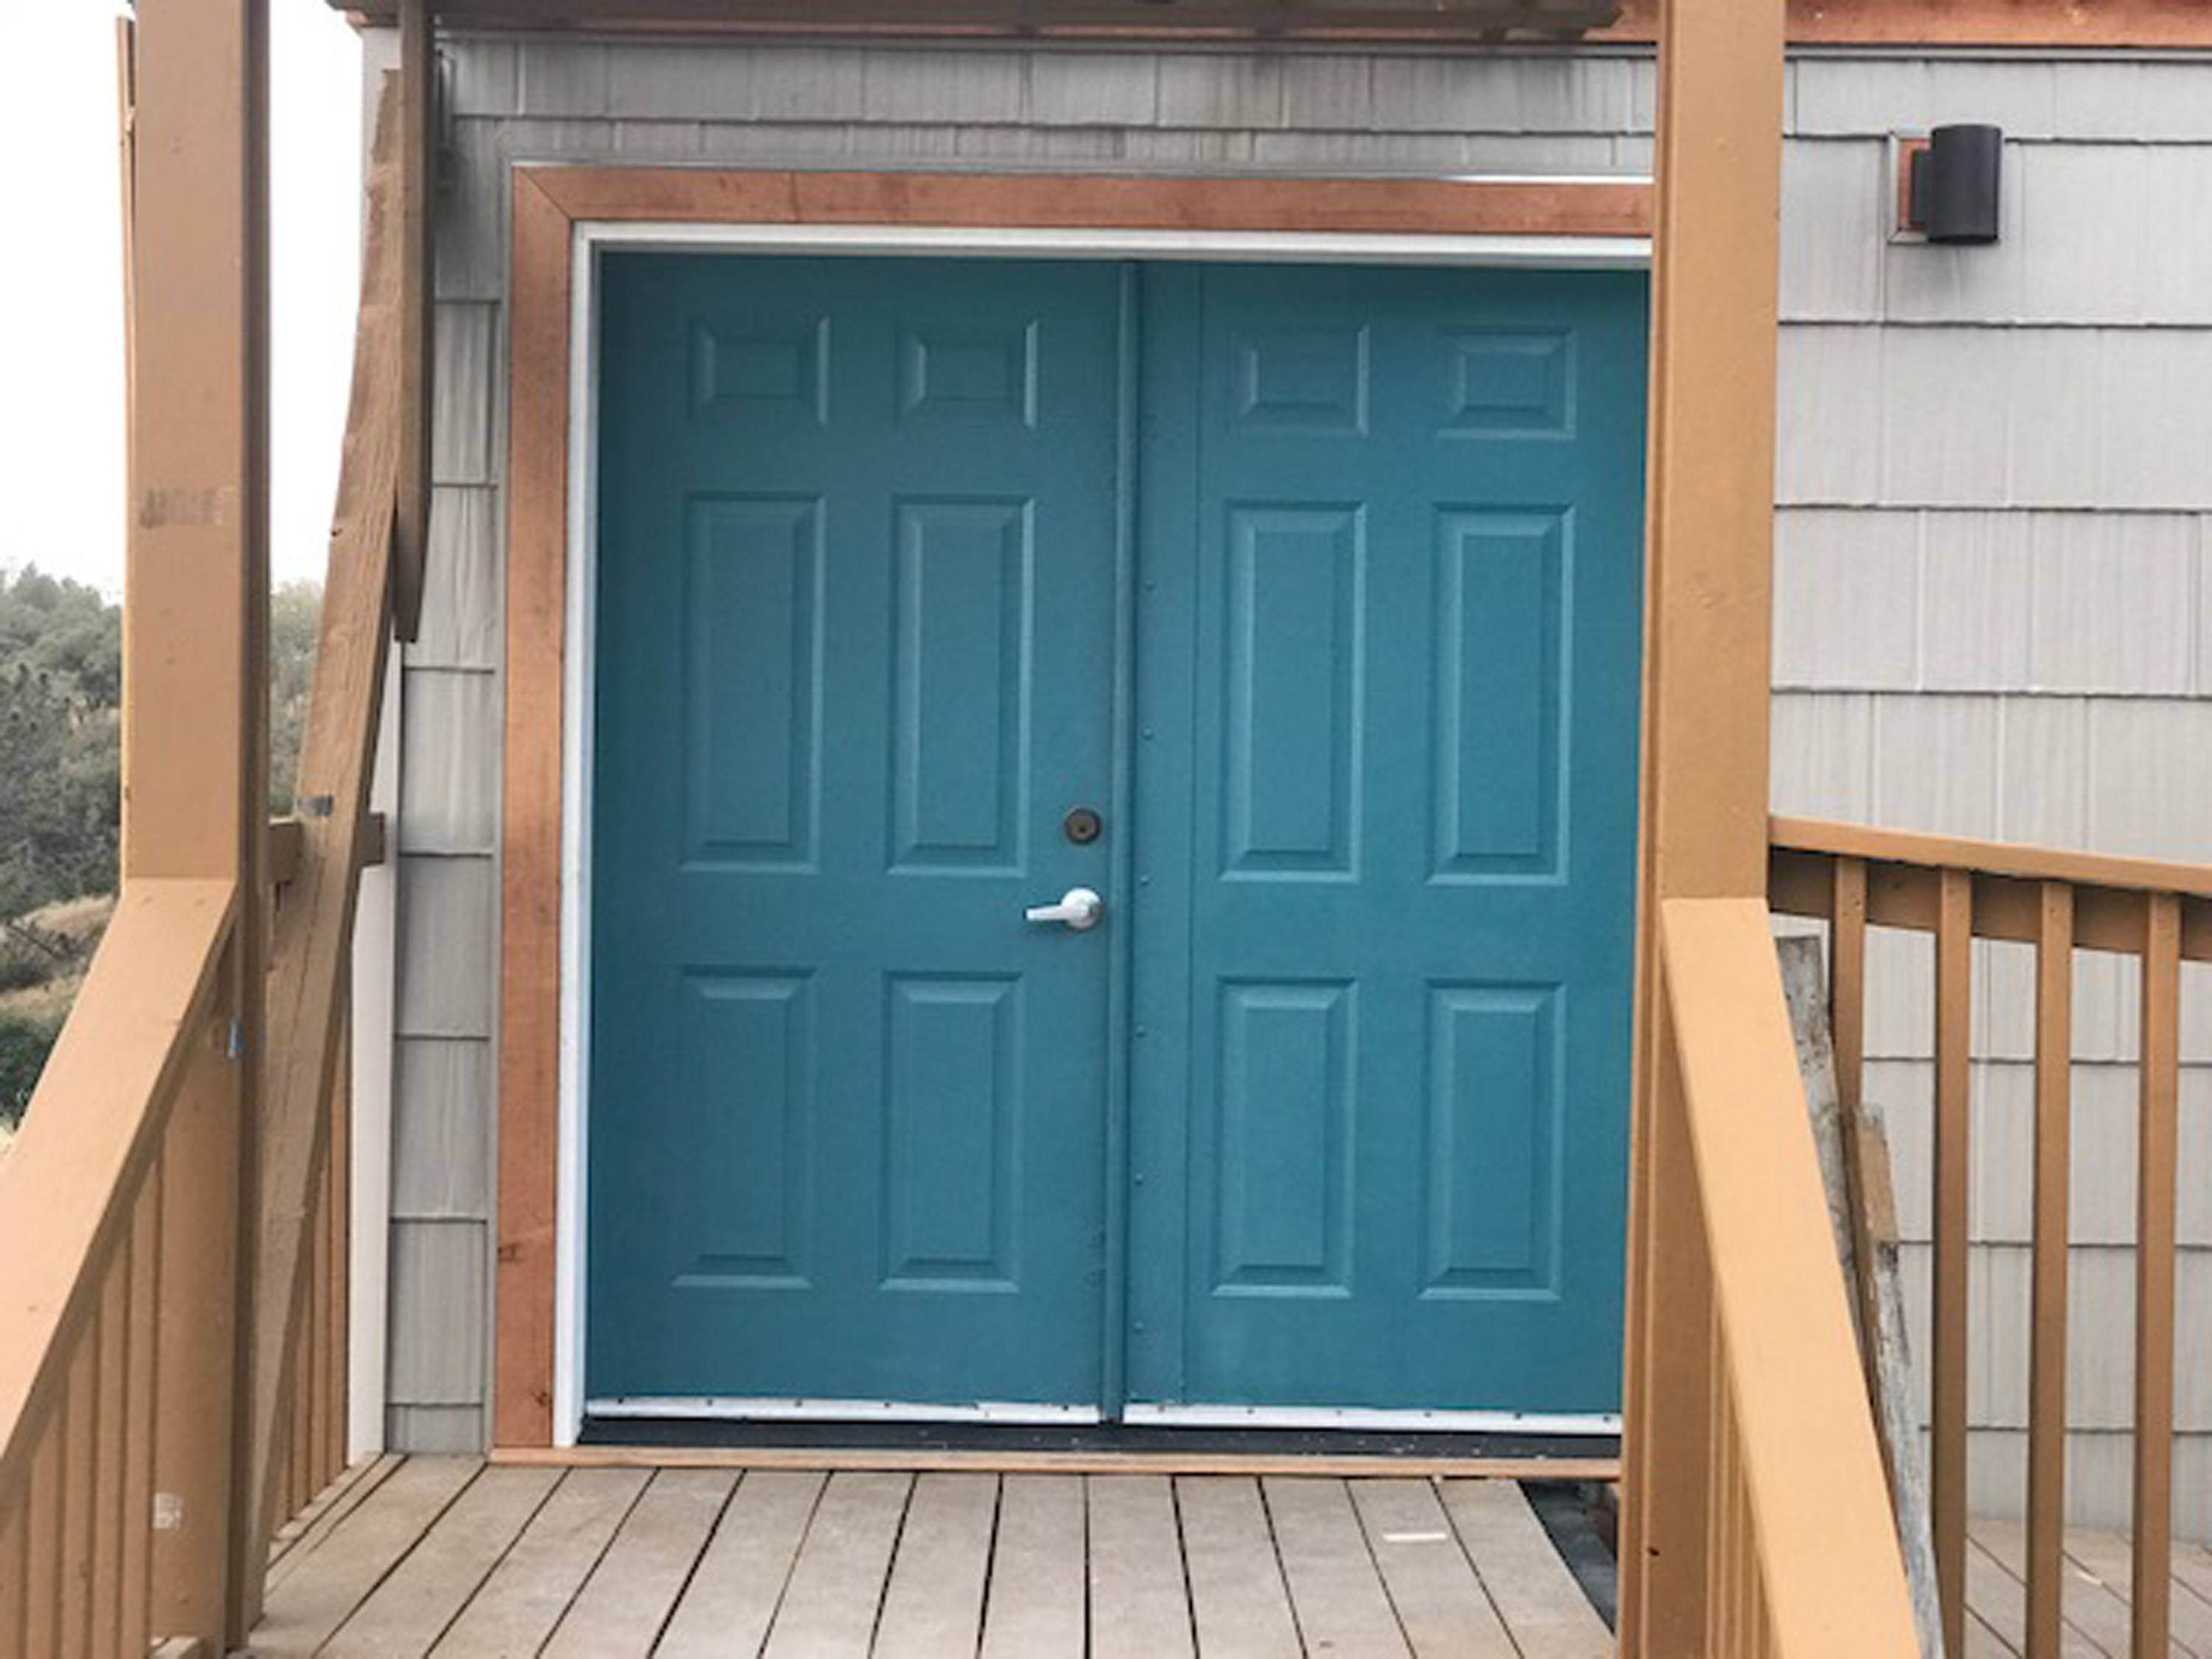
With the siding off, and the new siding not yet installed, we removed all the rotten subfloor, rotten door frames, and rotten outer joists and siding under the door thresholds. After structural repairs, we flashed the doors, windows, south shutter area, and under the membrane on the north rolling roof corners with aluminum and/or adhesive butyl tape flashing. The flashing integrates into the new vapor barrier and provides much more protection than the original tar paper. We reinstalled new door jambs, thresholds, and oak adapters to eliminate trip hazards.
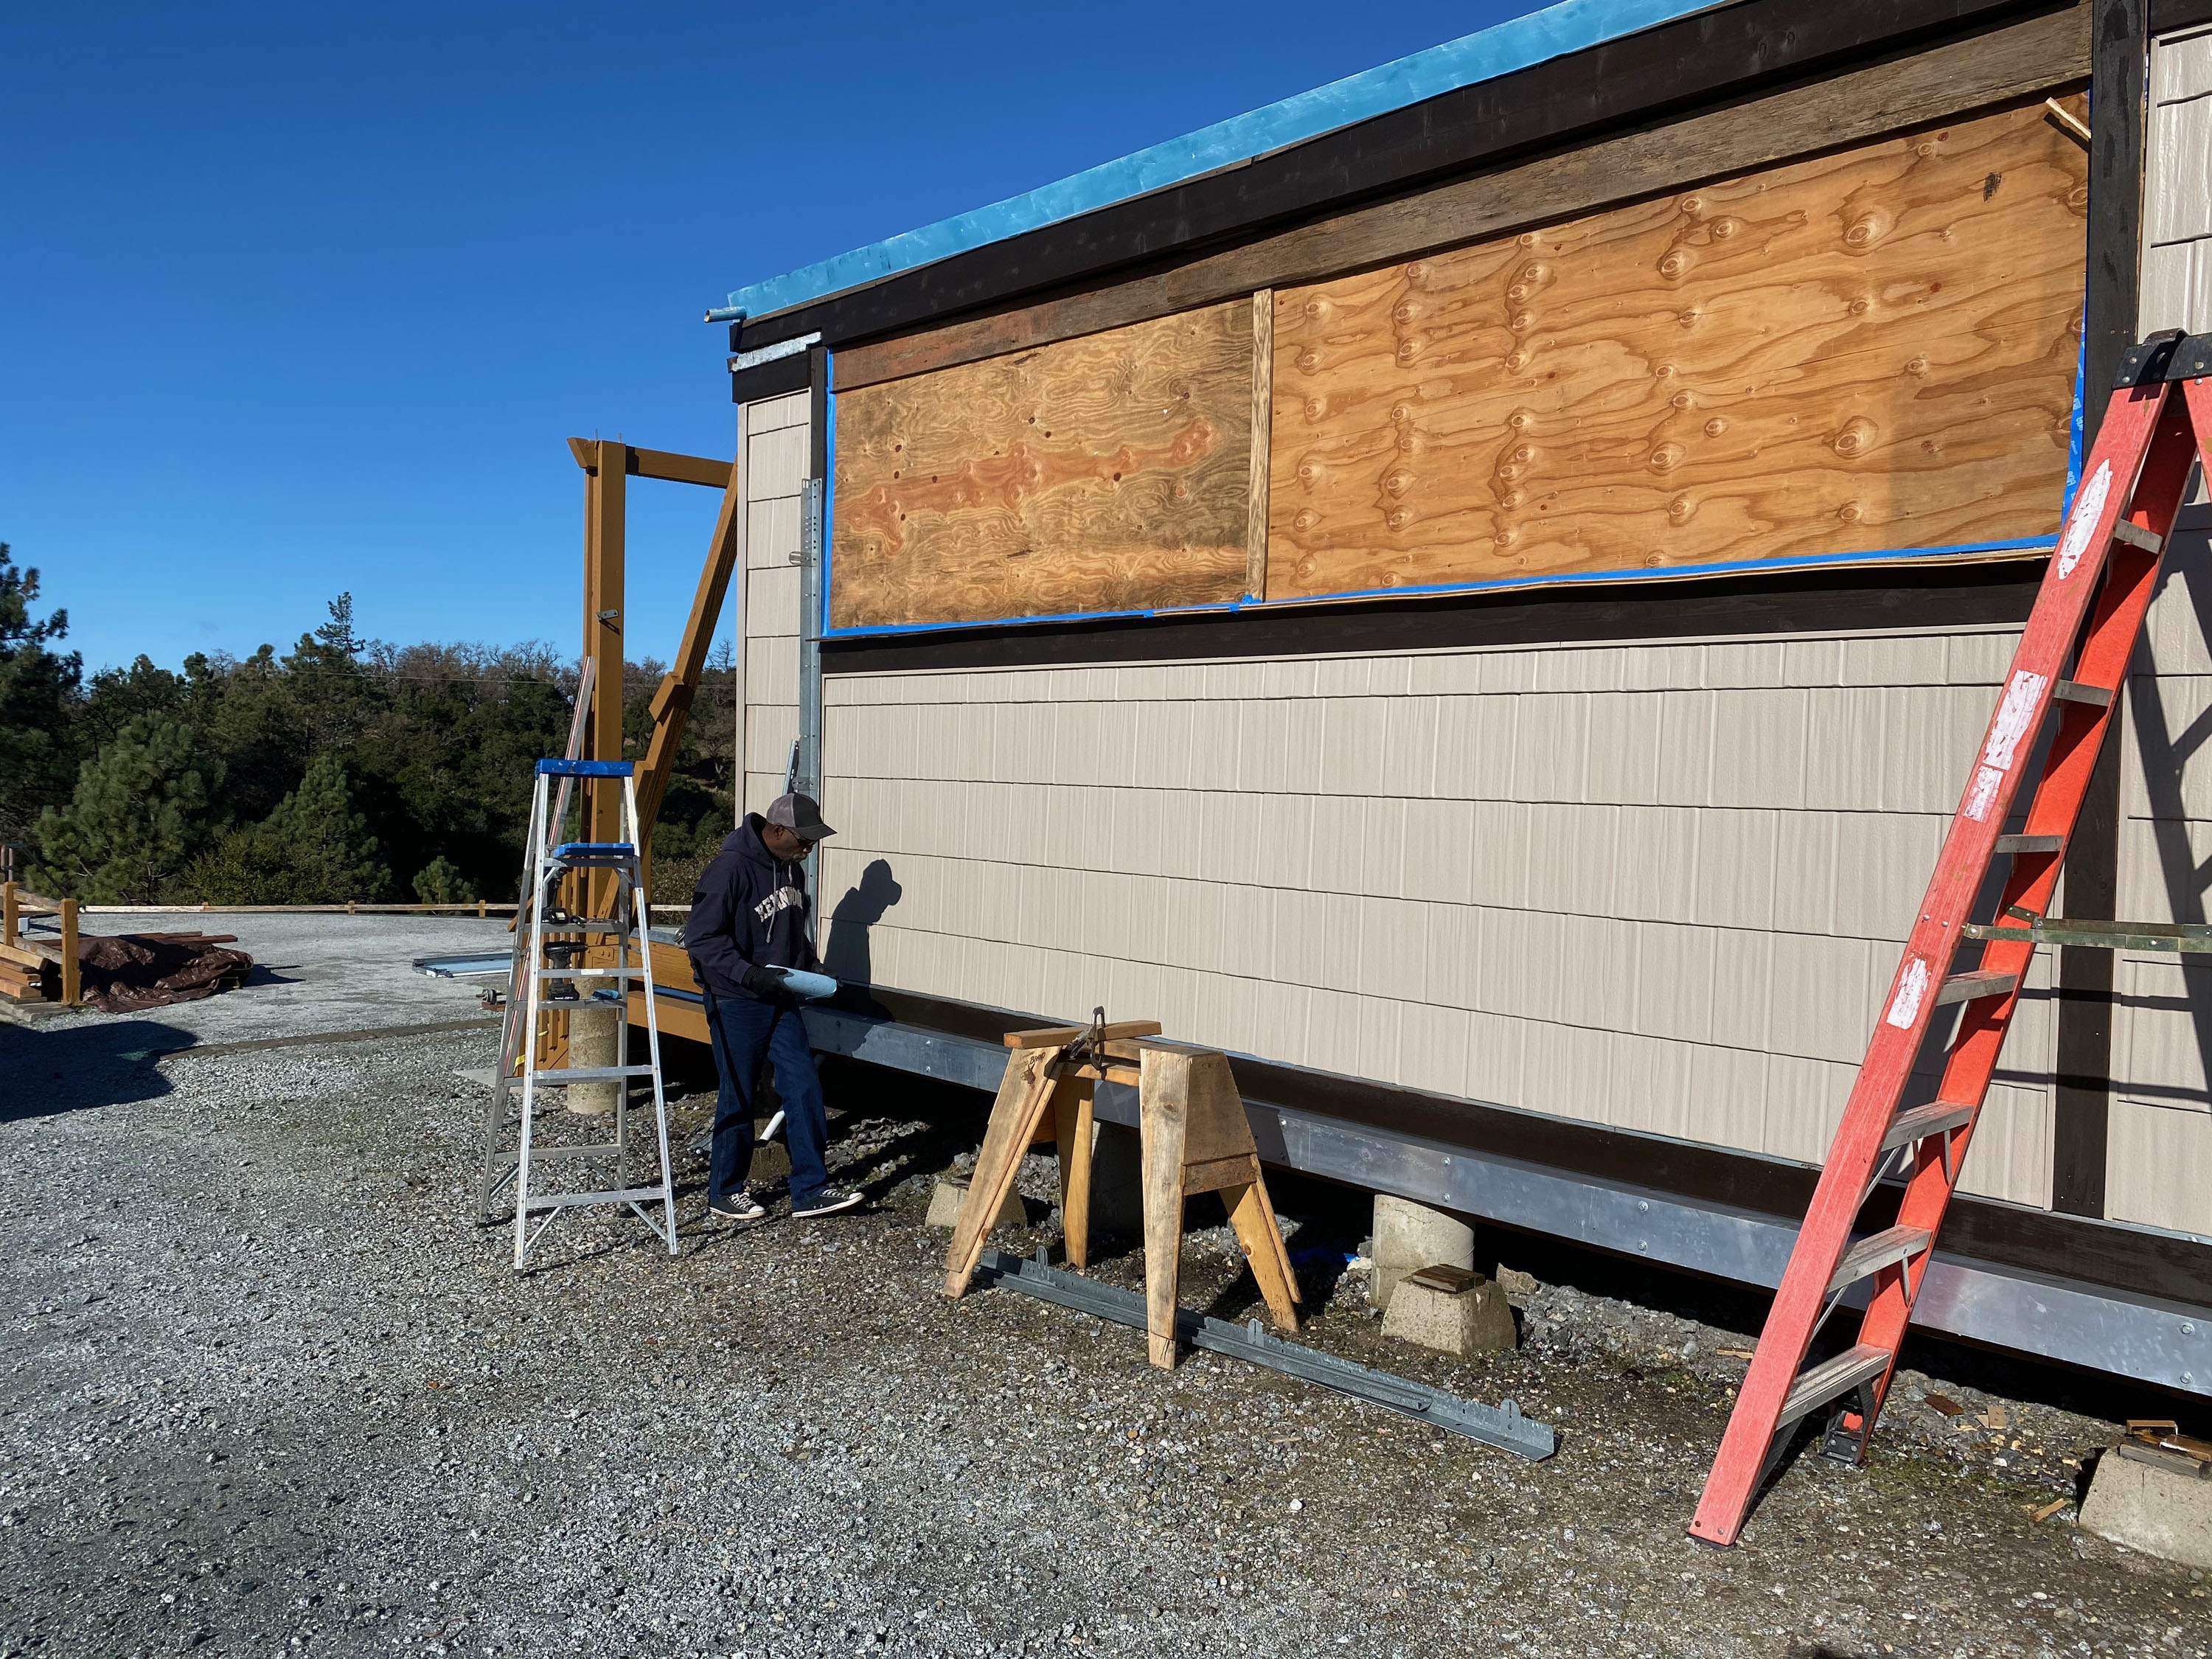
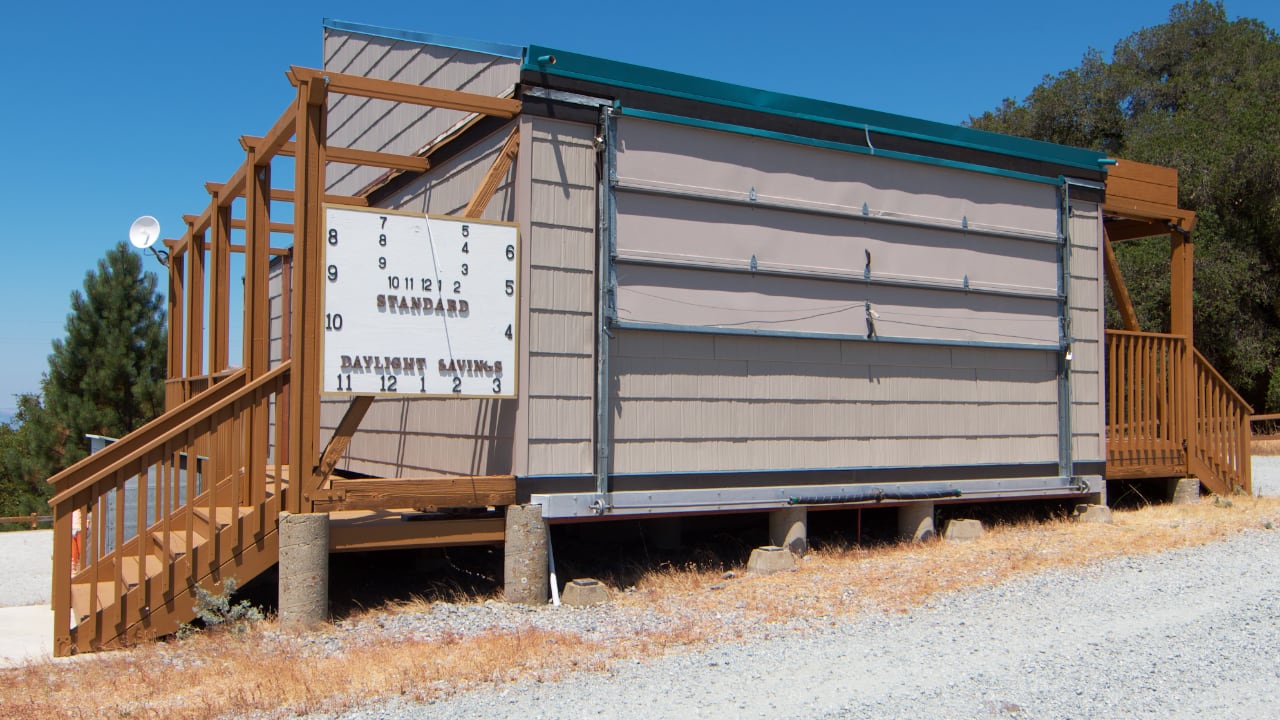
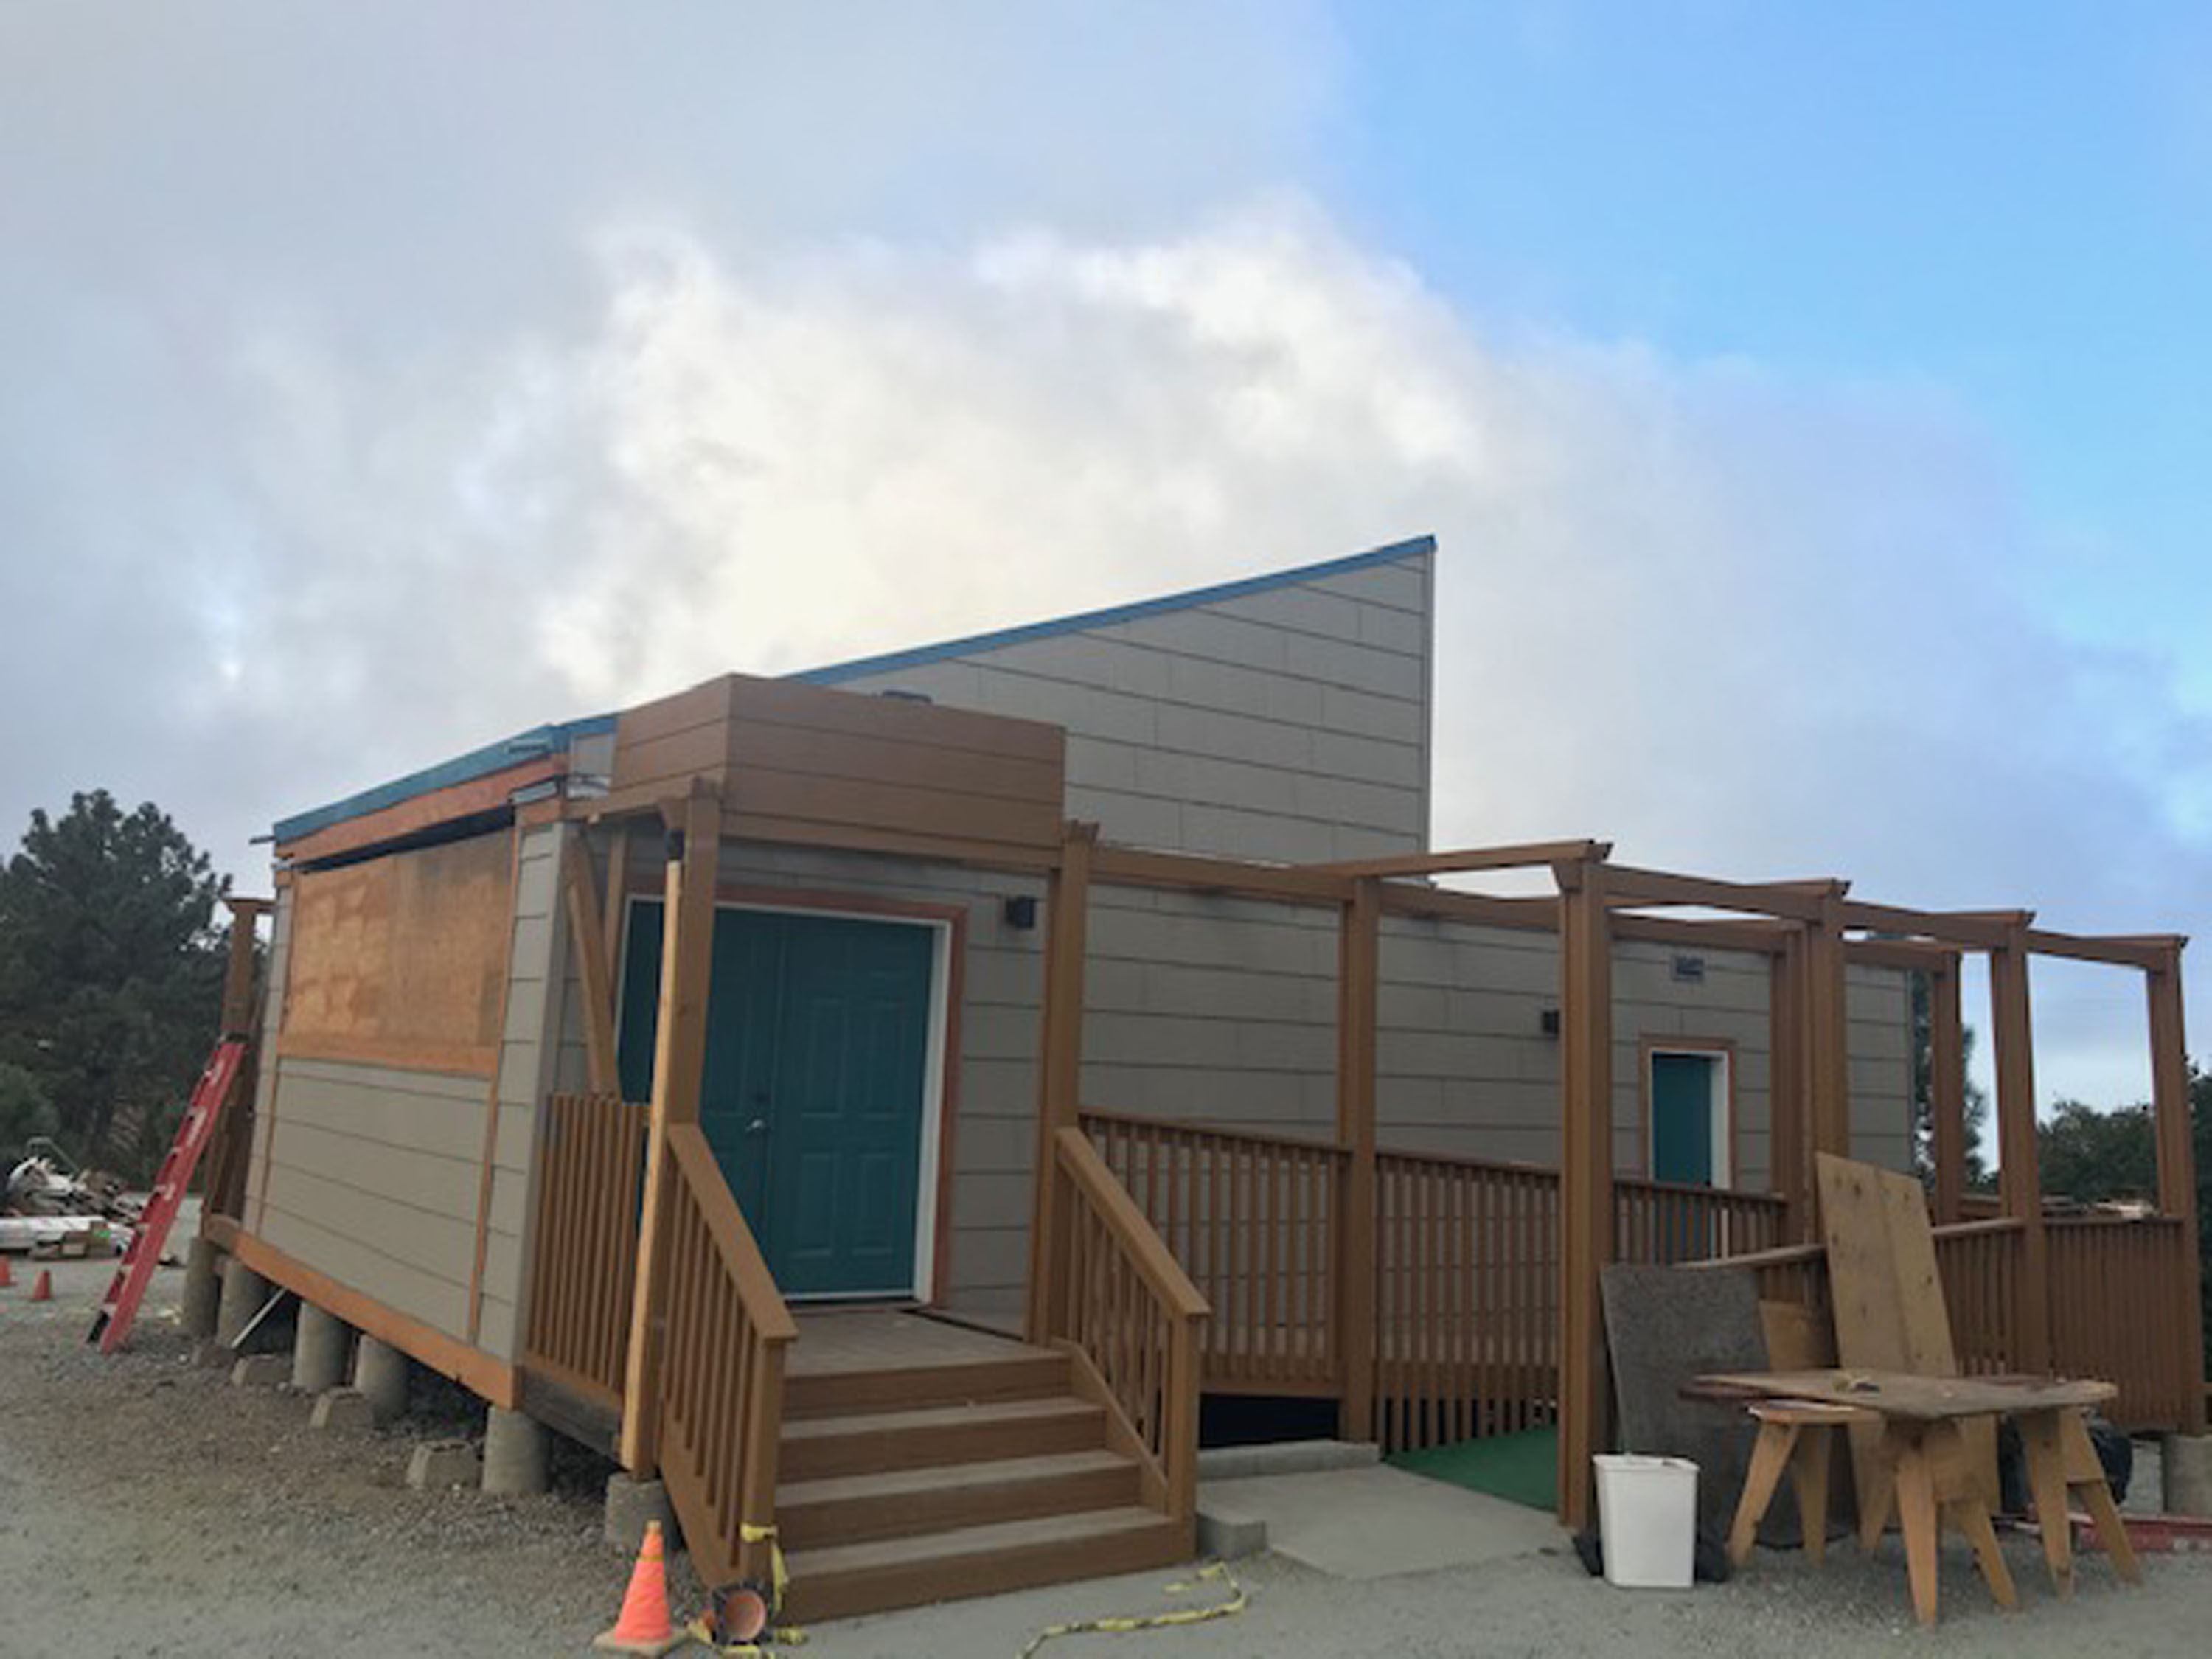
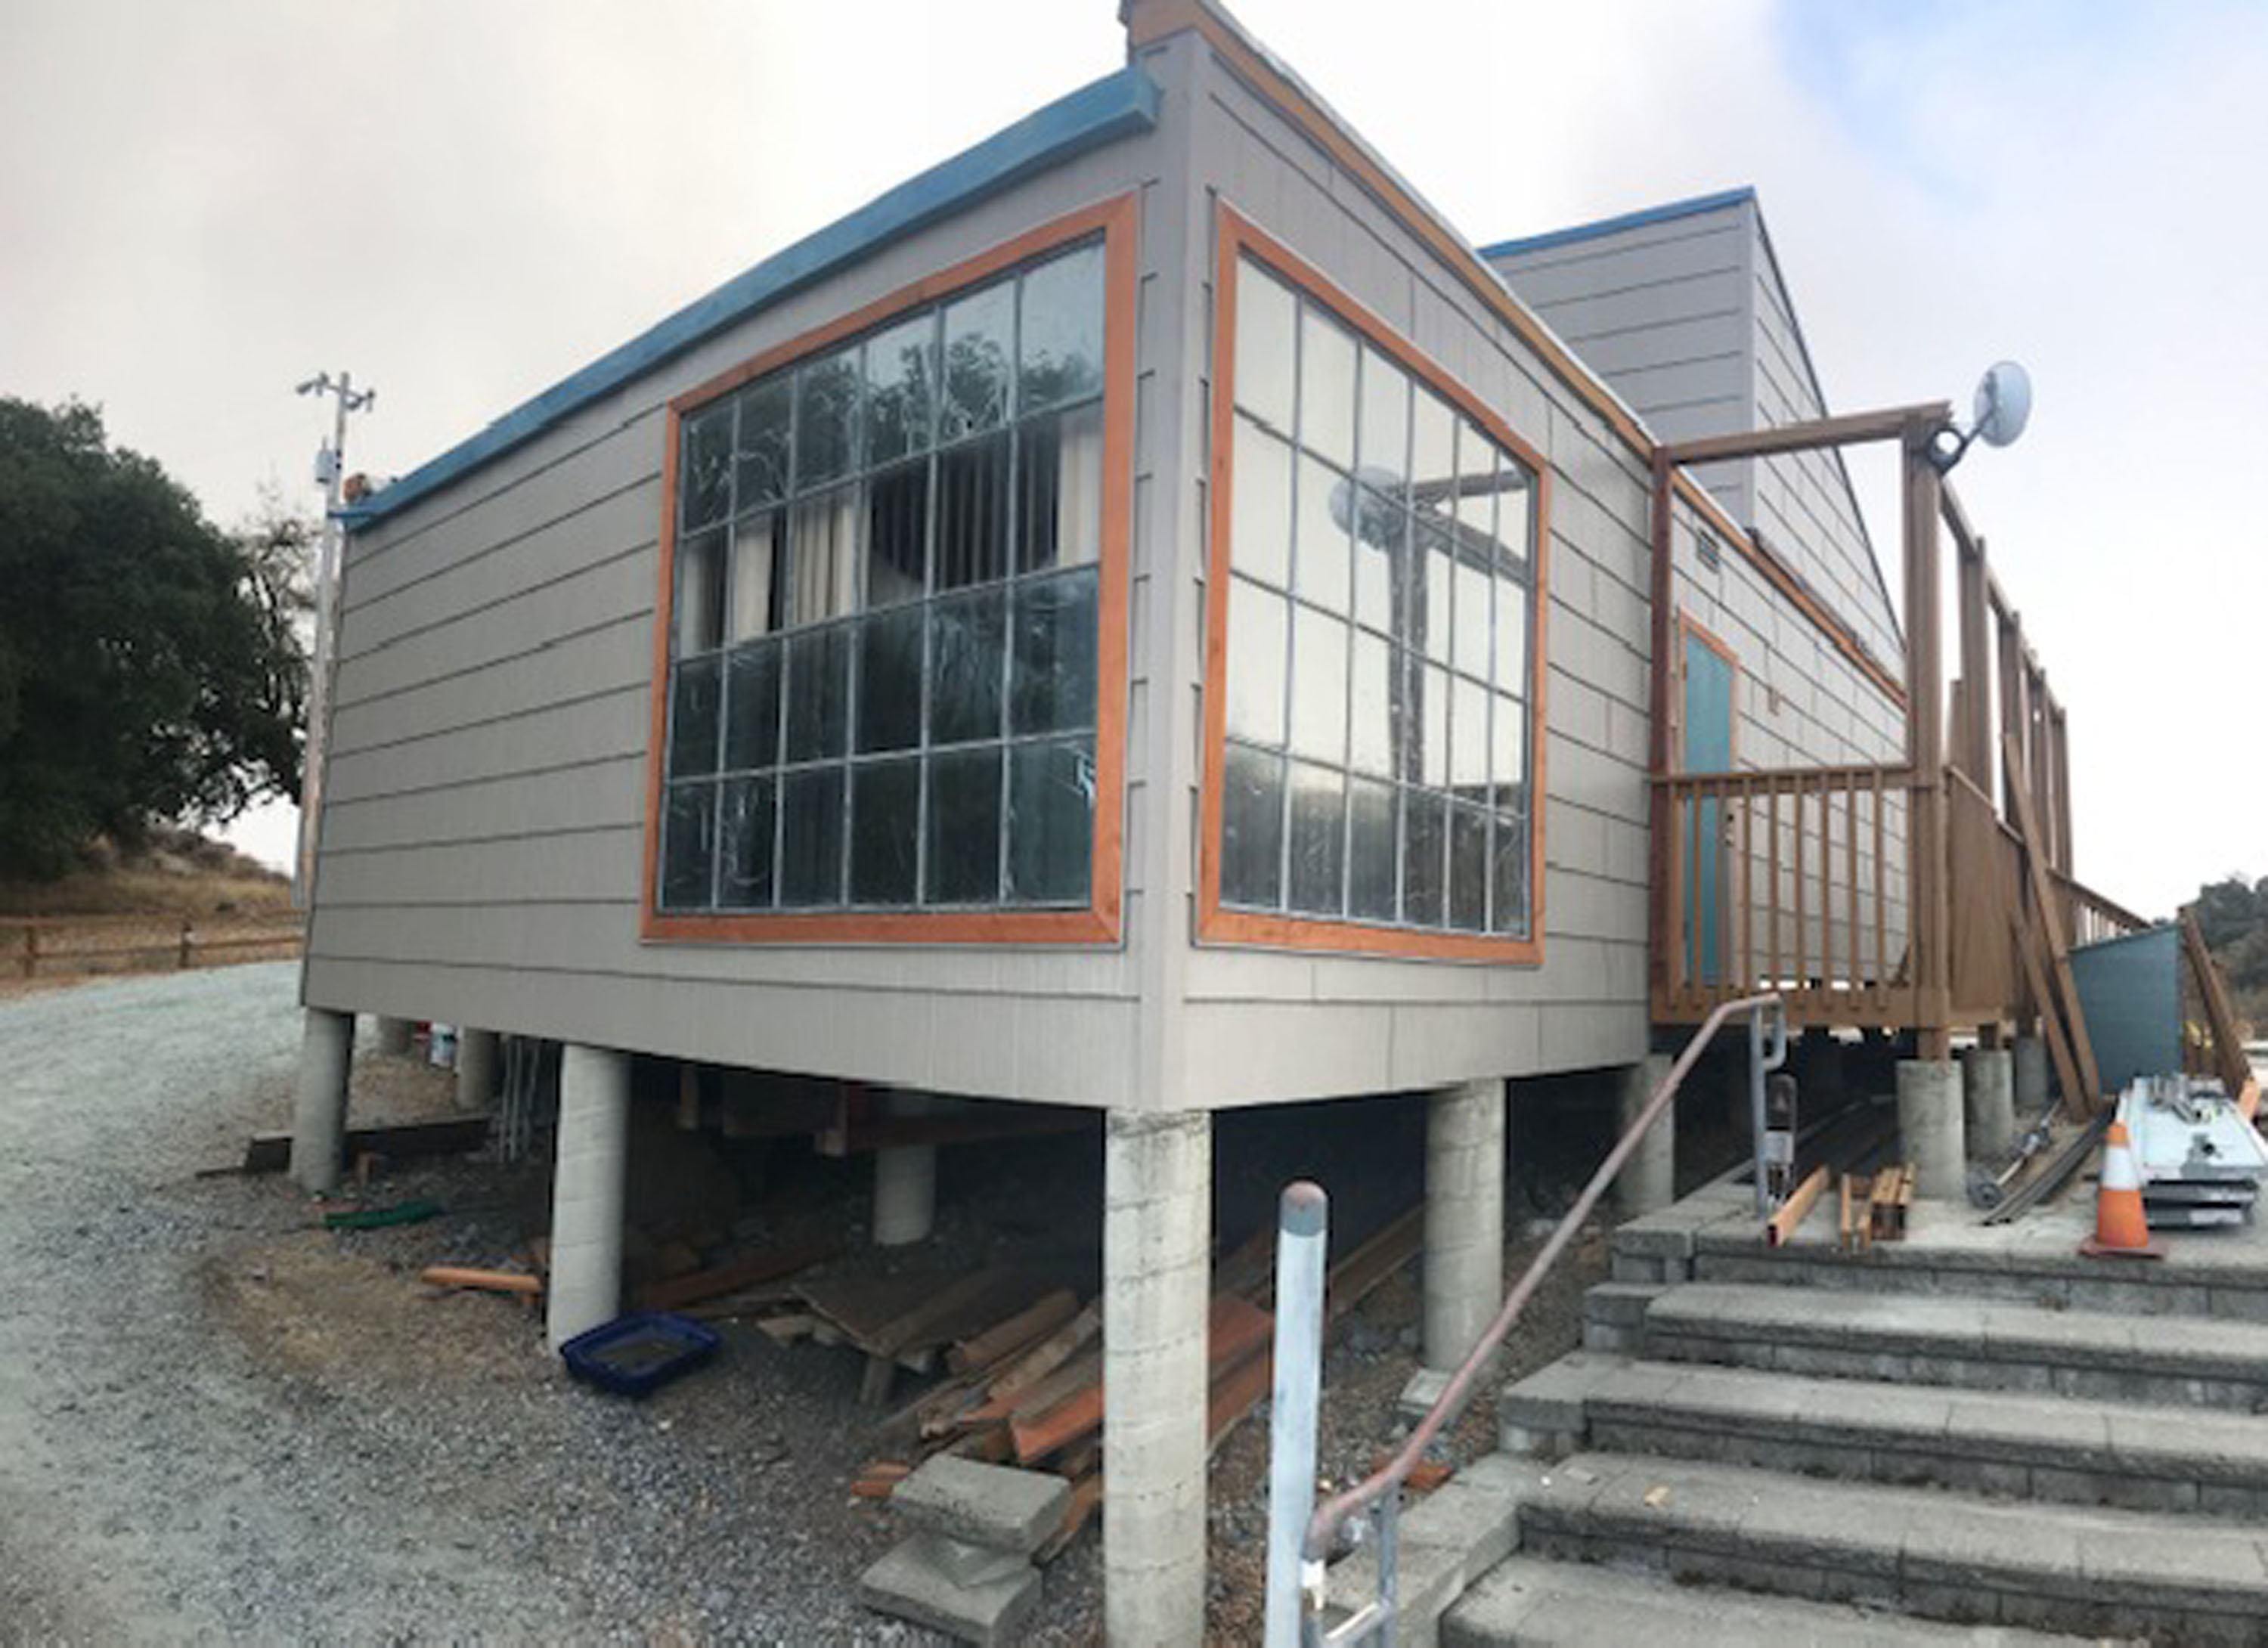
In early November MPS completed siding installation on the building just before the first winter storm.
Below, now that everything is beautiful, and repairs are hidden, we have summaries and photos of repairs on the east doors and south shutter.
In an effort to document the construction in more detail than most would like to scroll through additional pictures are presented in un curated pages.
East Classroom Door
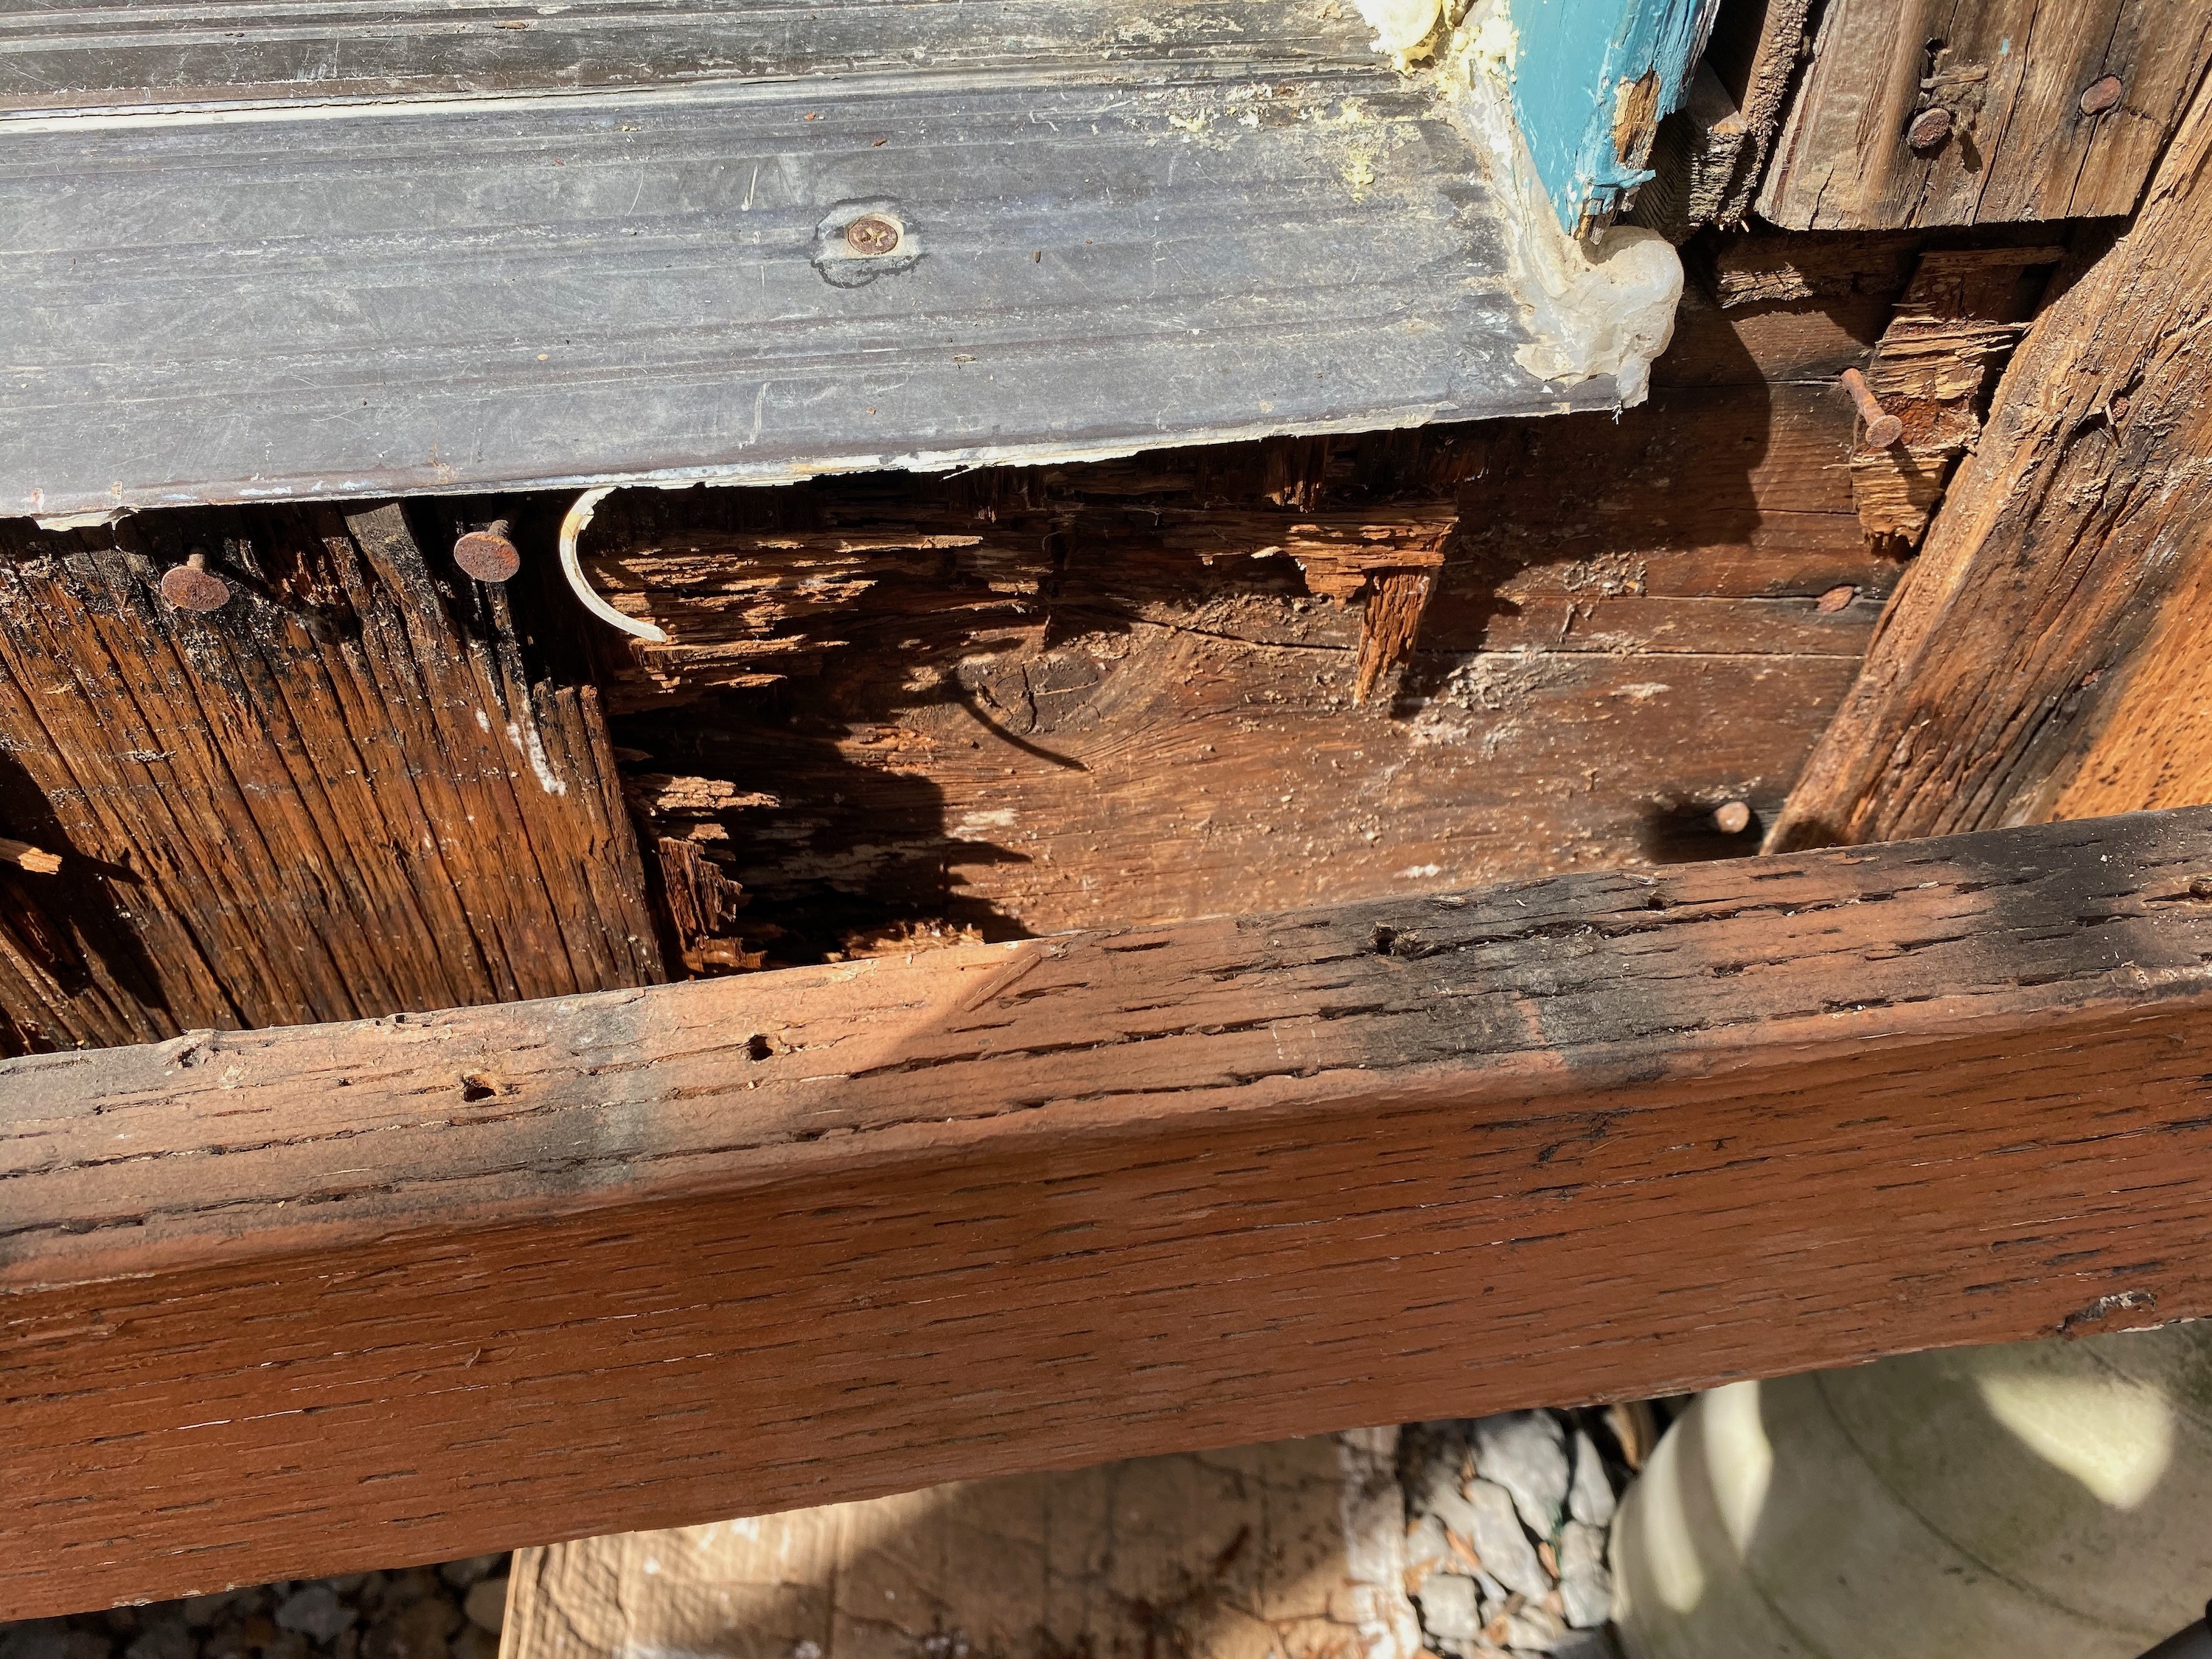
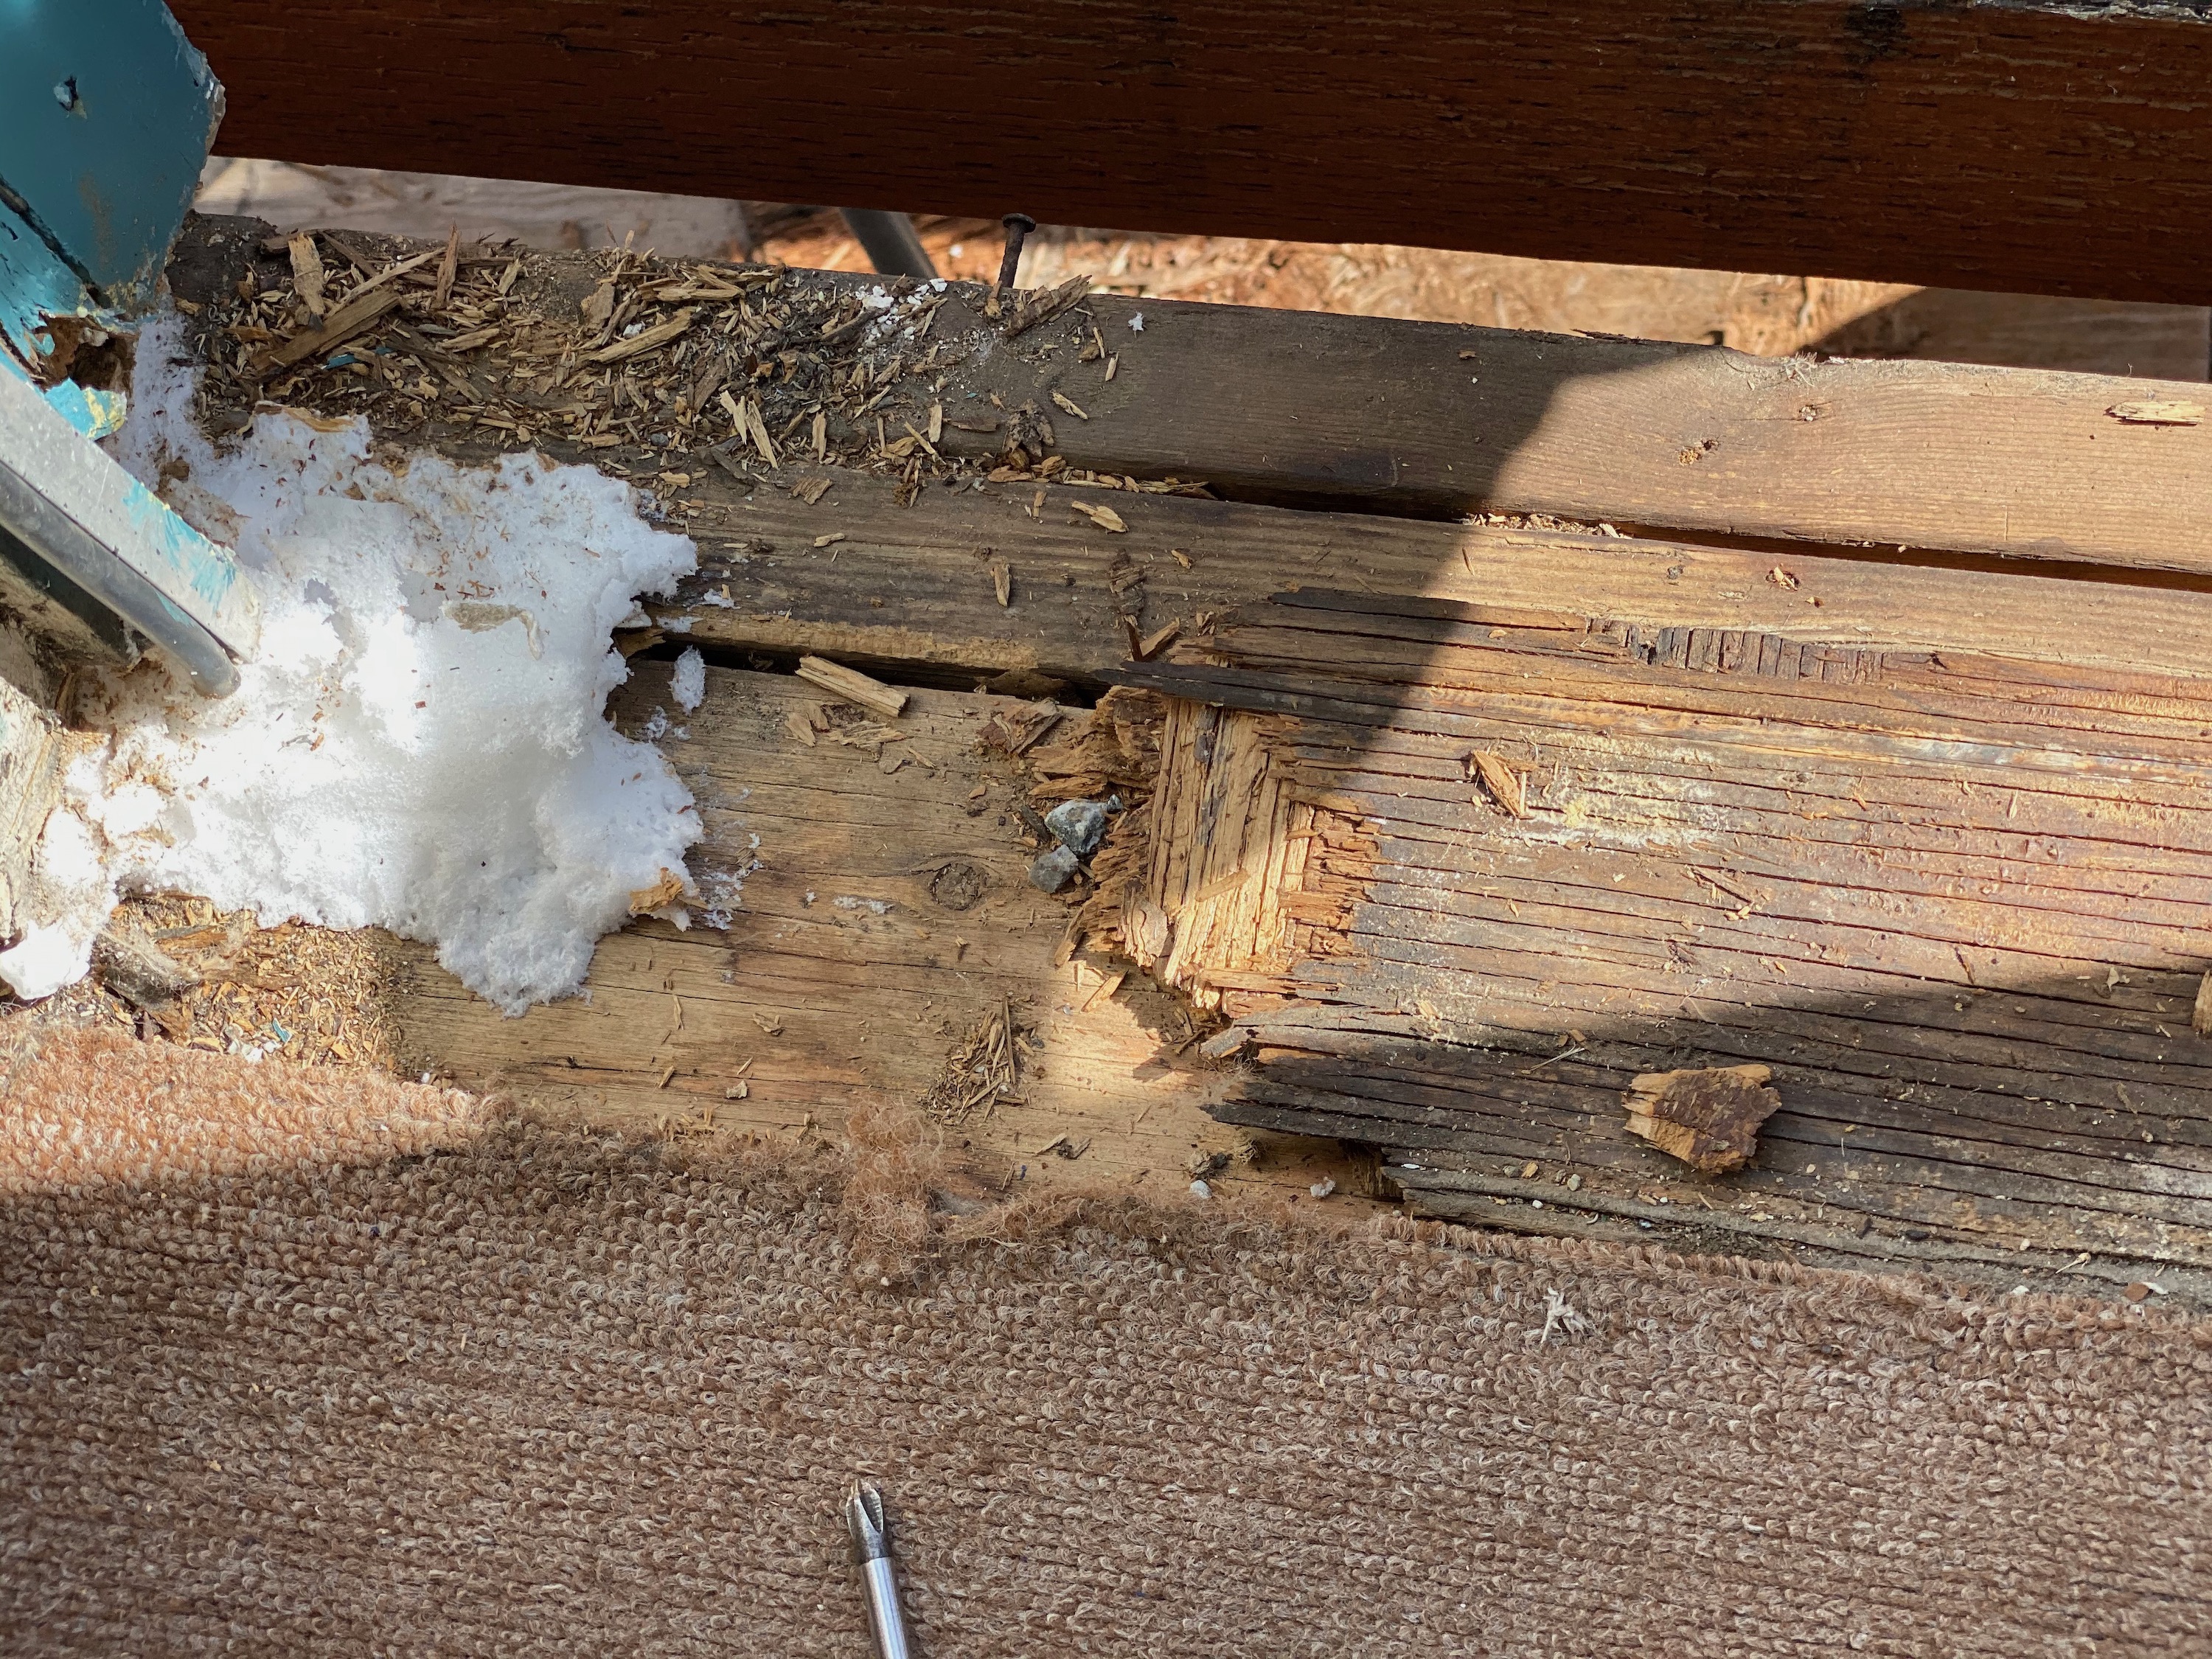
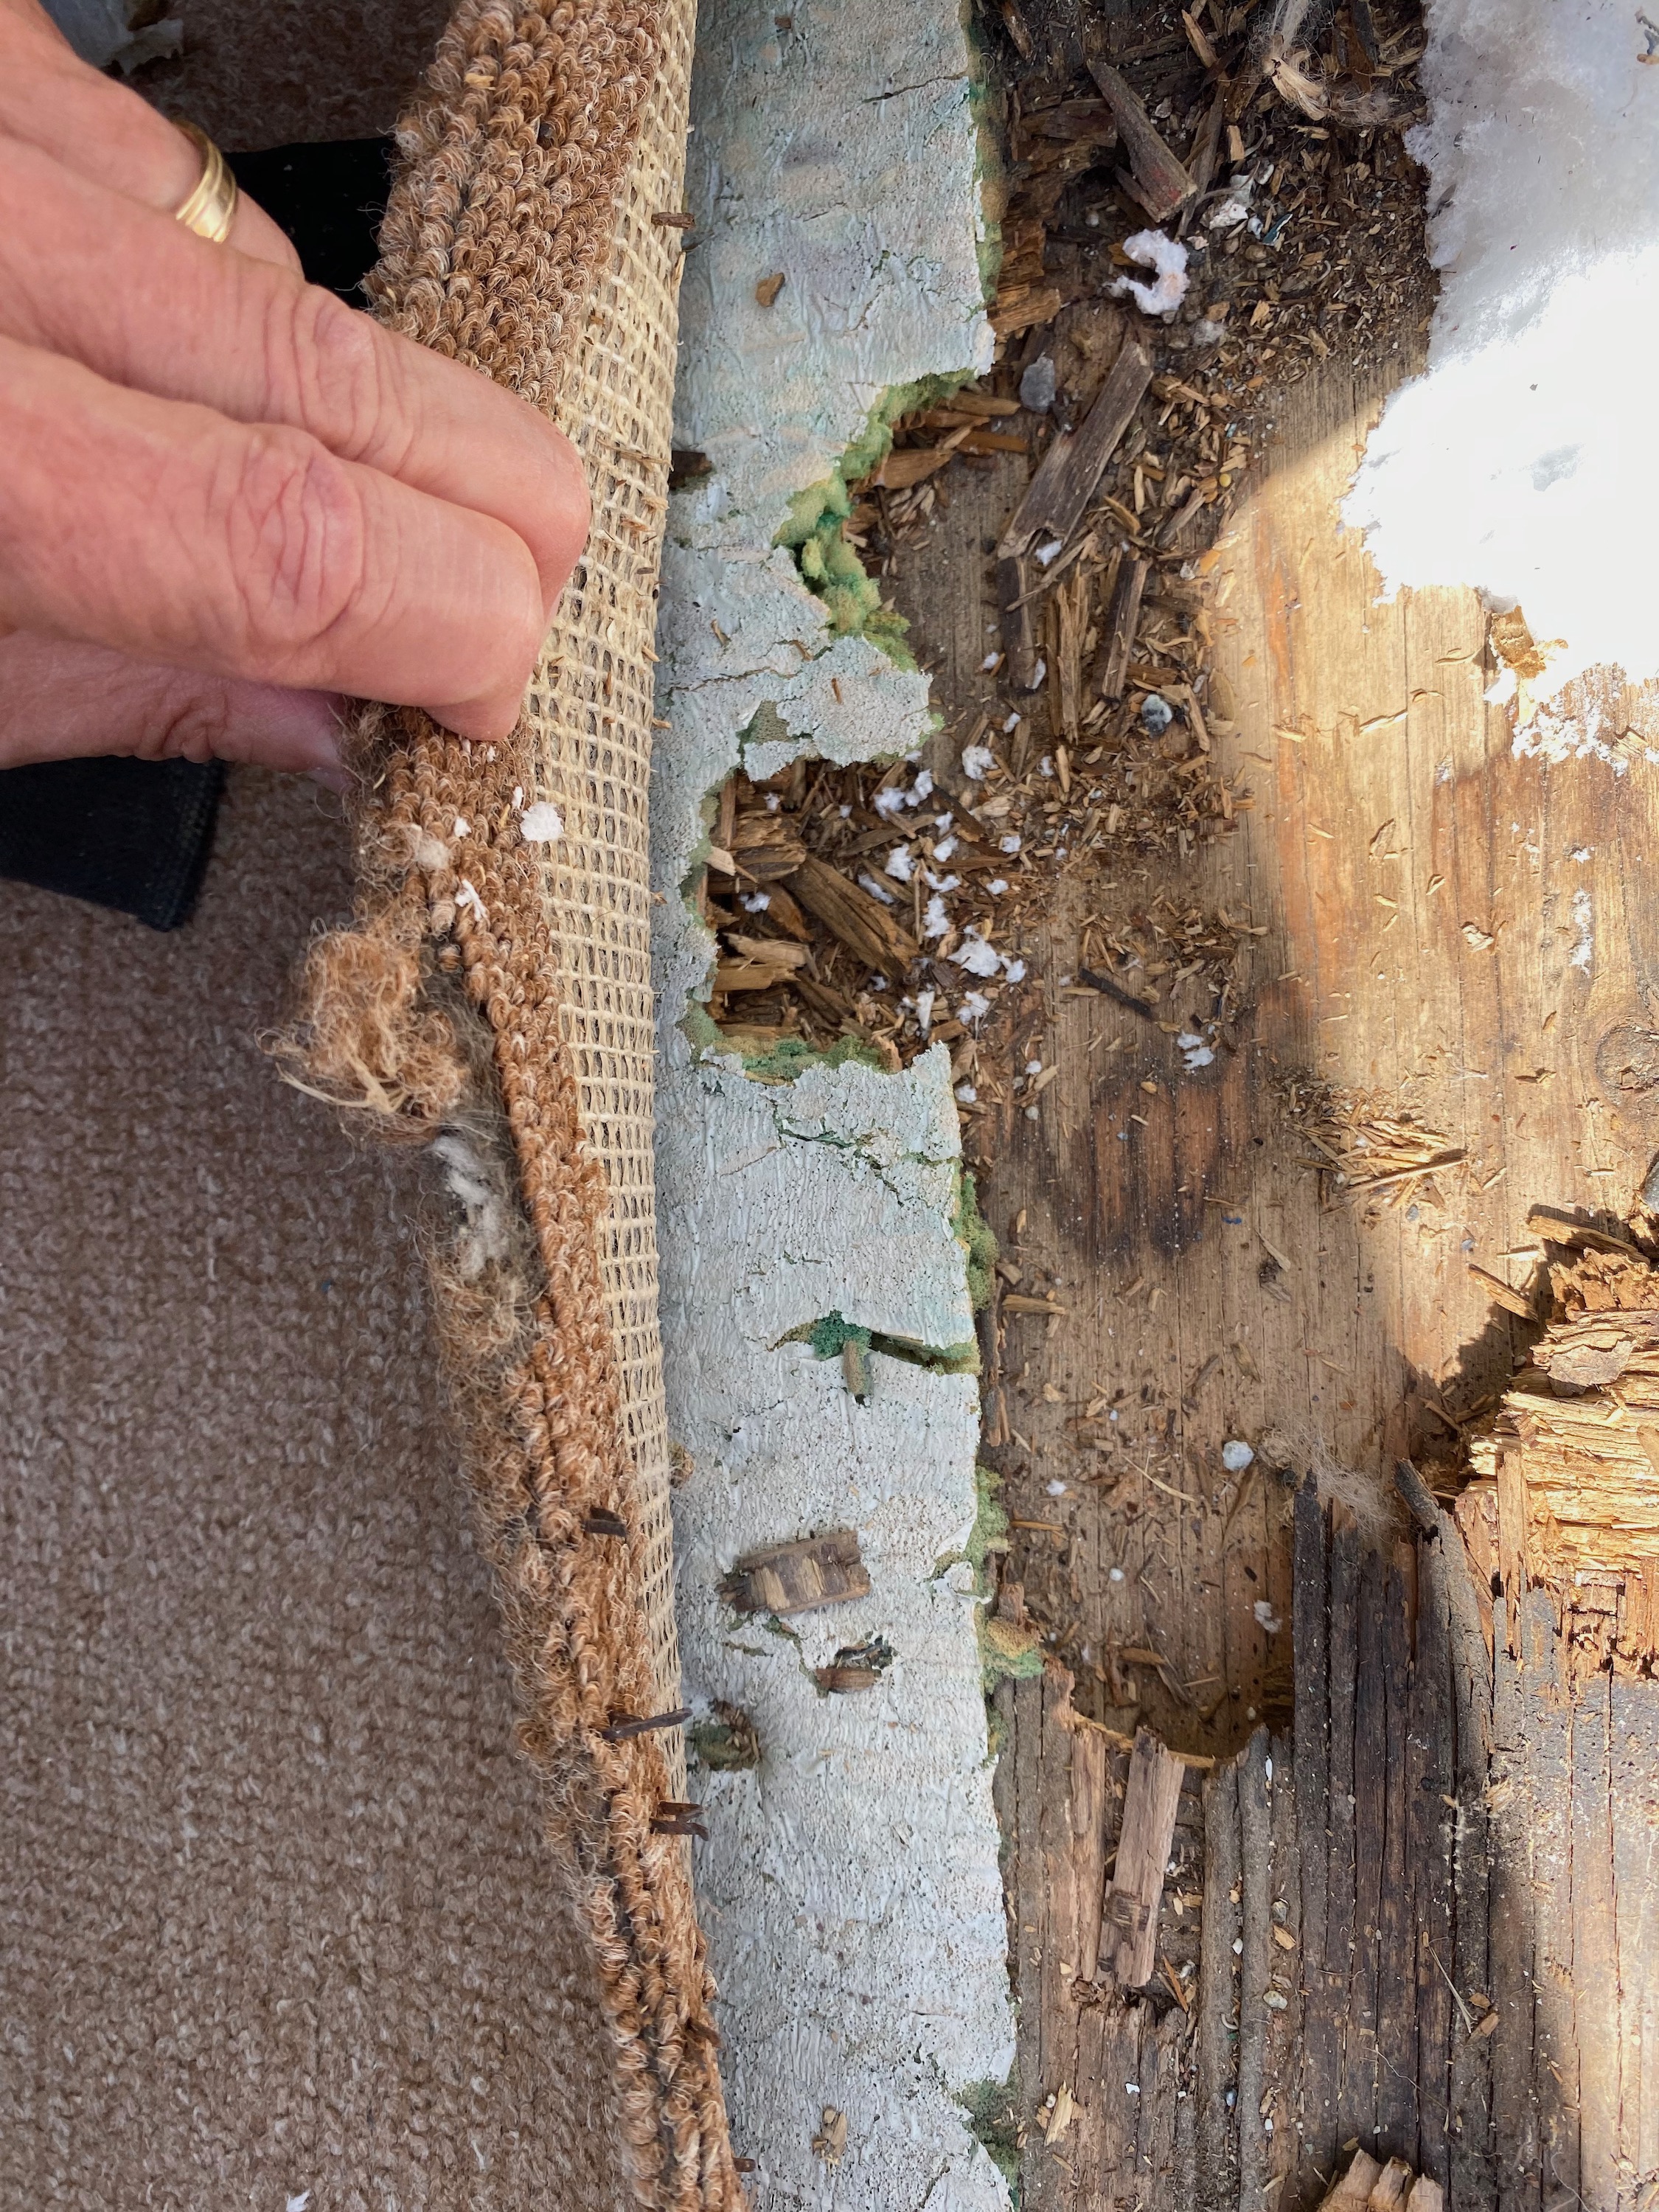
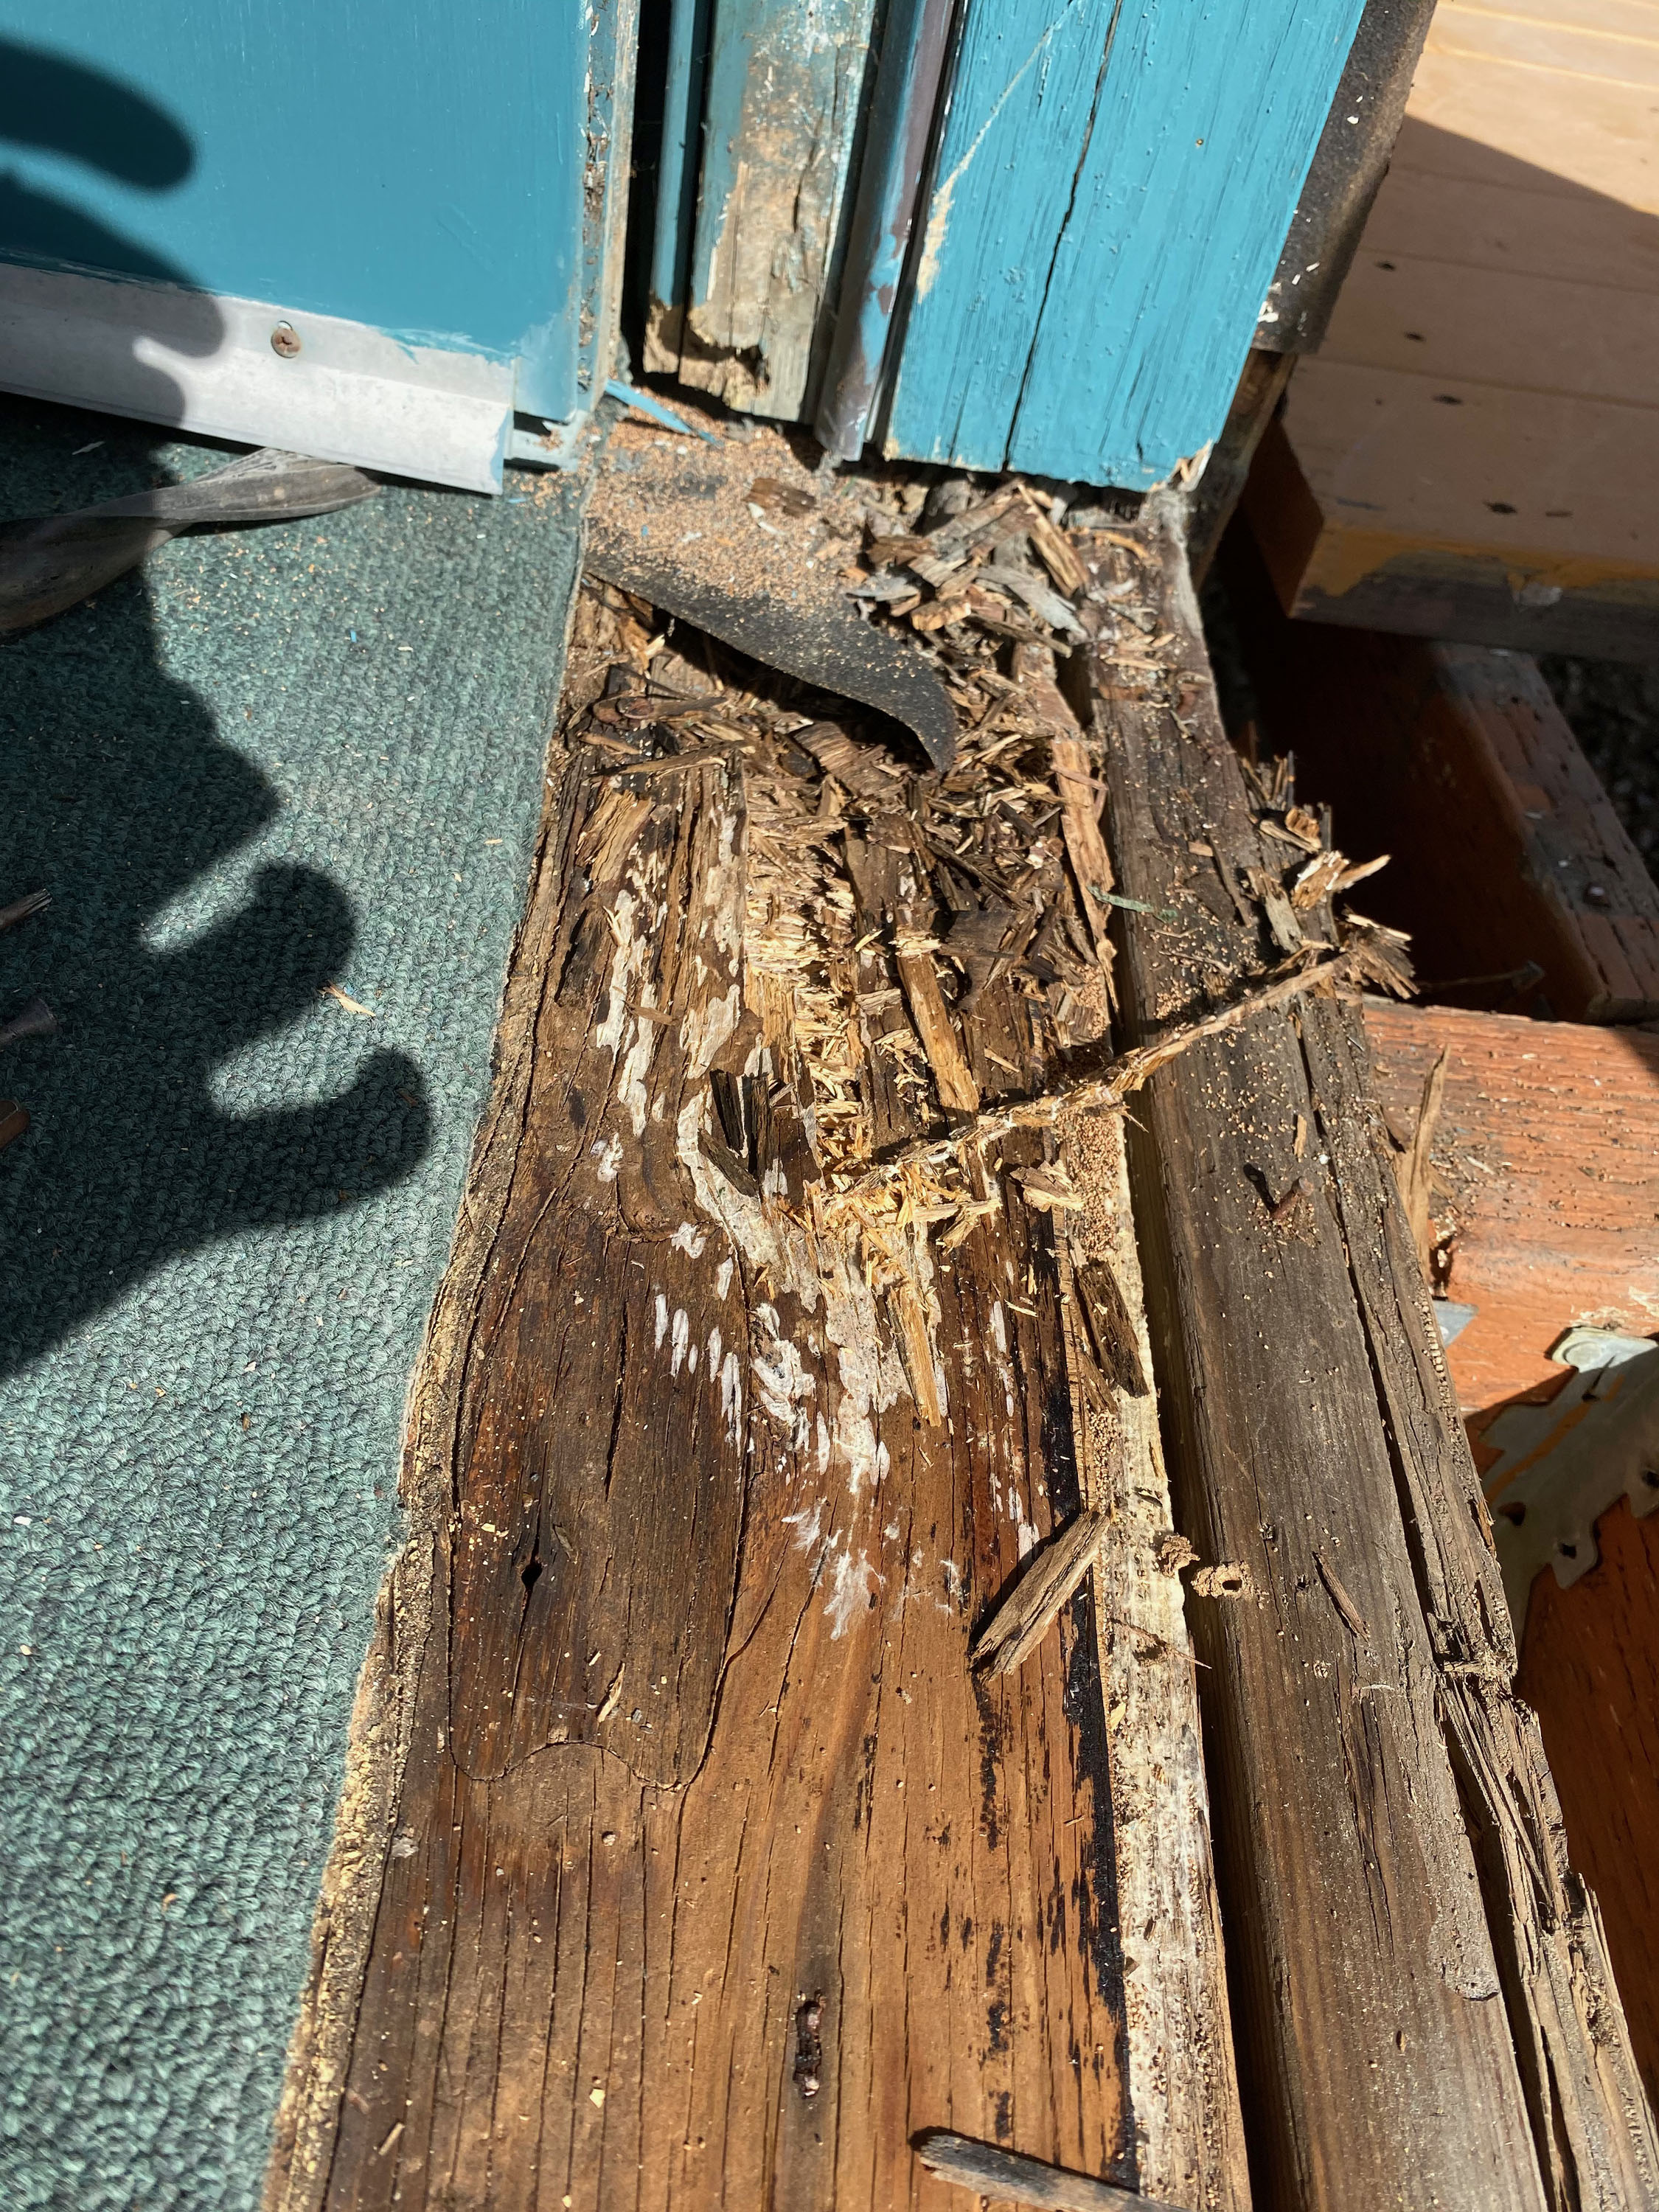
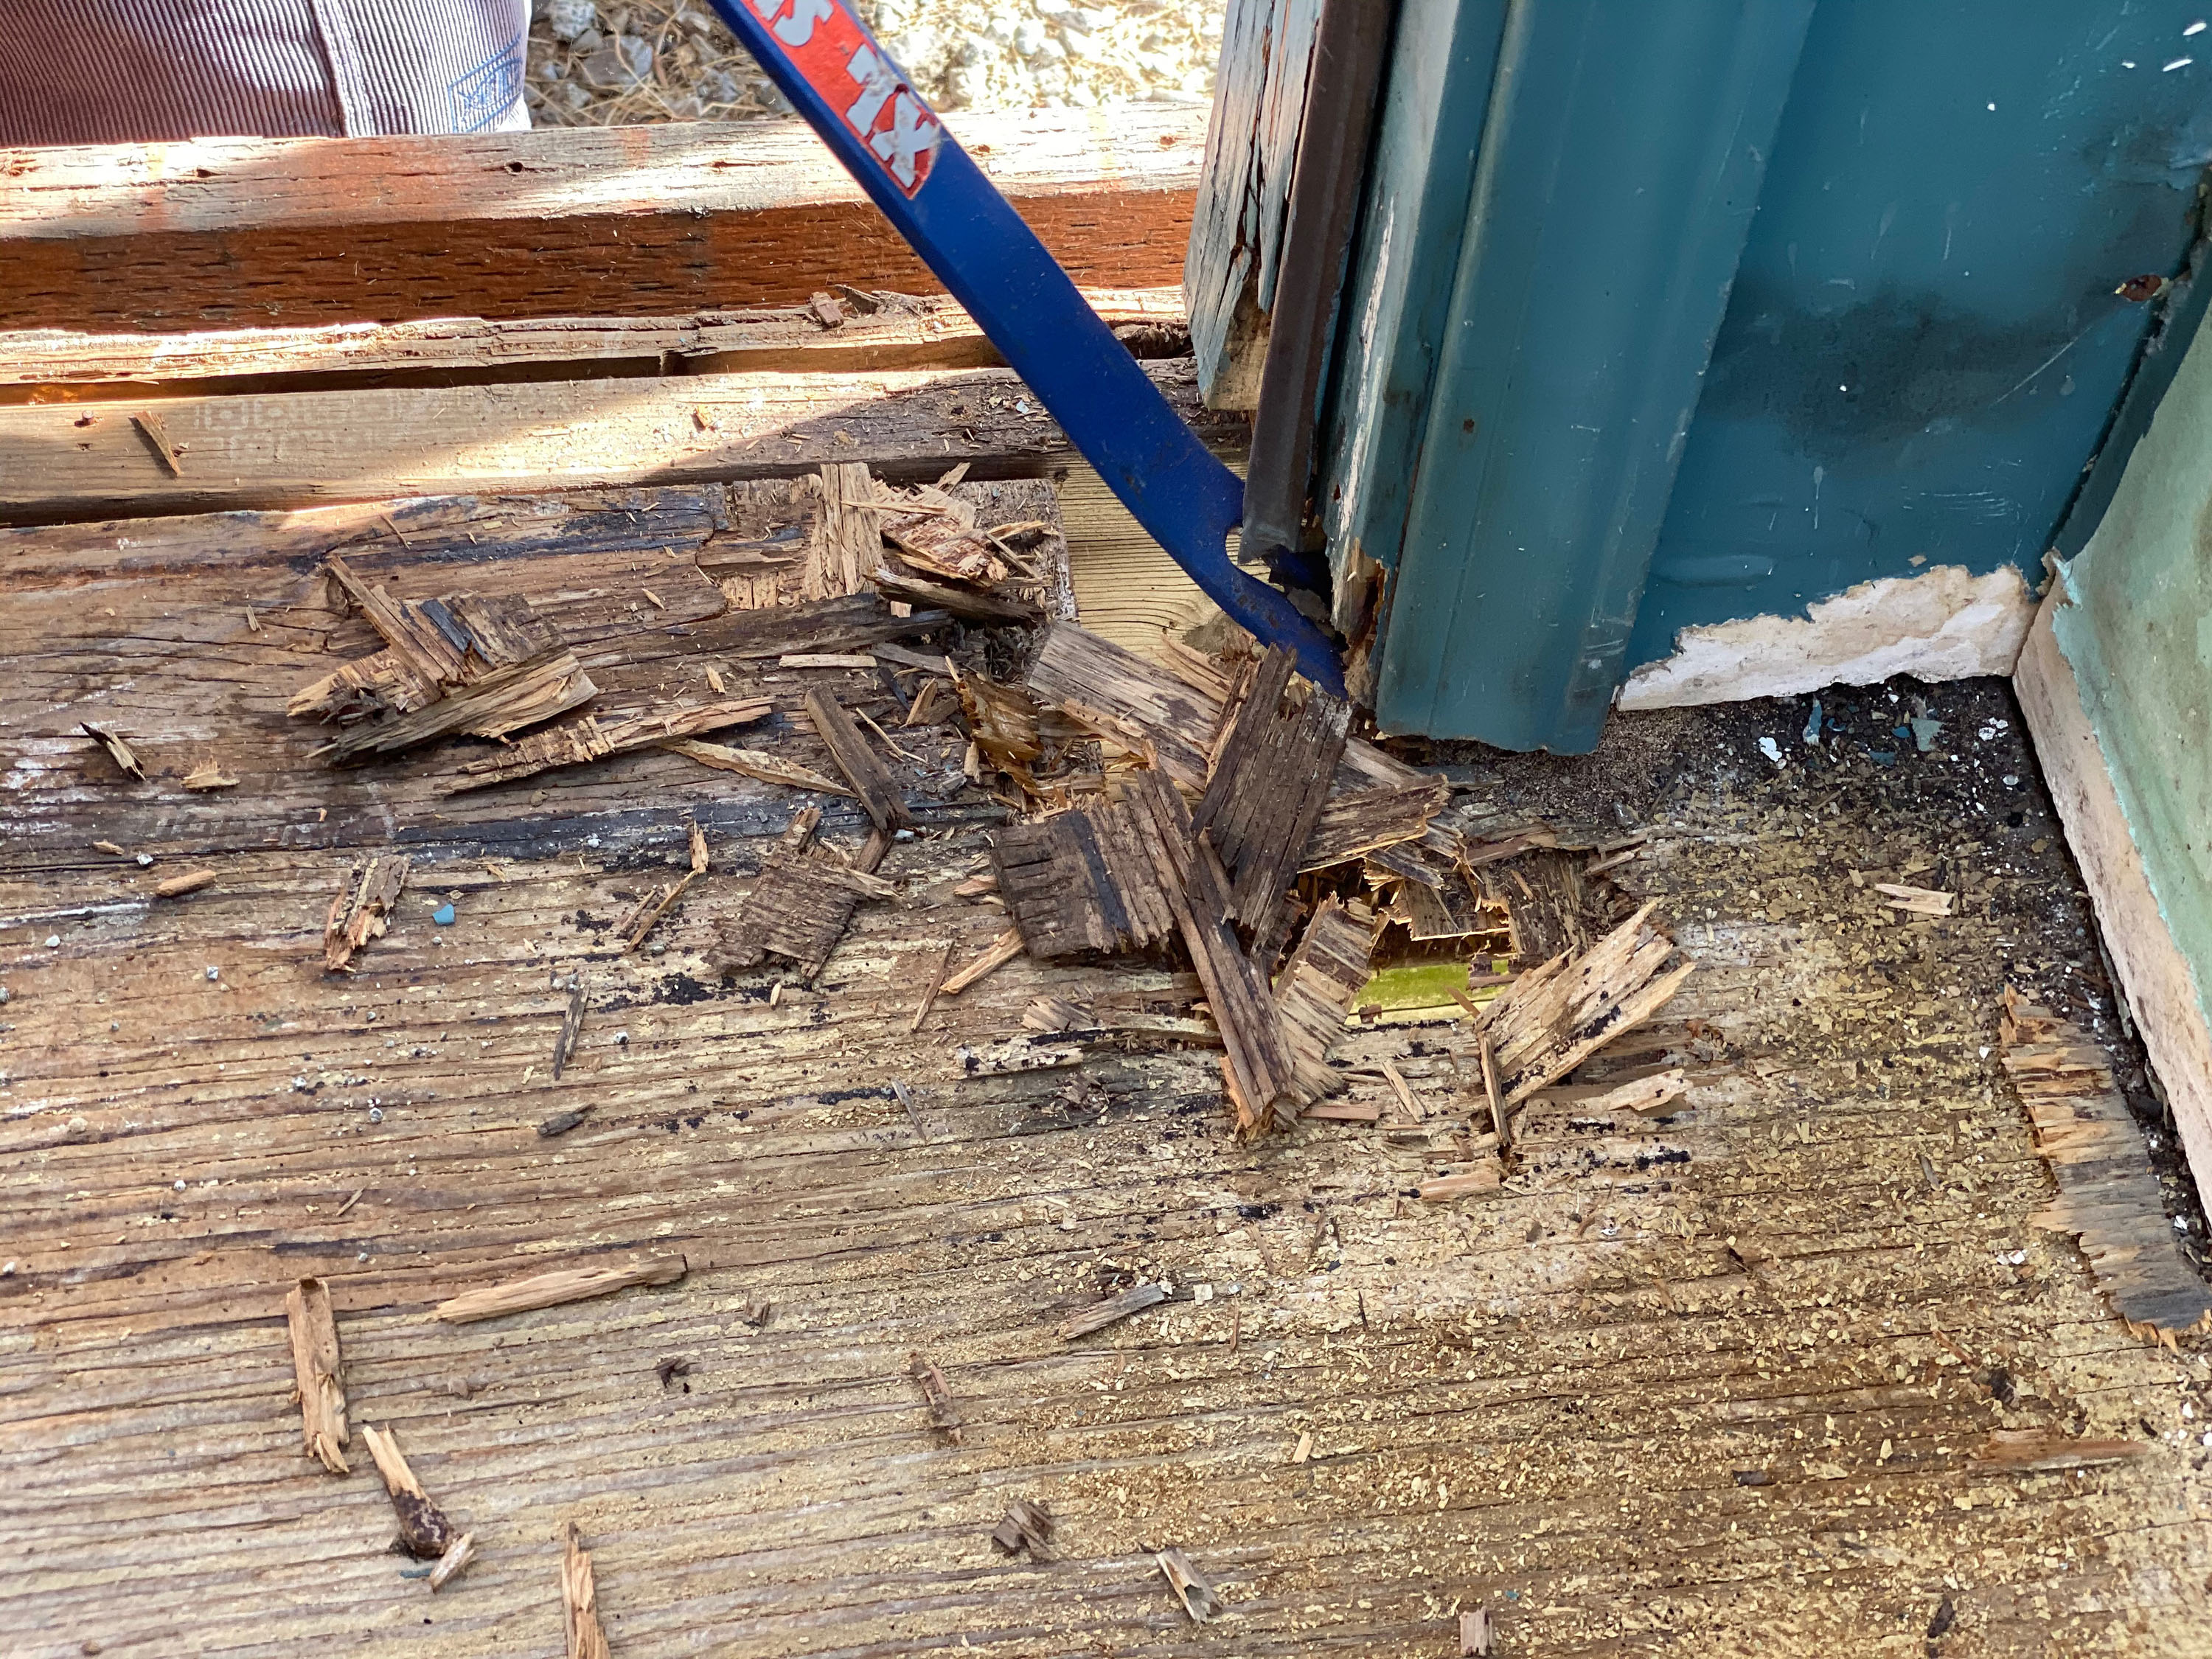
We discovered some soft spots near the double doors during the previous season. The door frame had extensive rot and mice were chewing new doorways into the room. Here is a more extensive look at the work.
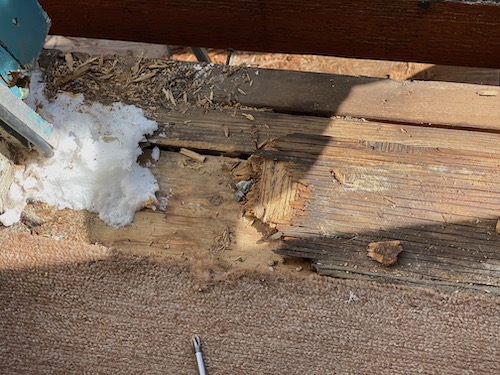
Before Repairs

All fixed, next, the door frame…
Challenger Door
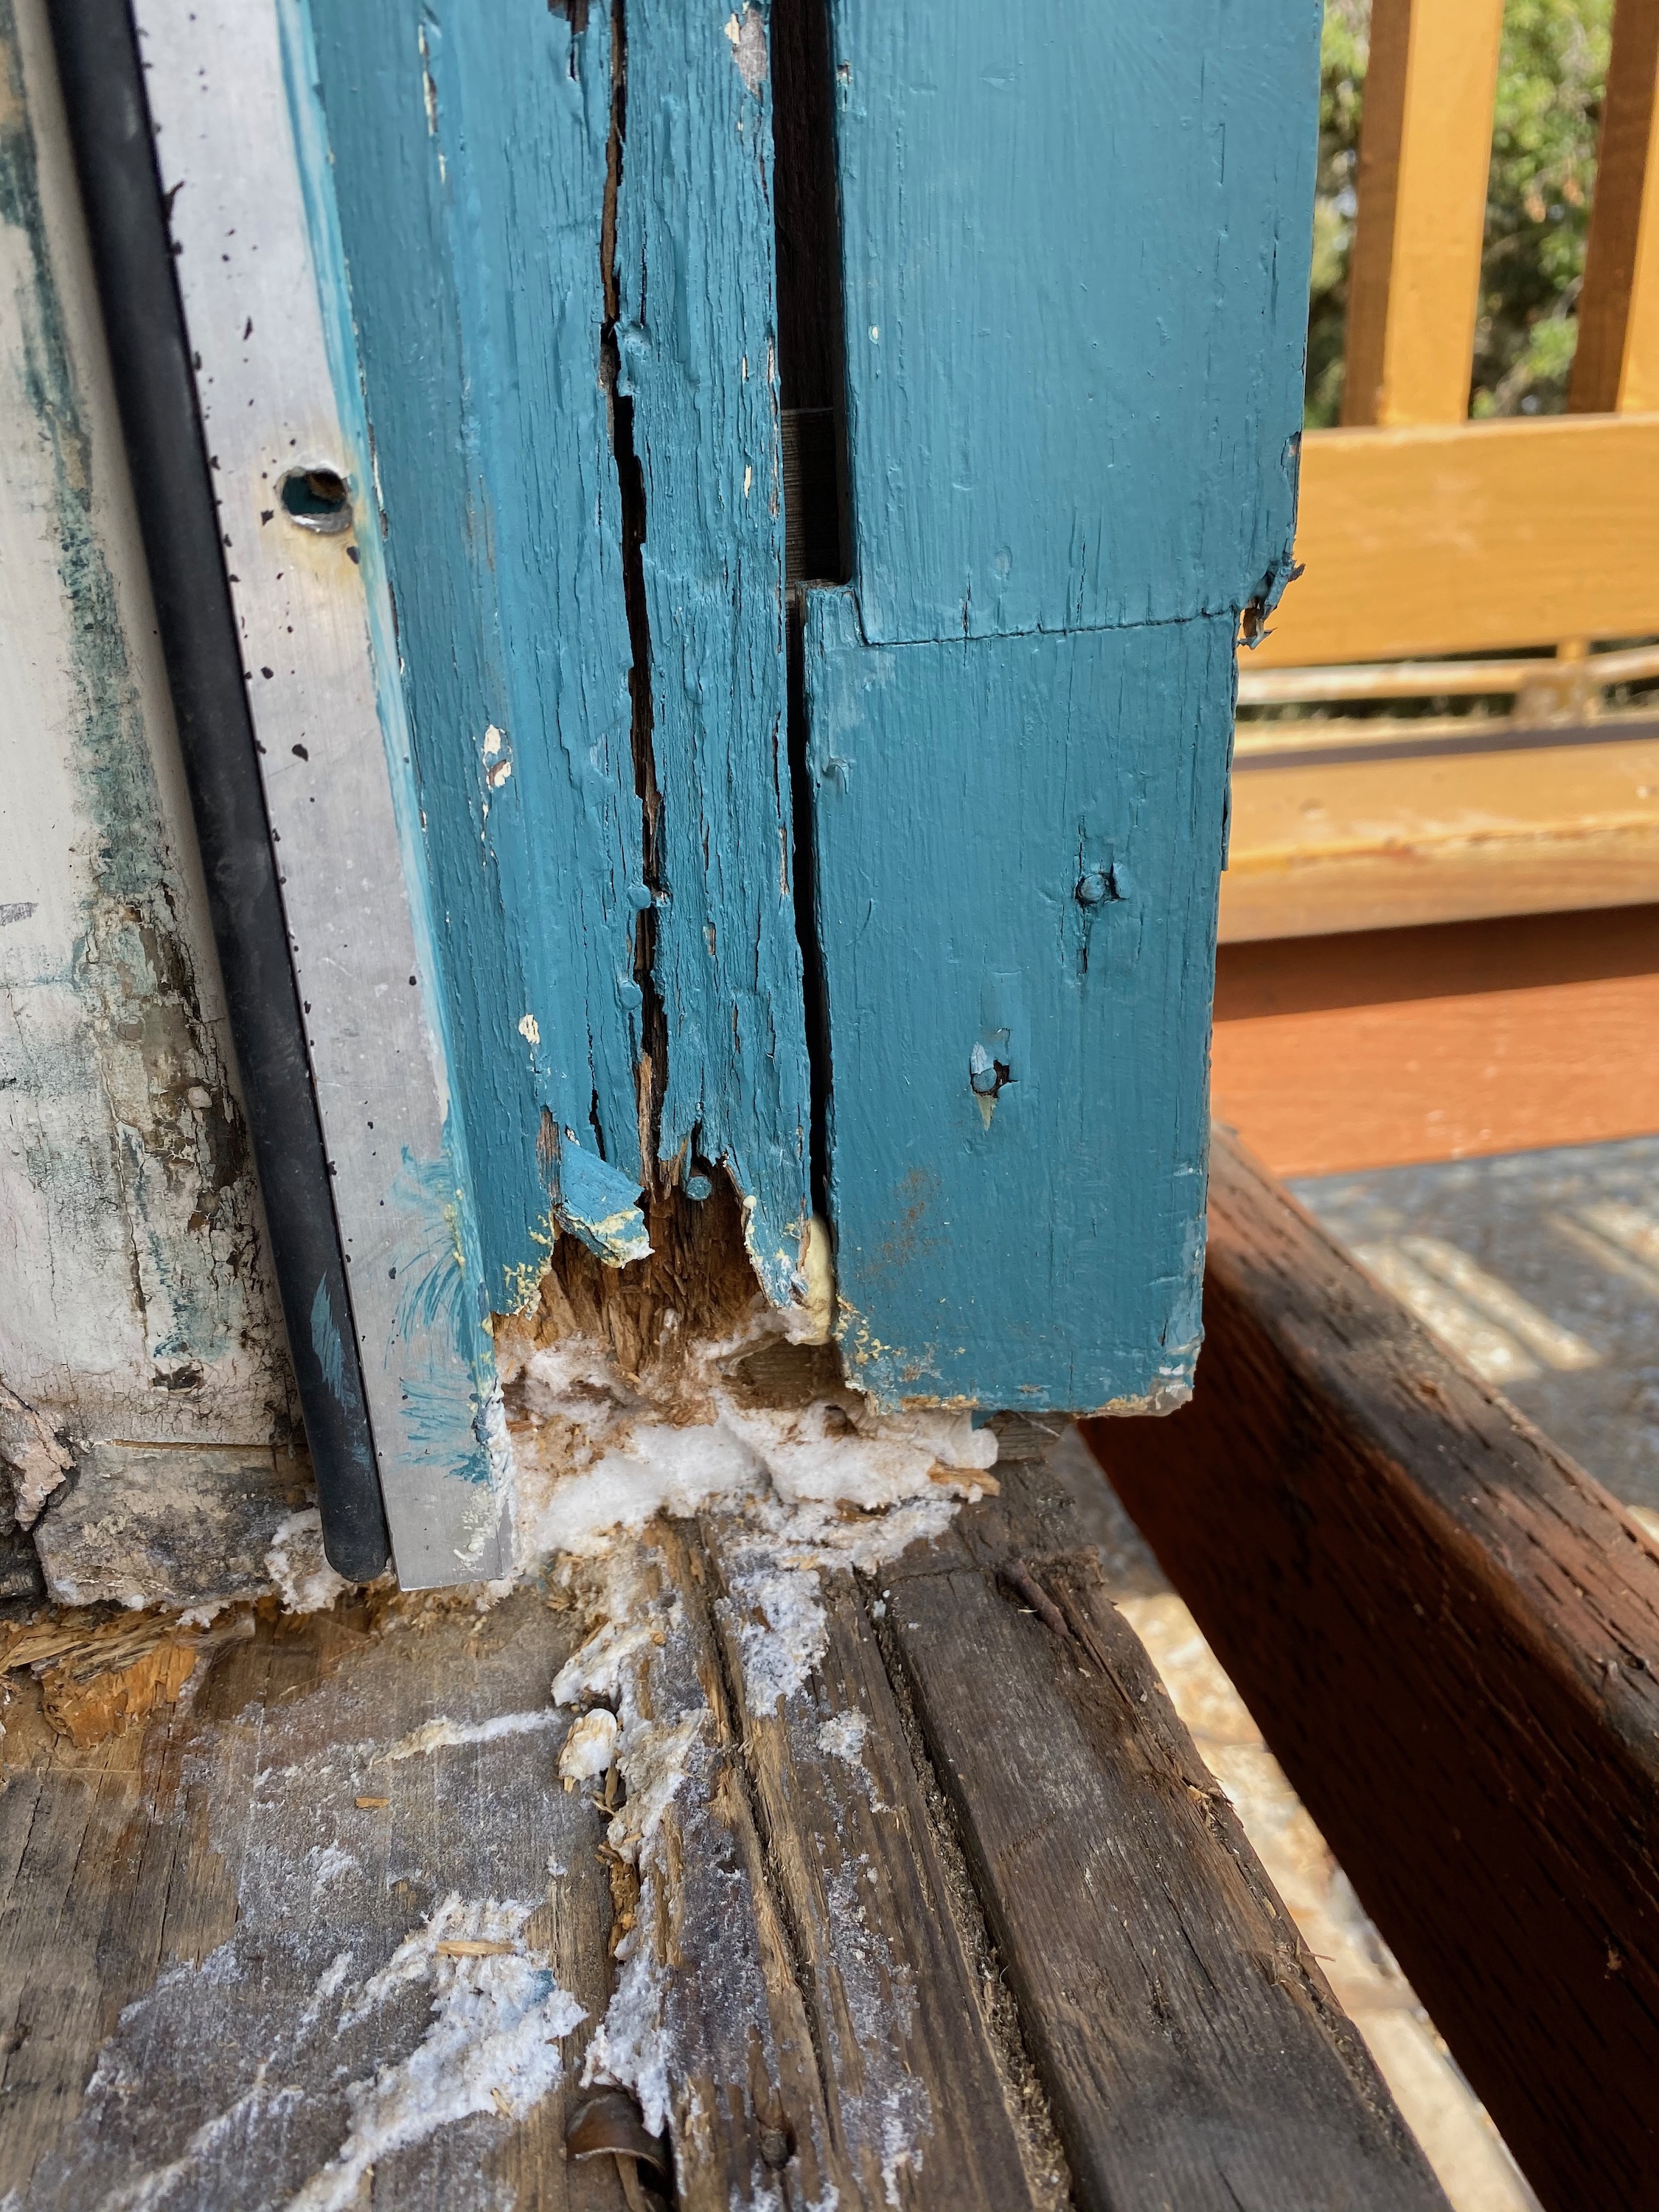
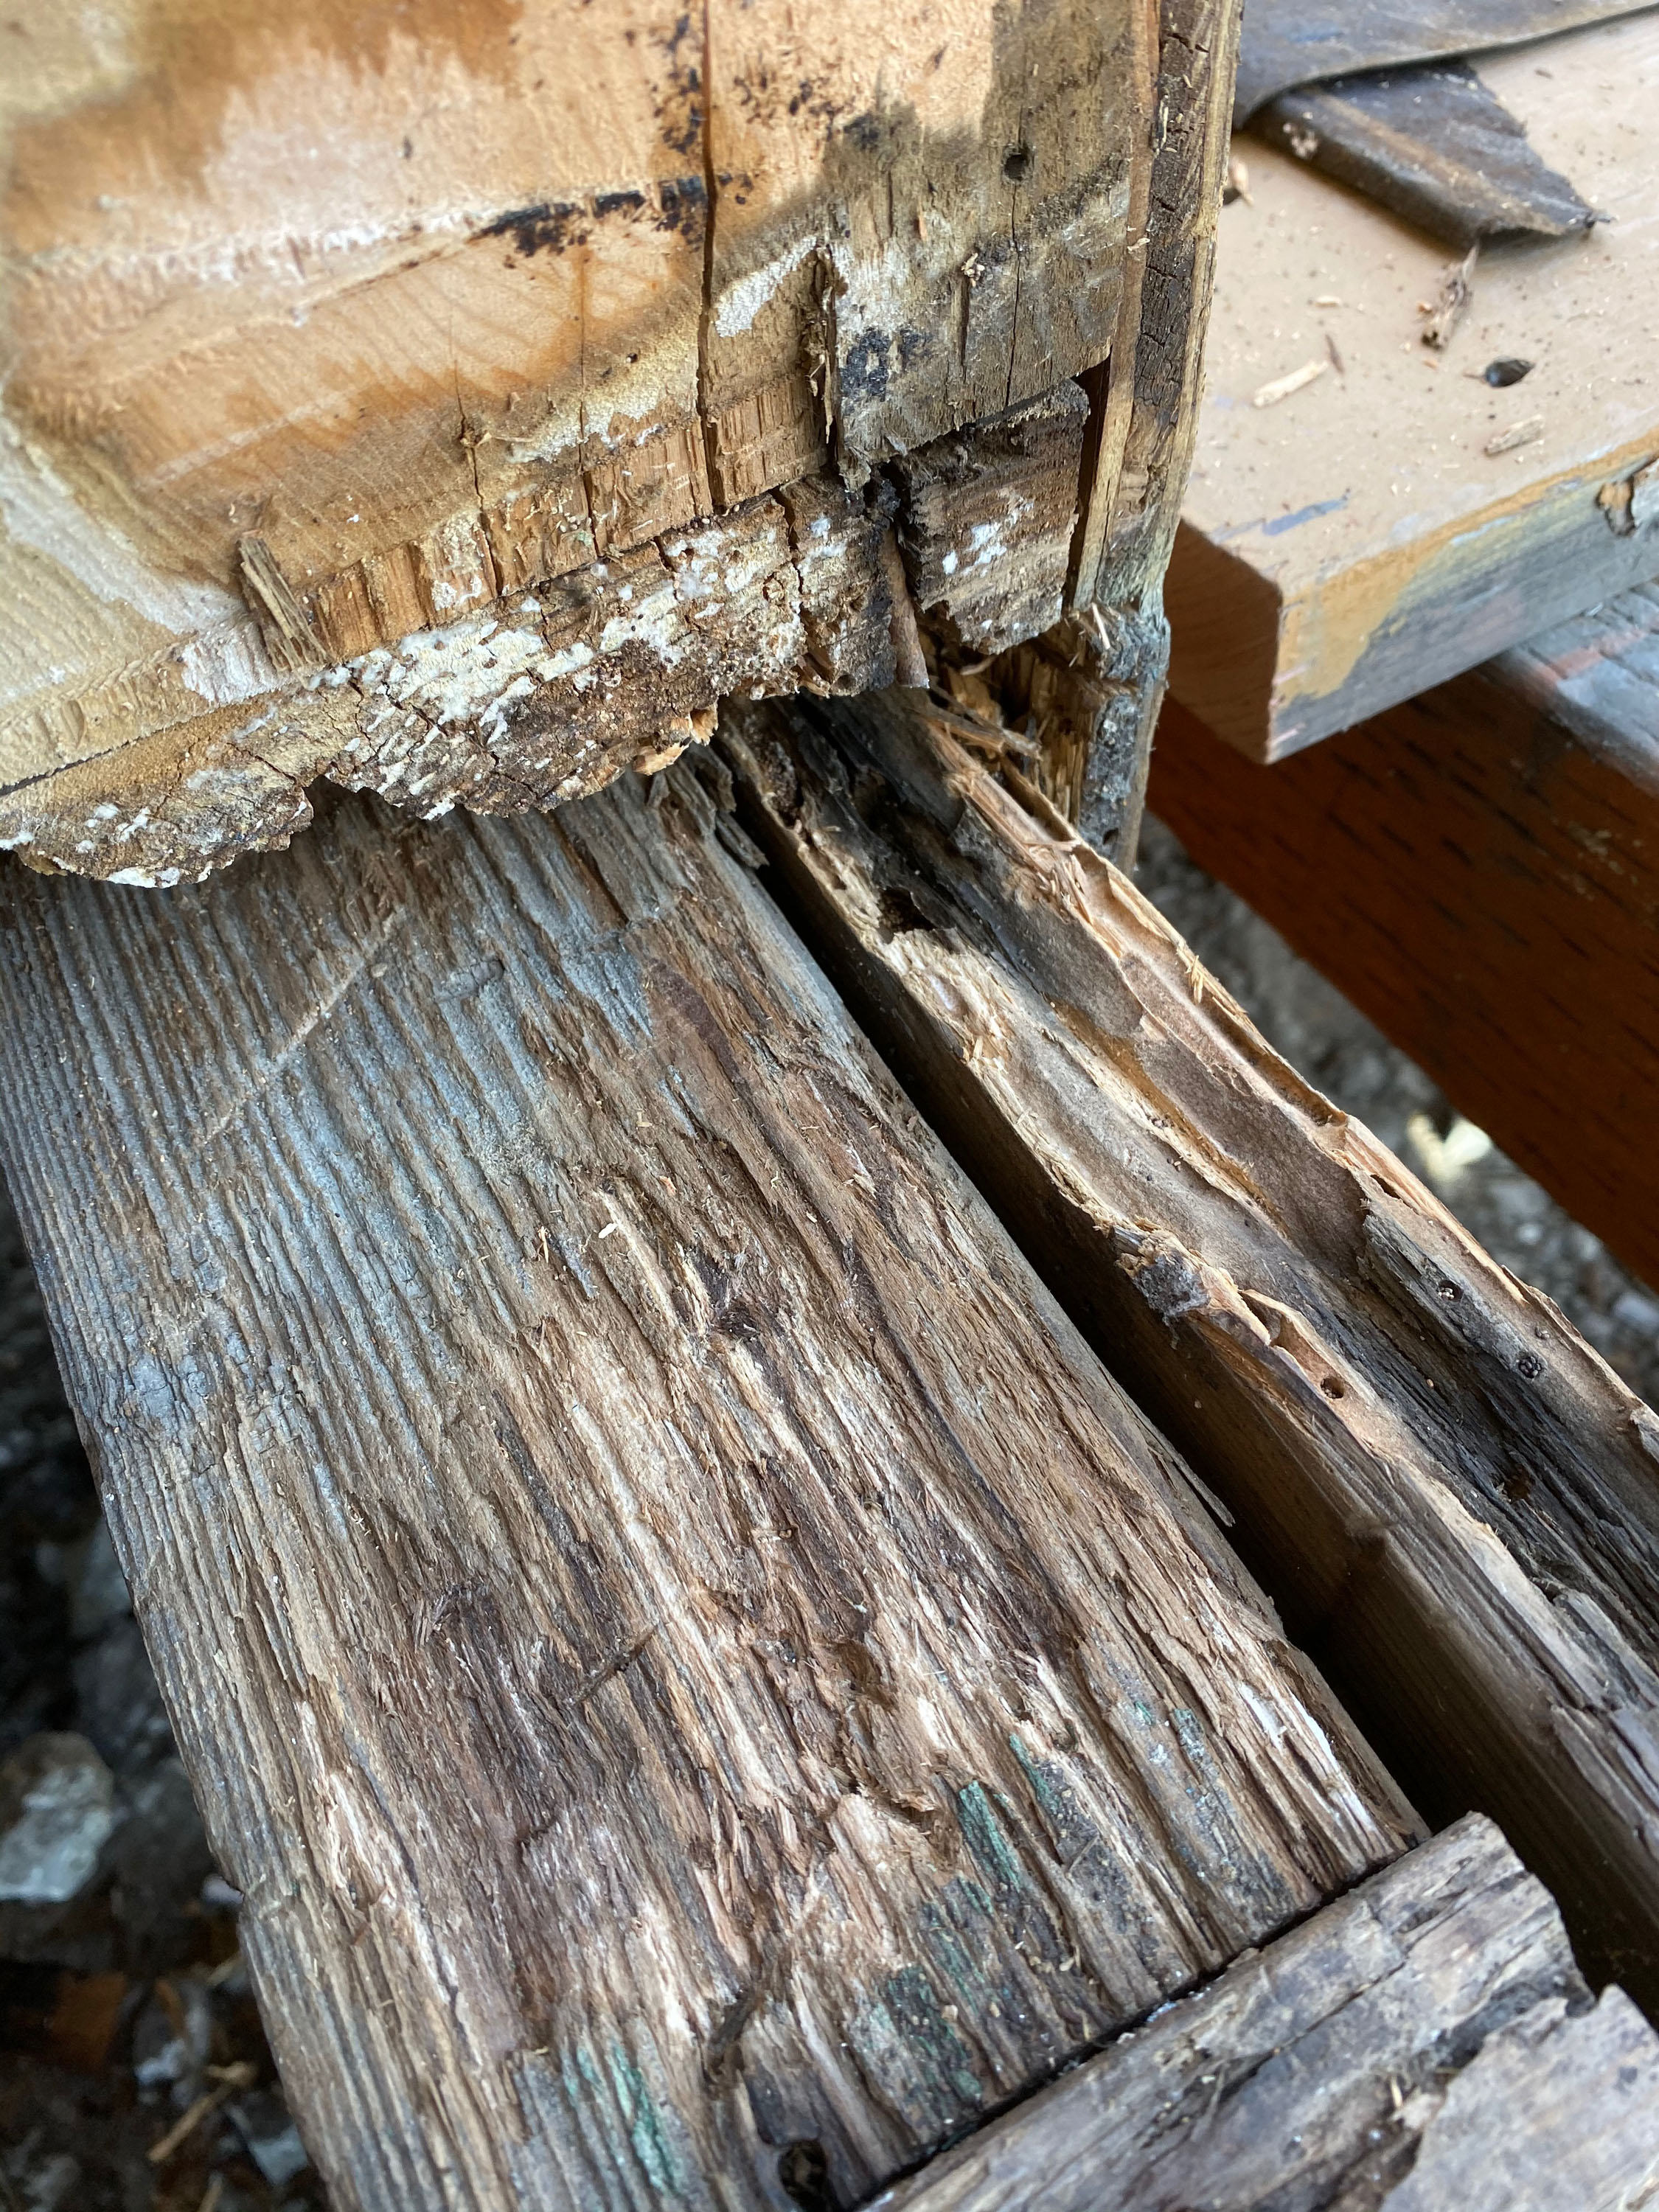
Before the renovation began we had a soft spot in the floor by the doors. The frame was also significantly rotted. After demo, we found opportunities to add structural support, treat some termites, and re-sheet the subfloor. Here is a more extensive look at the work.
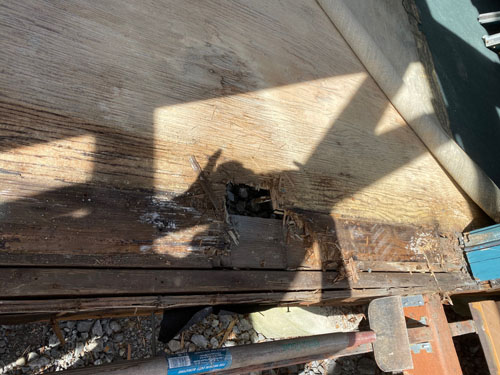
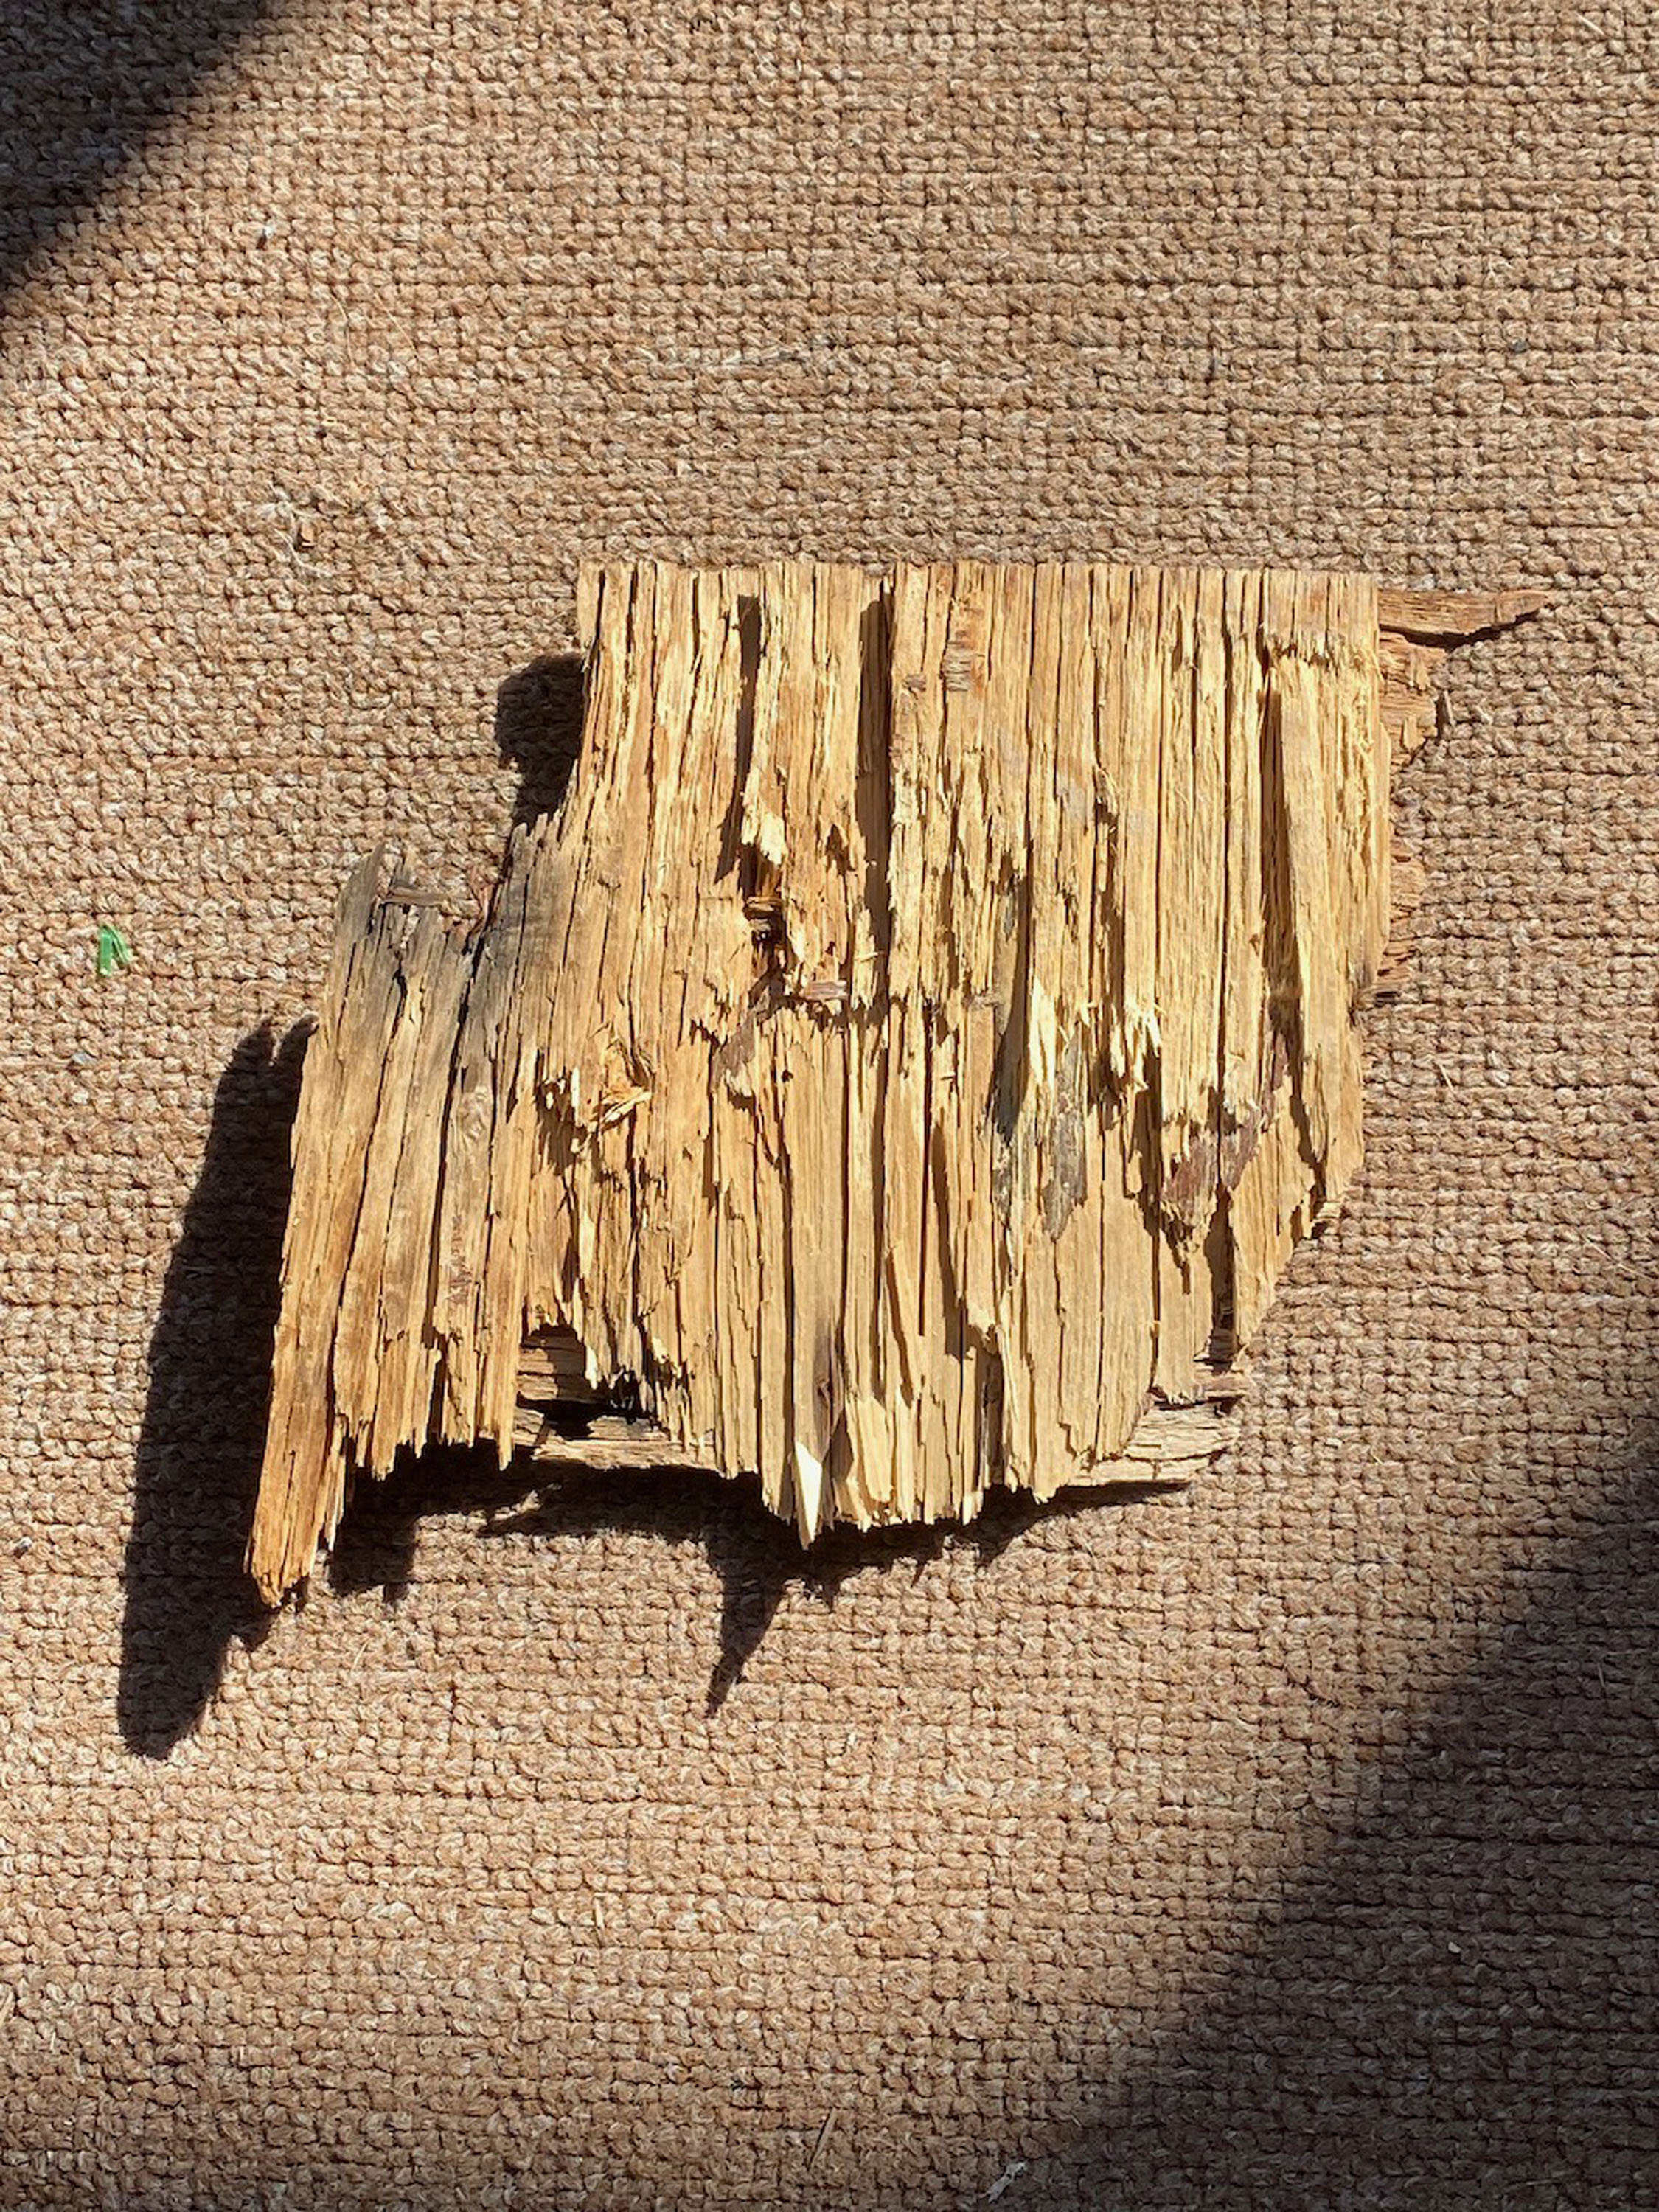
Double door “soft spot” and termite damage.
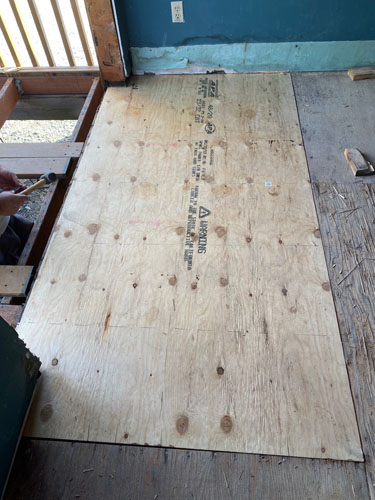
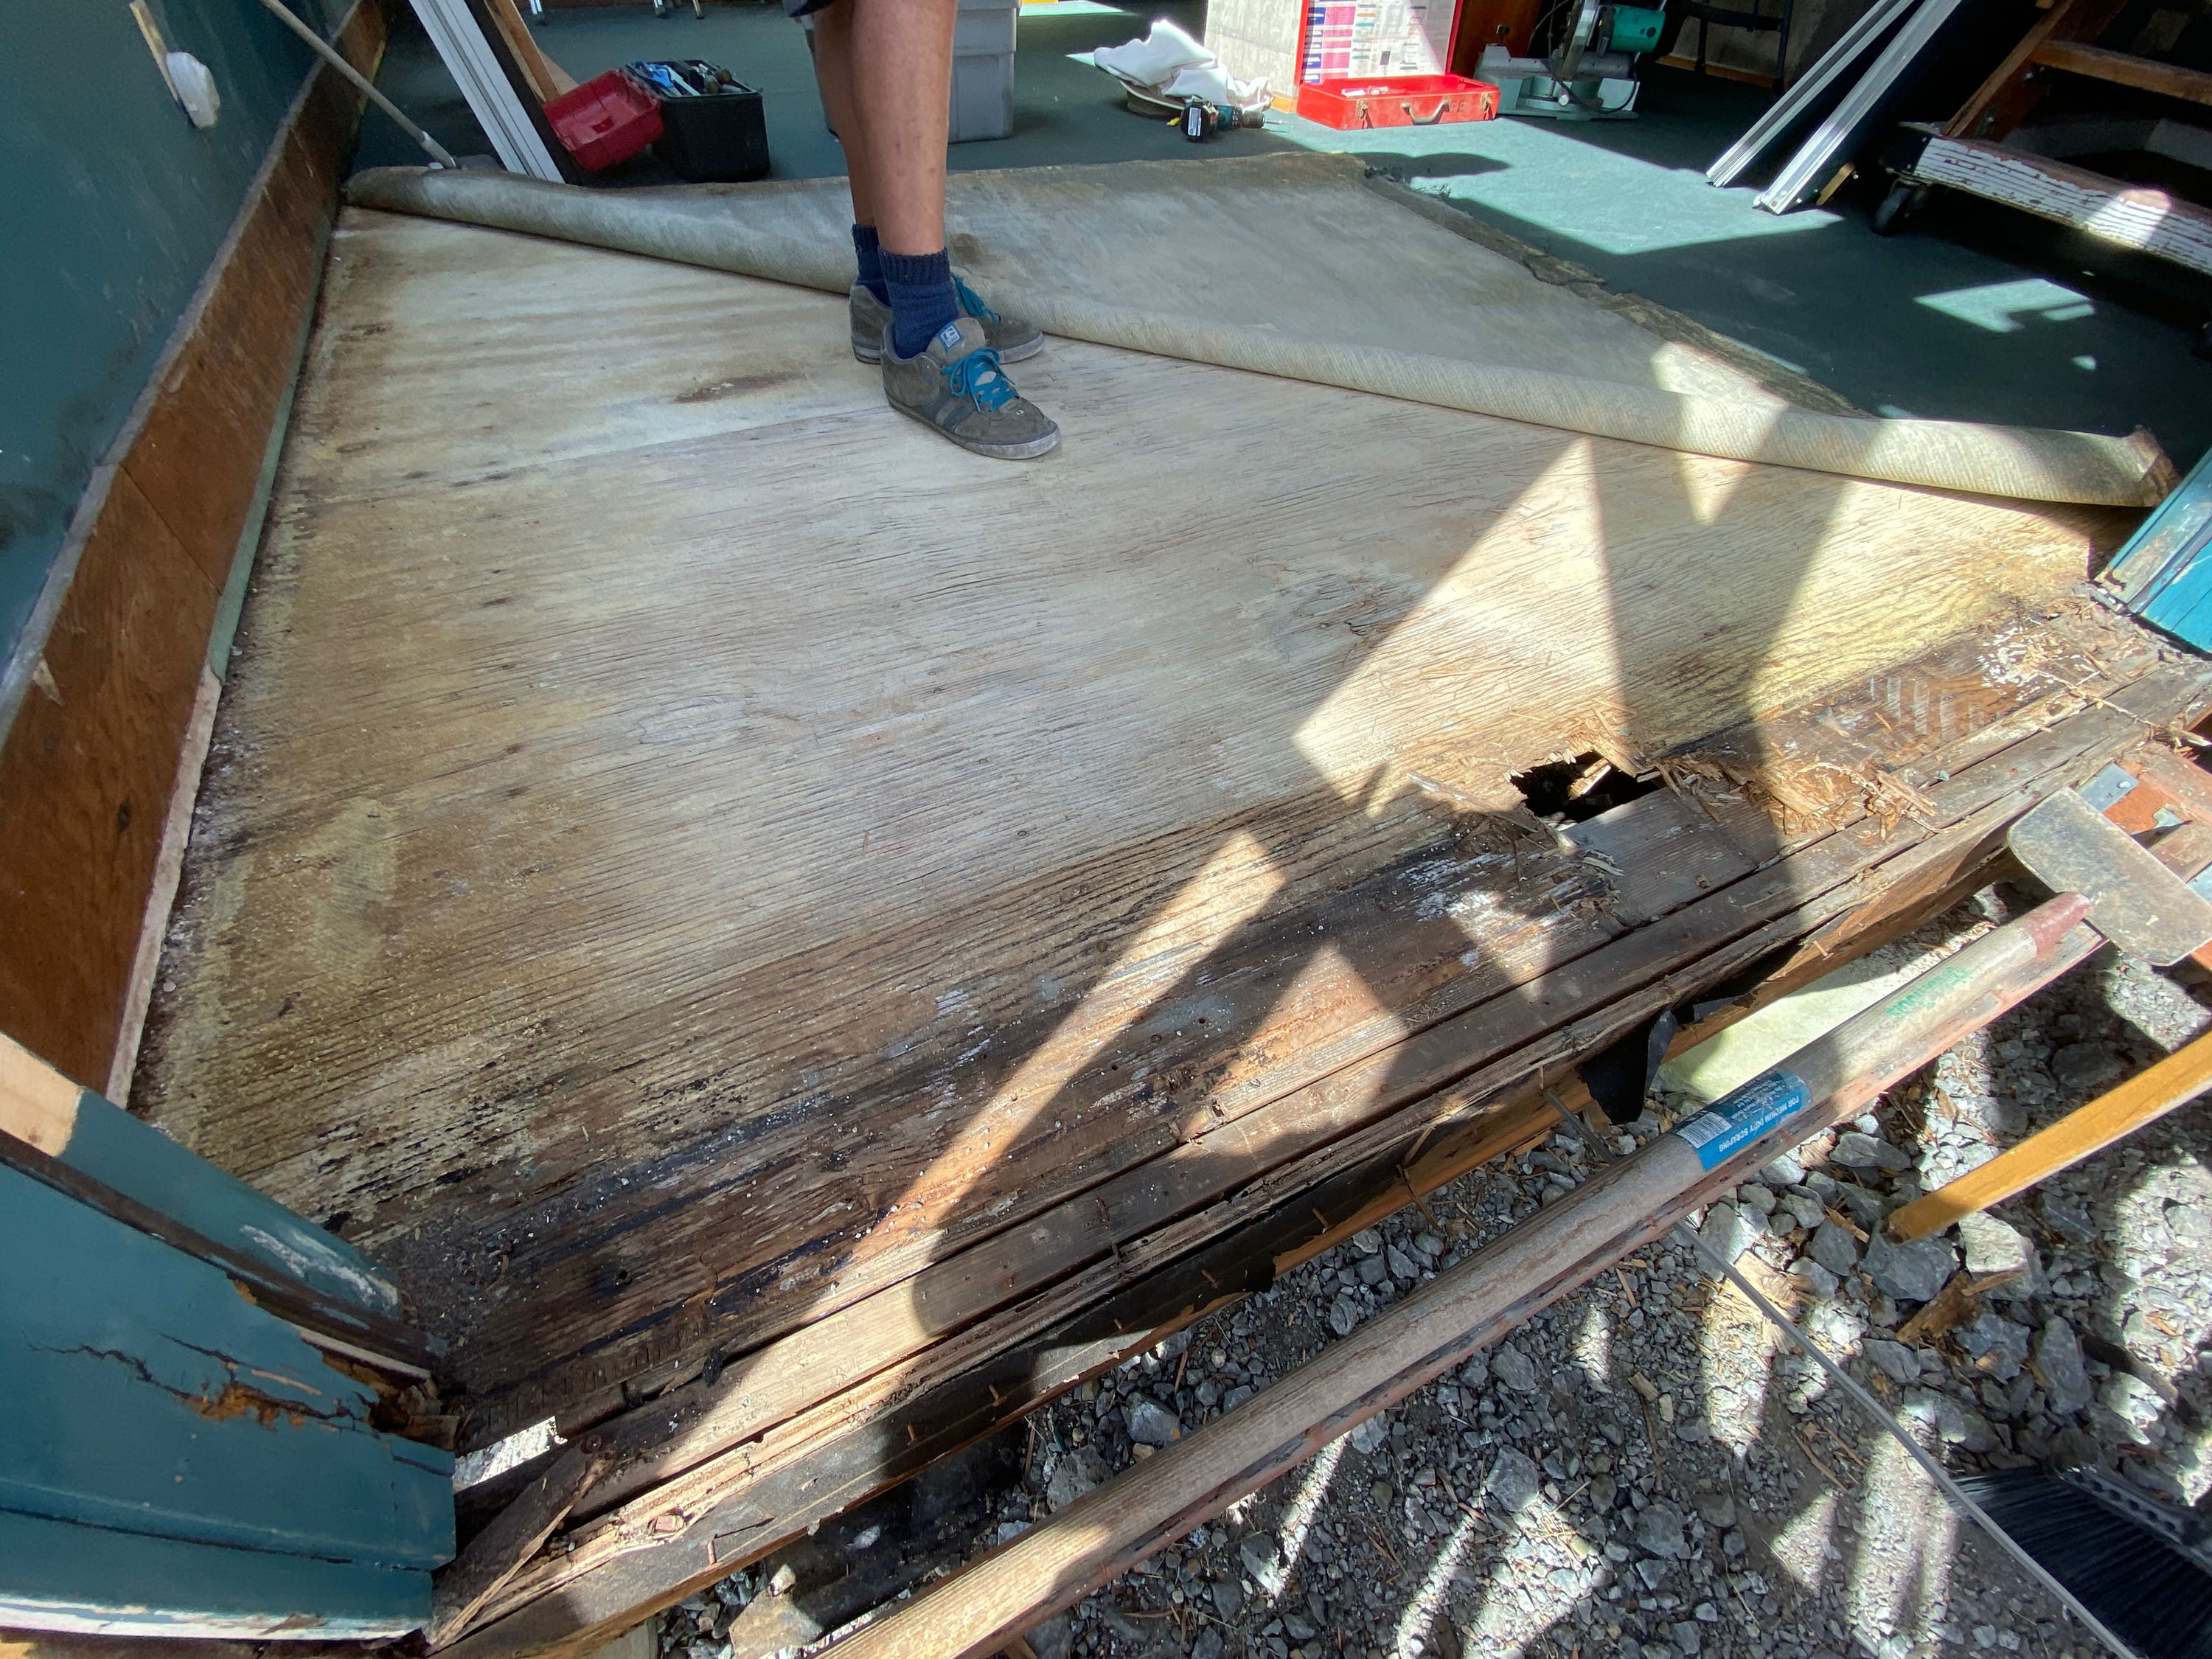
New subfloor sheet
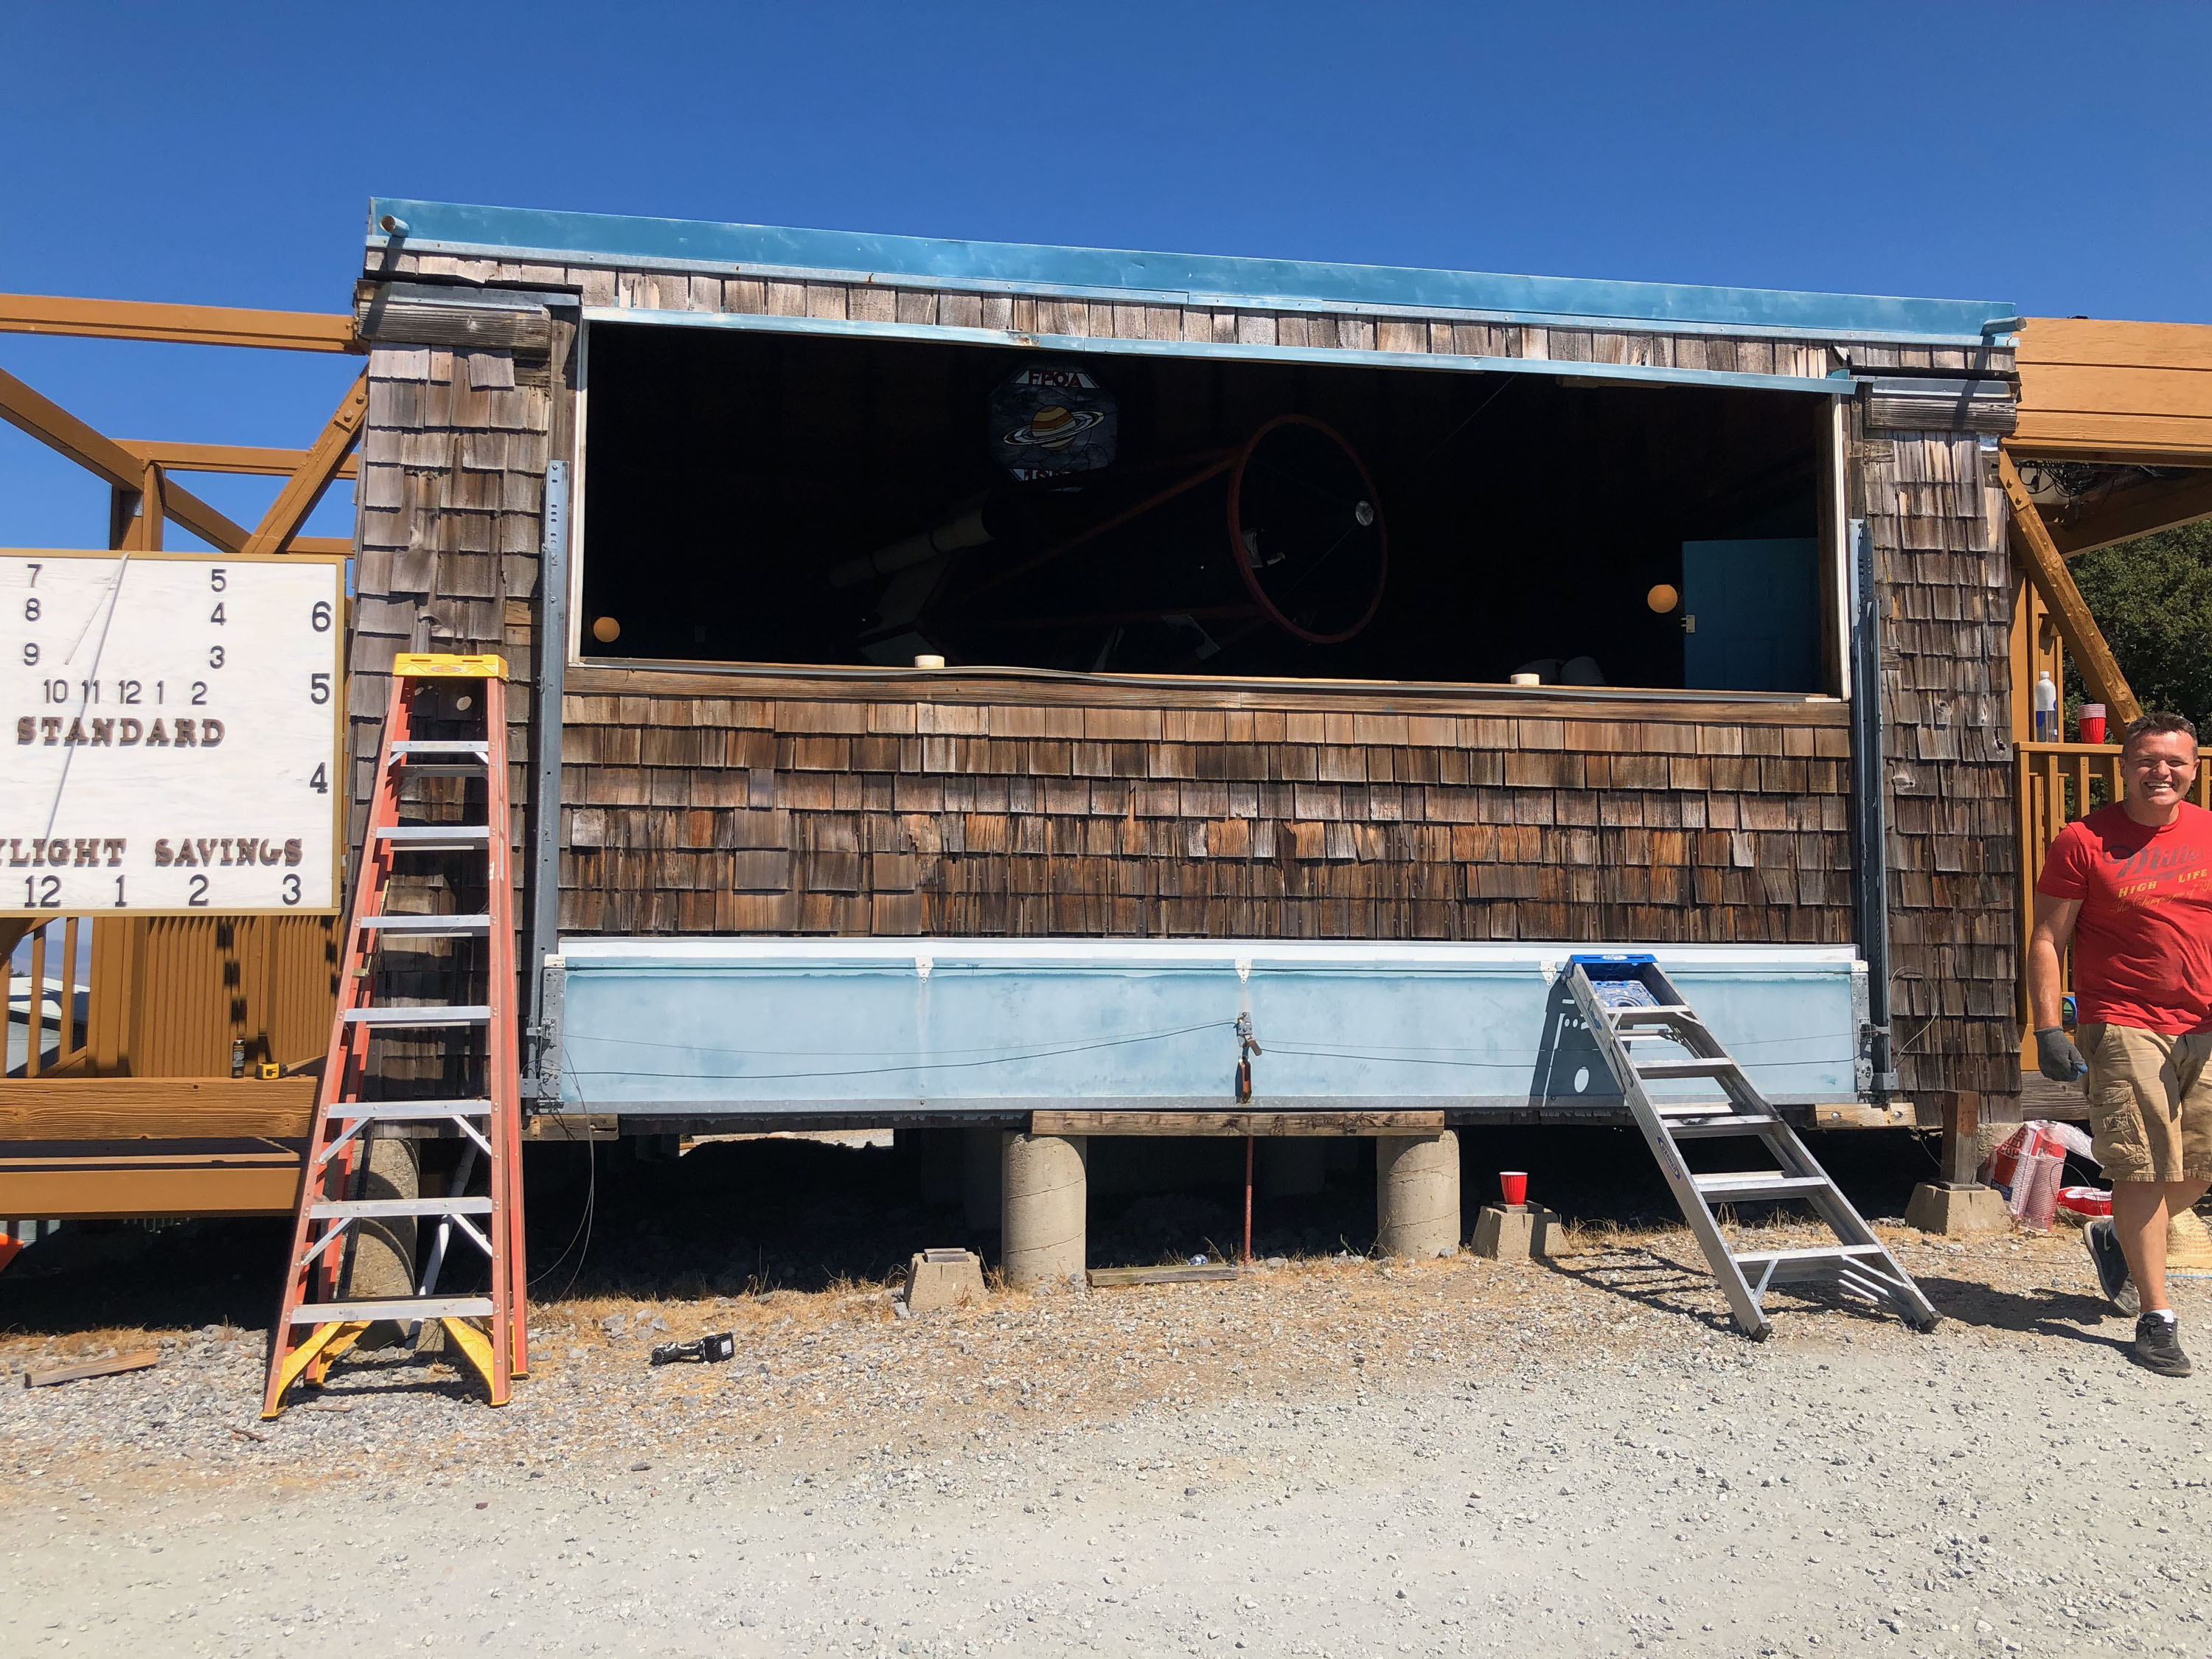
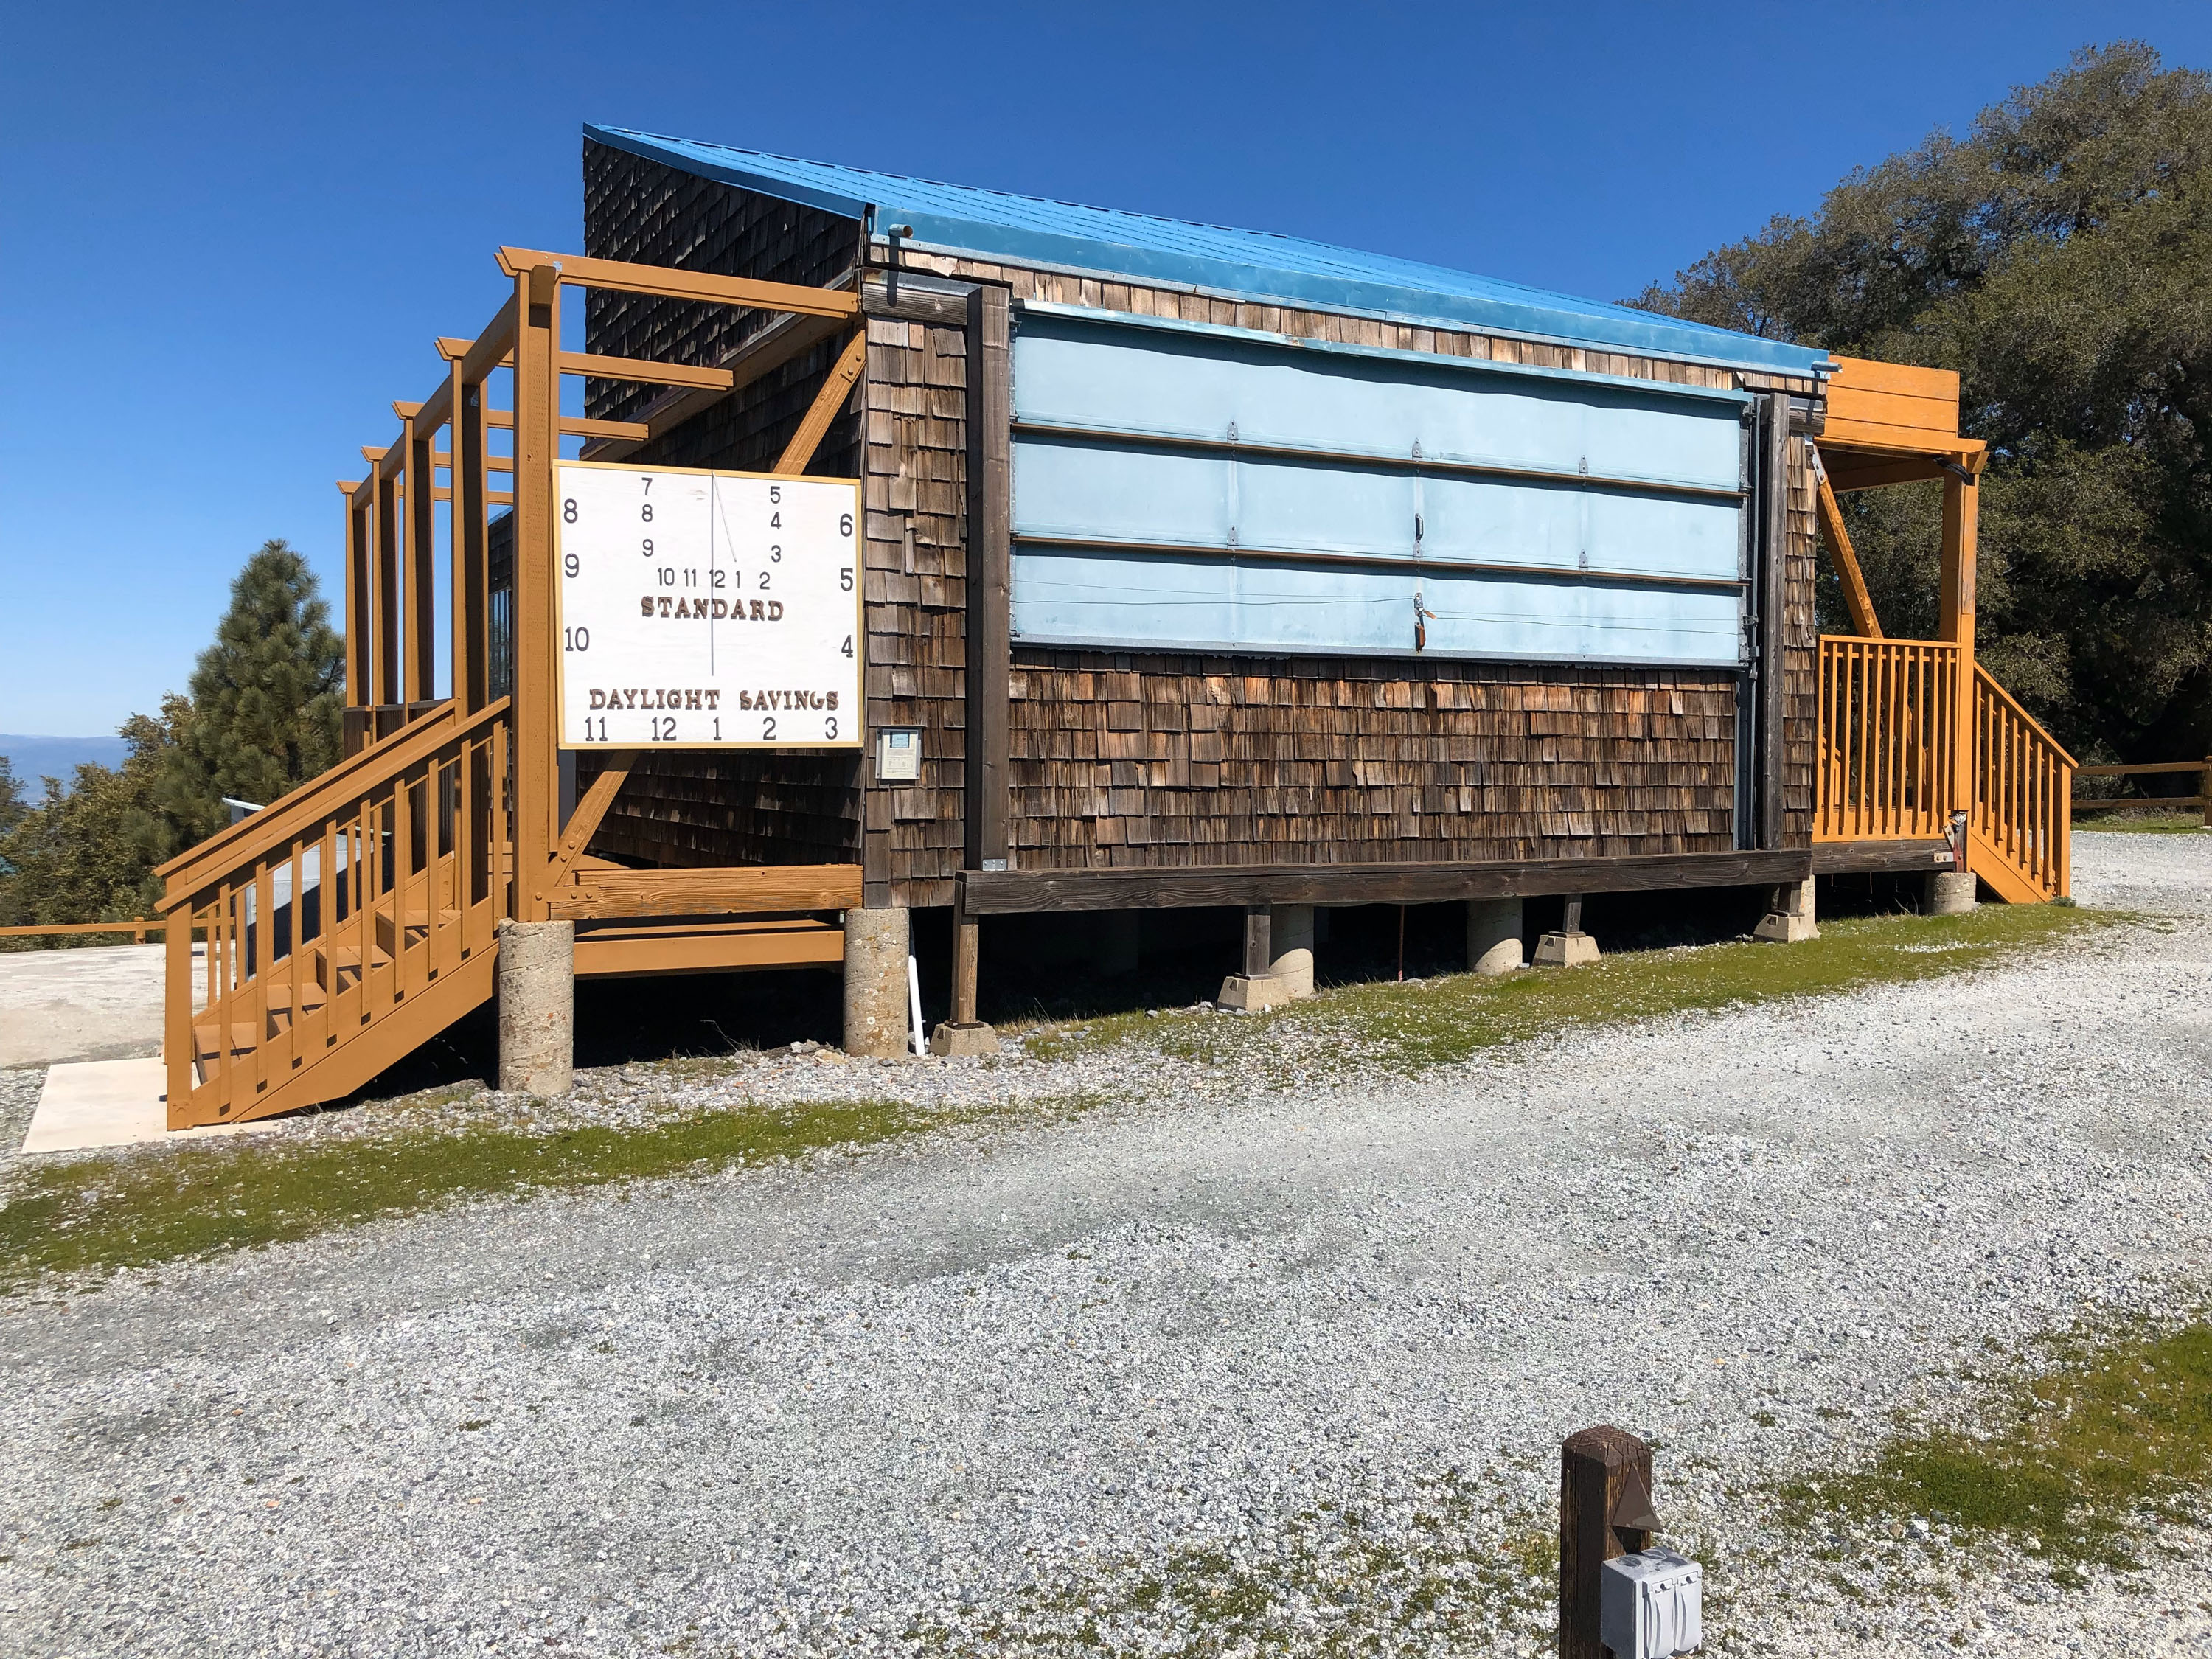
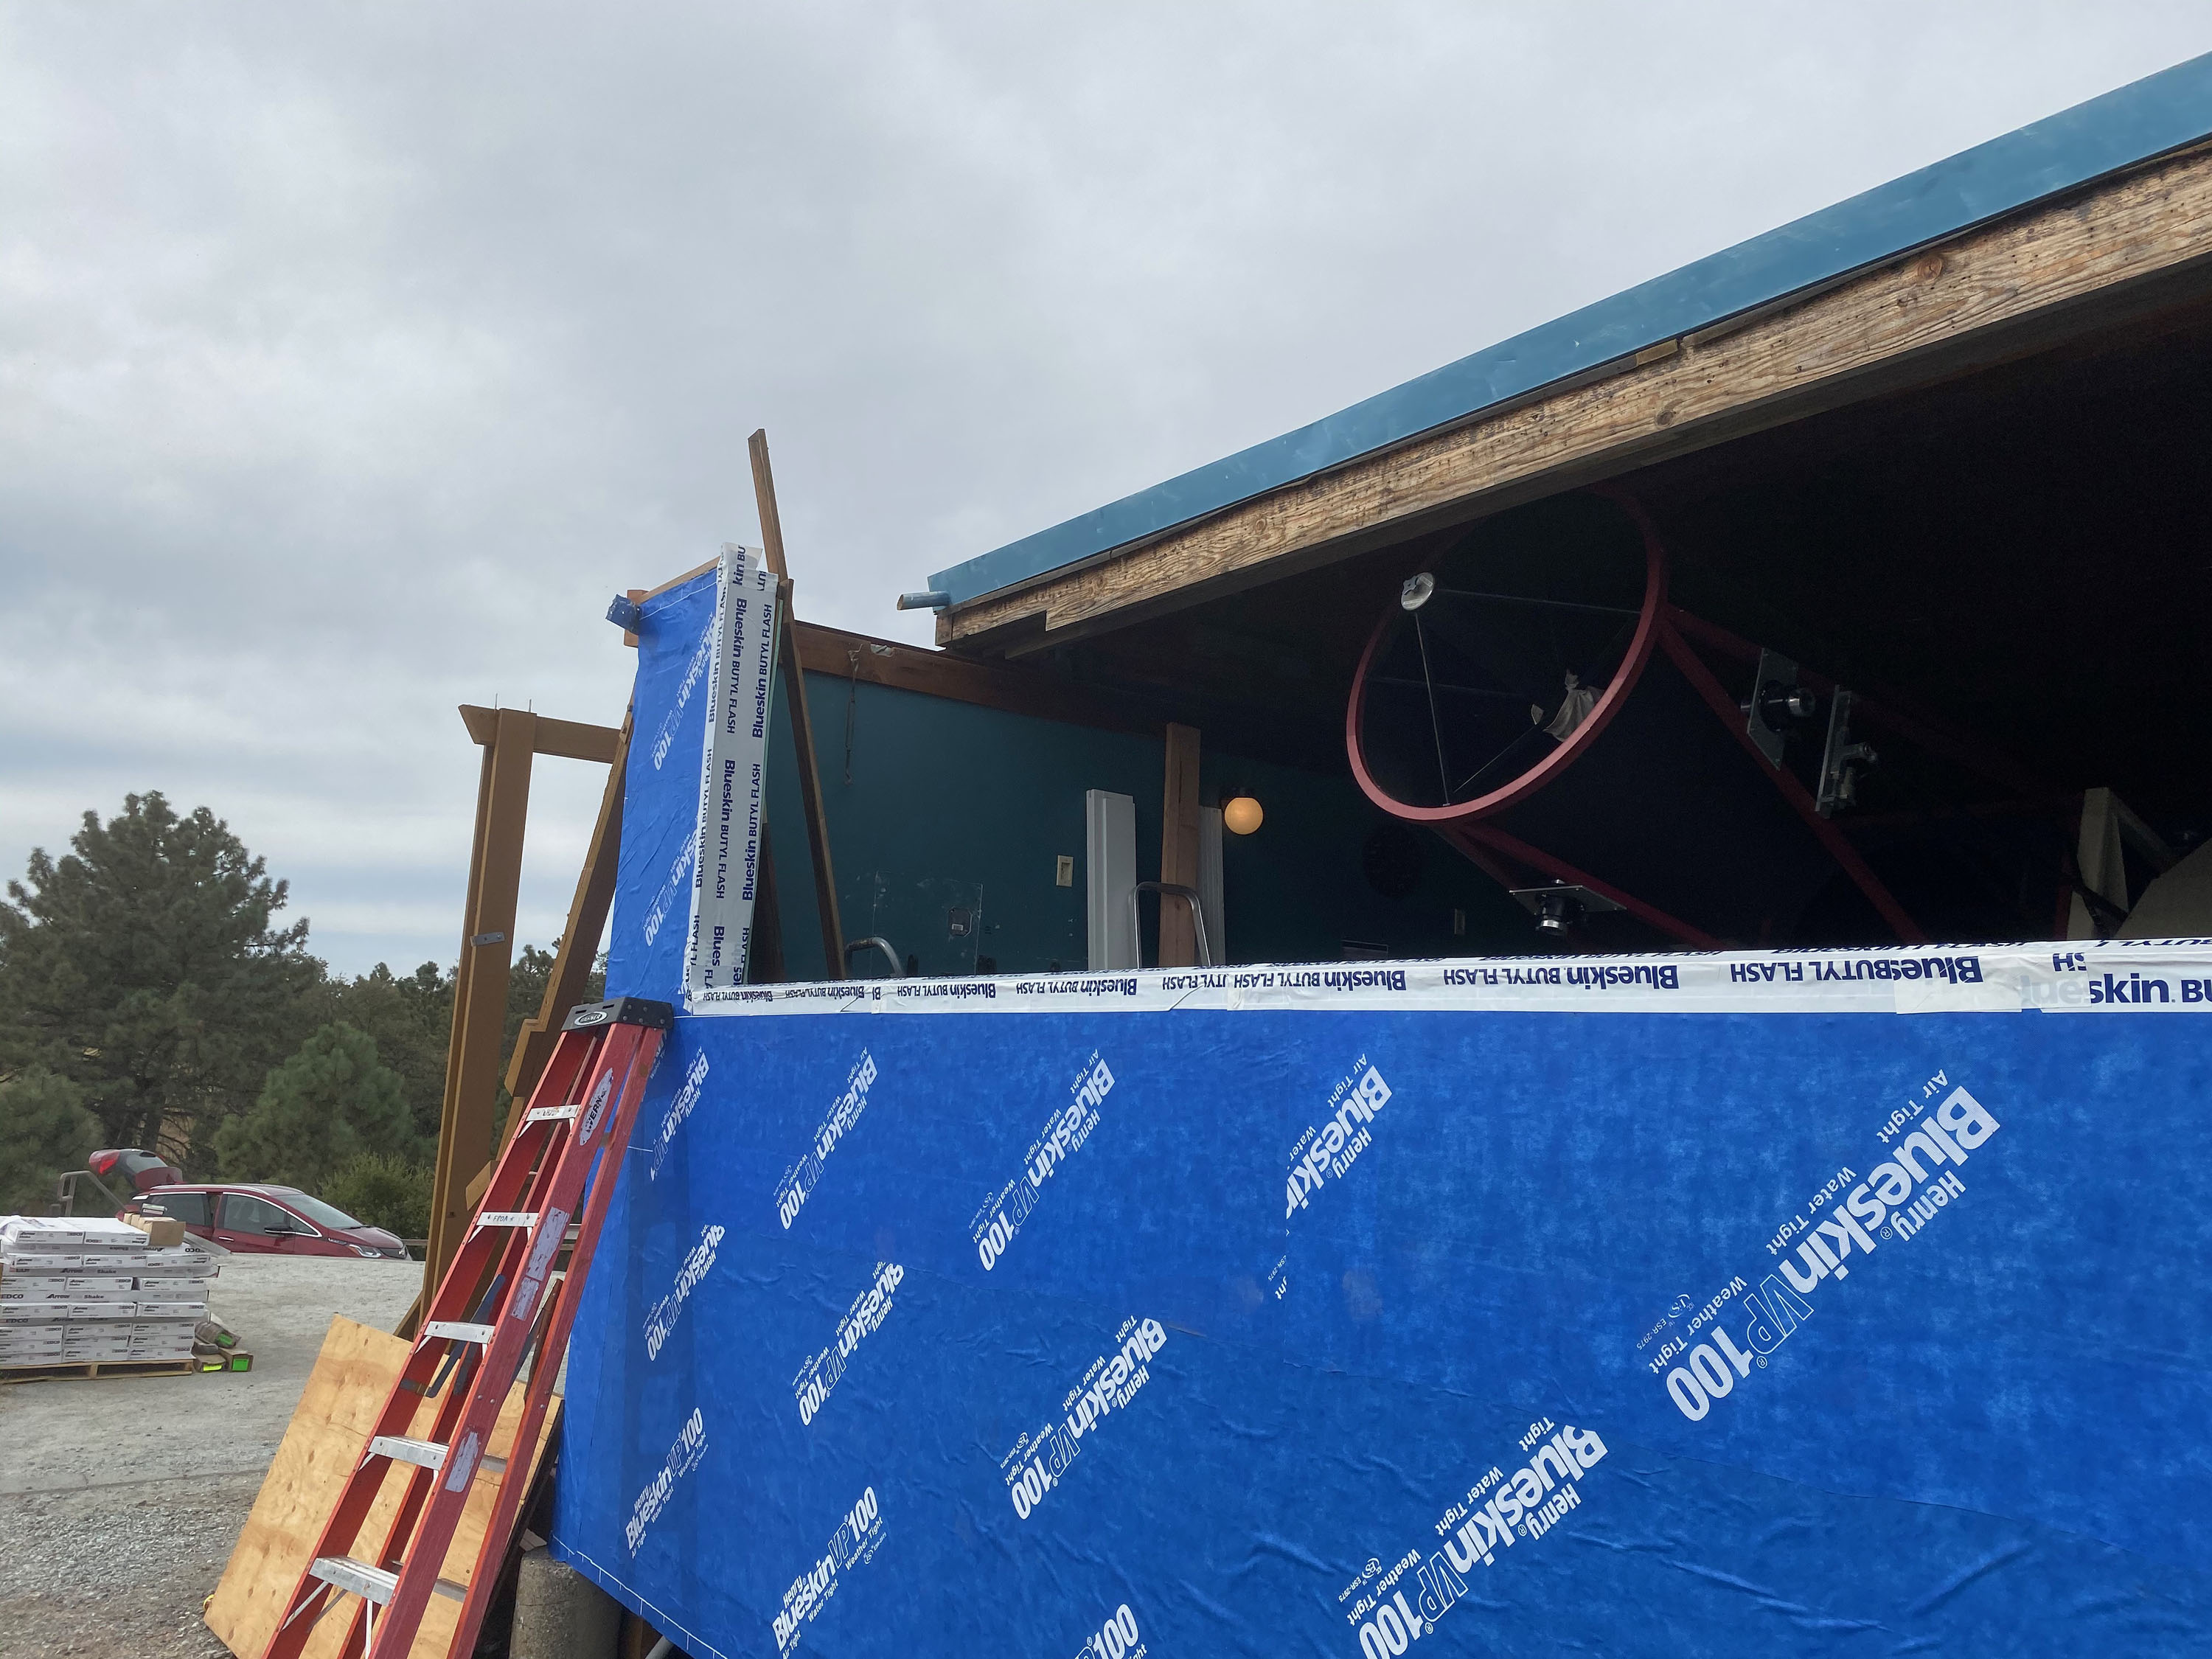
South Shutter
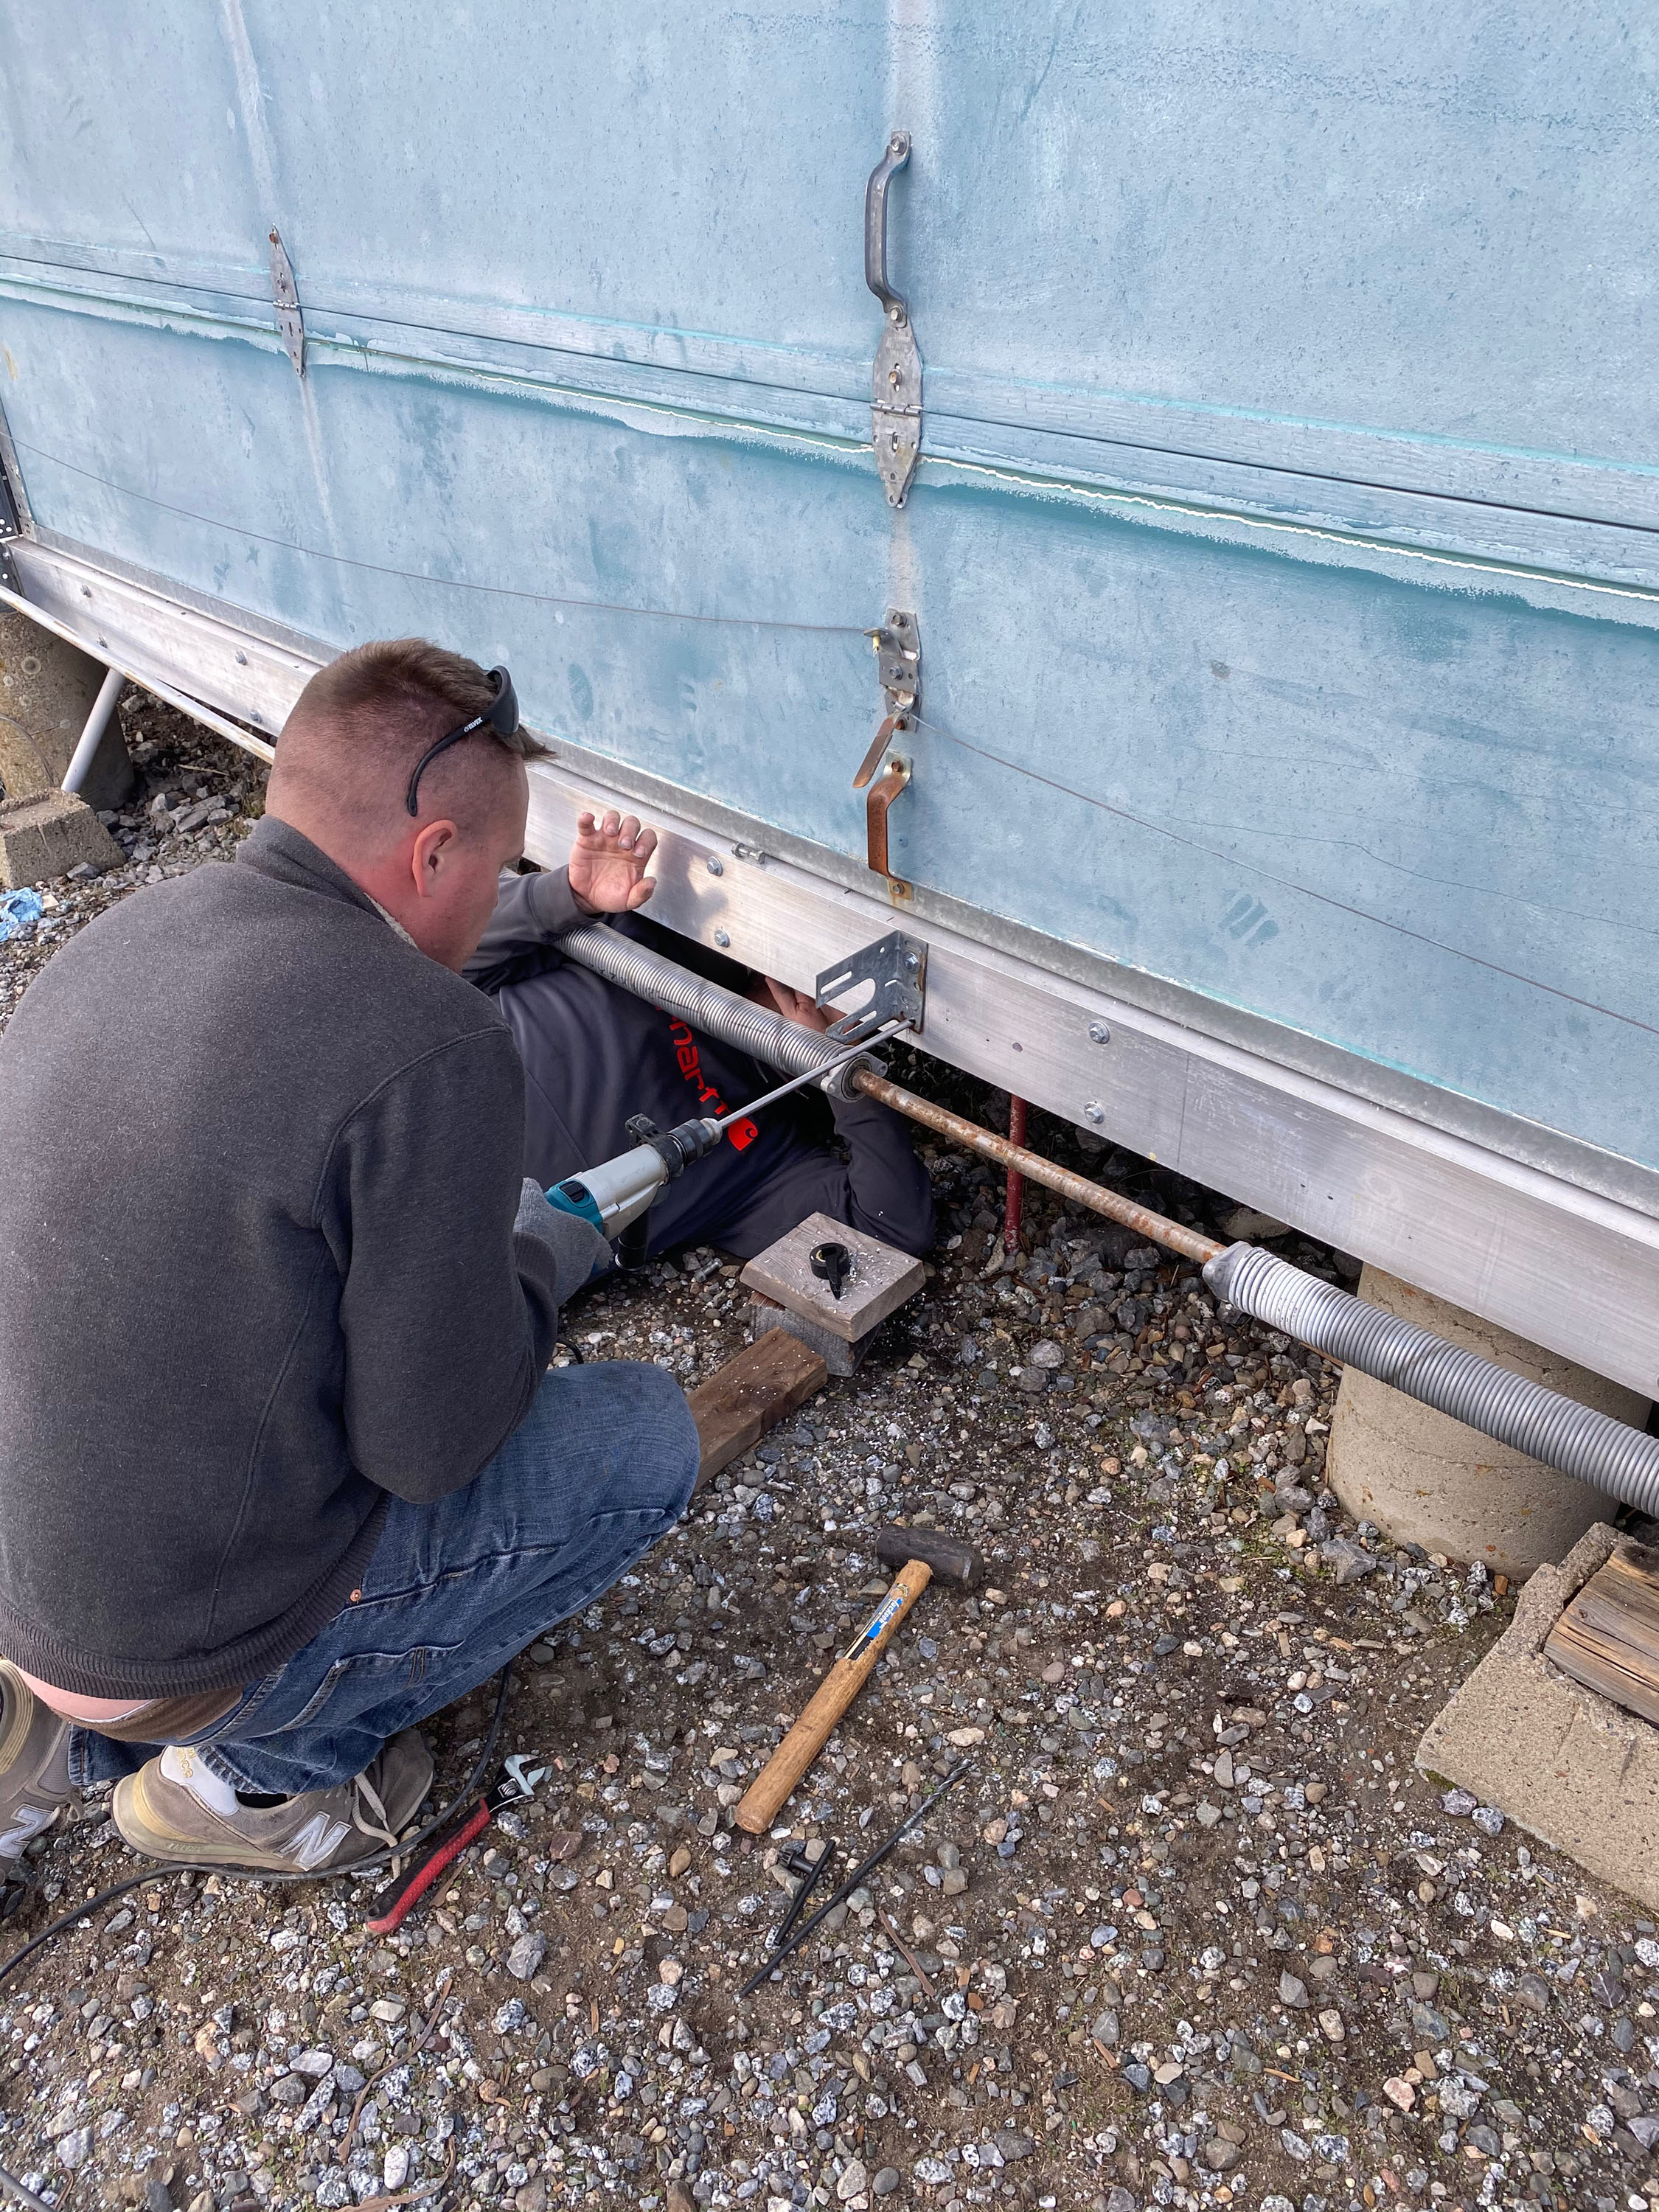
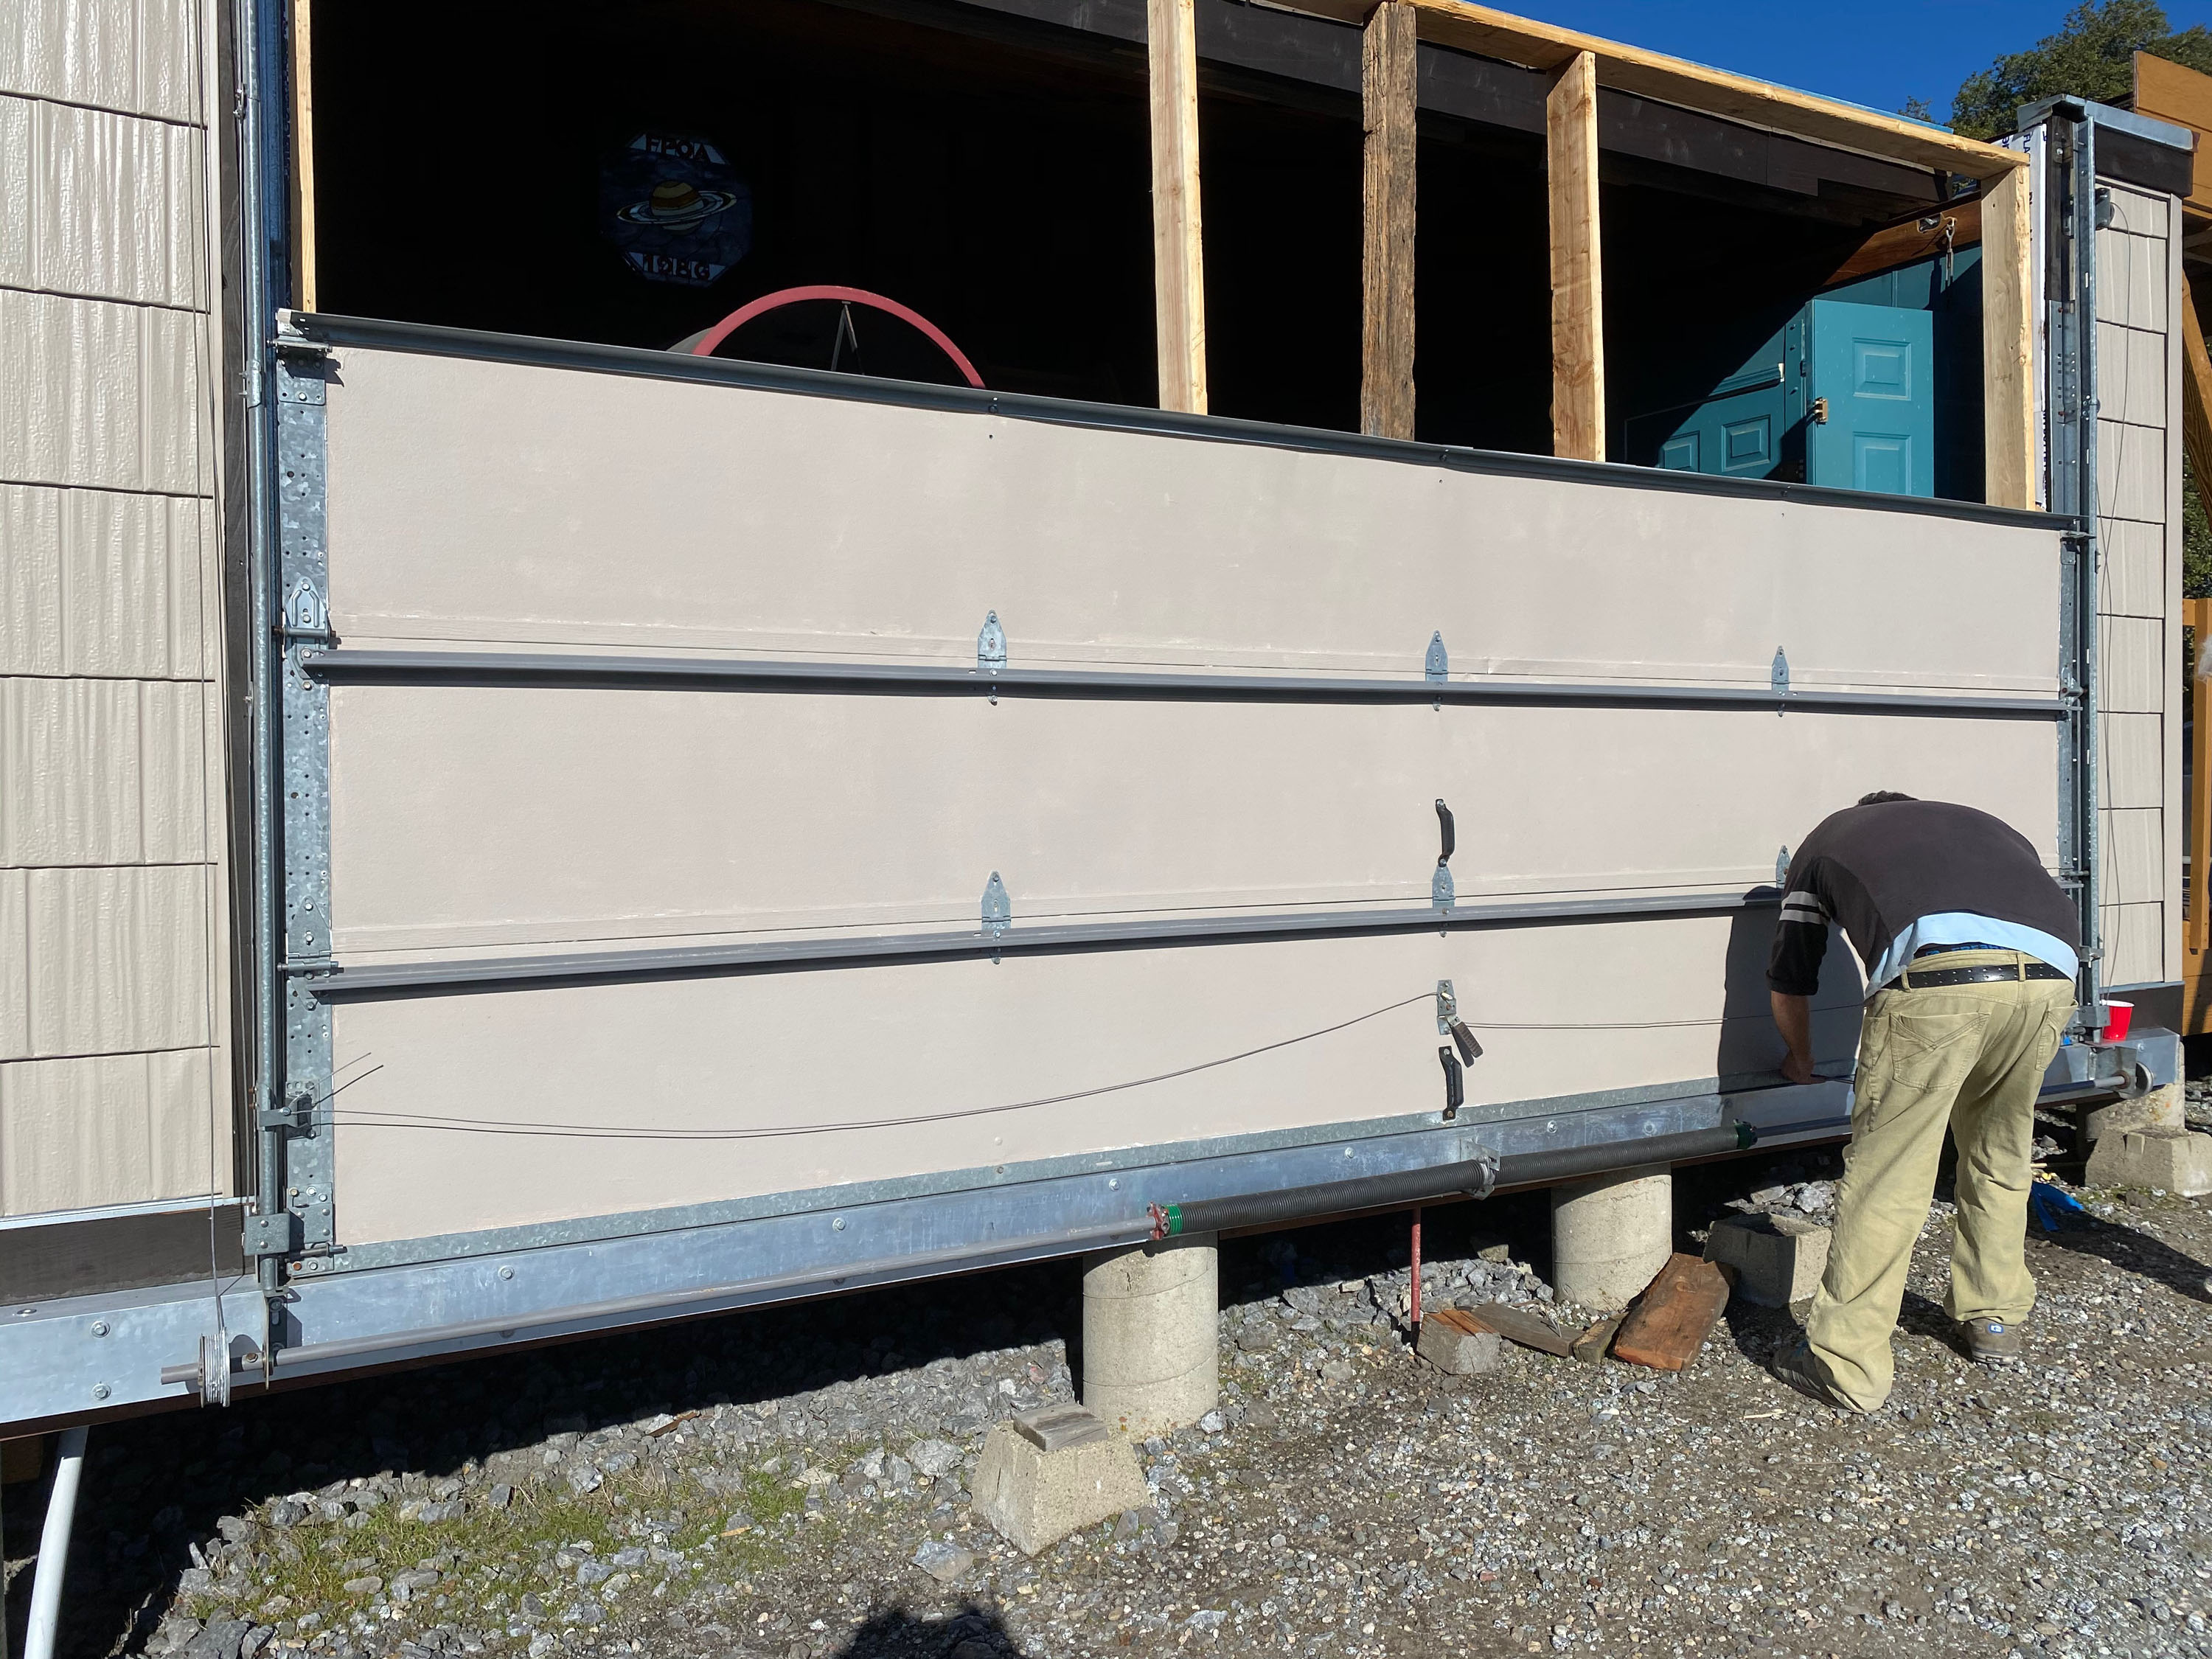
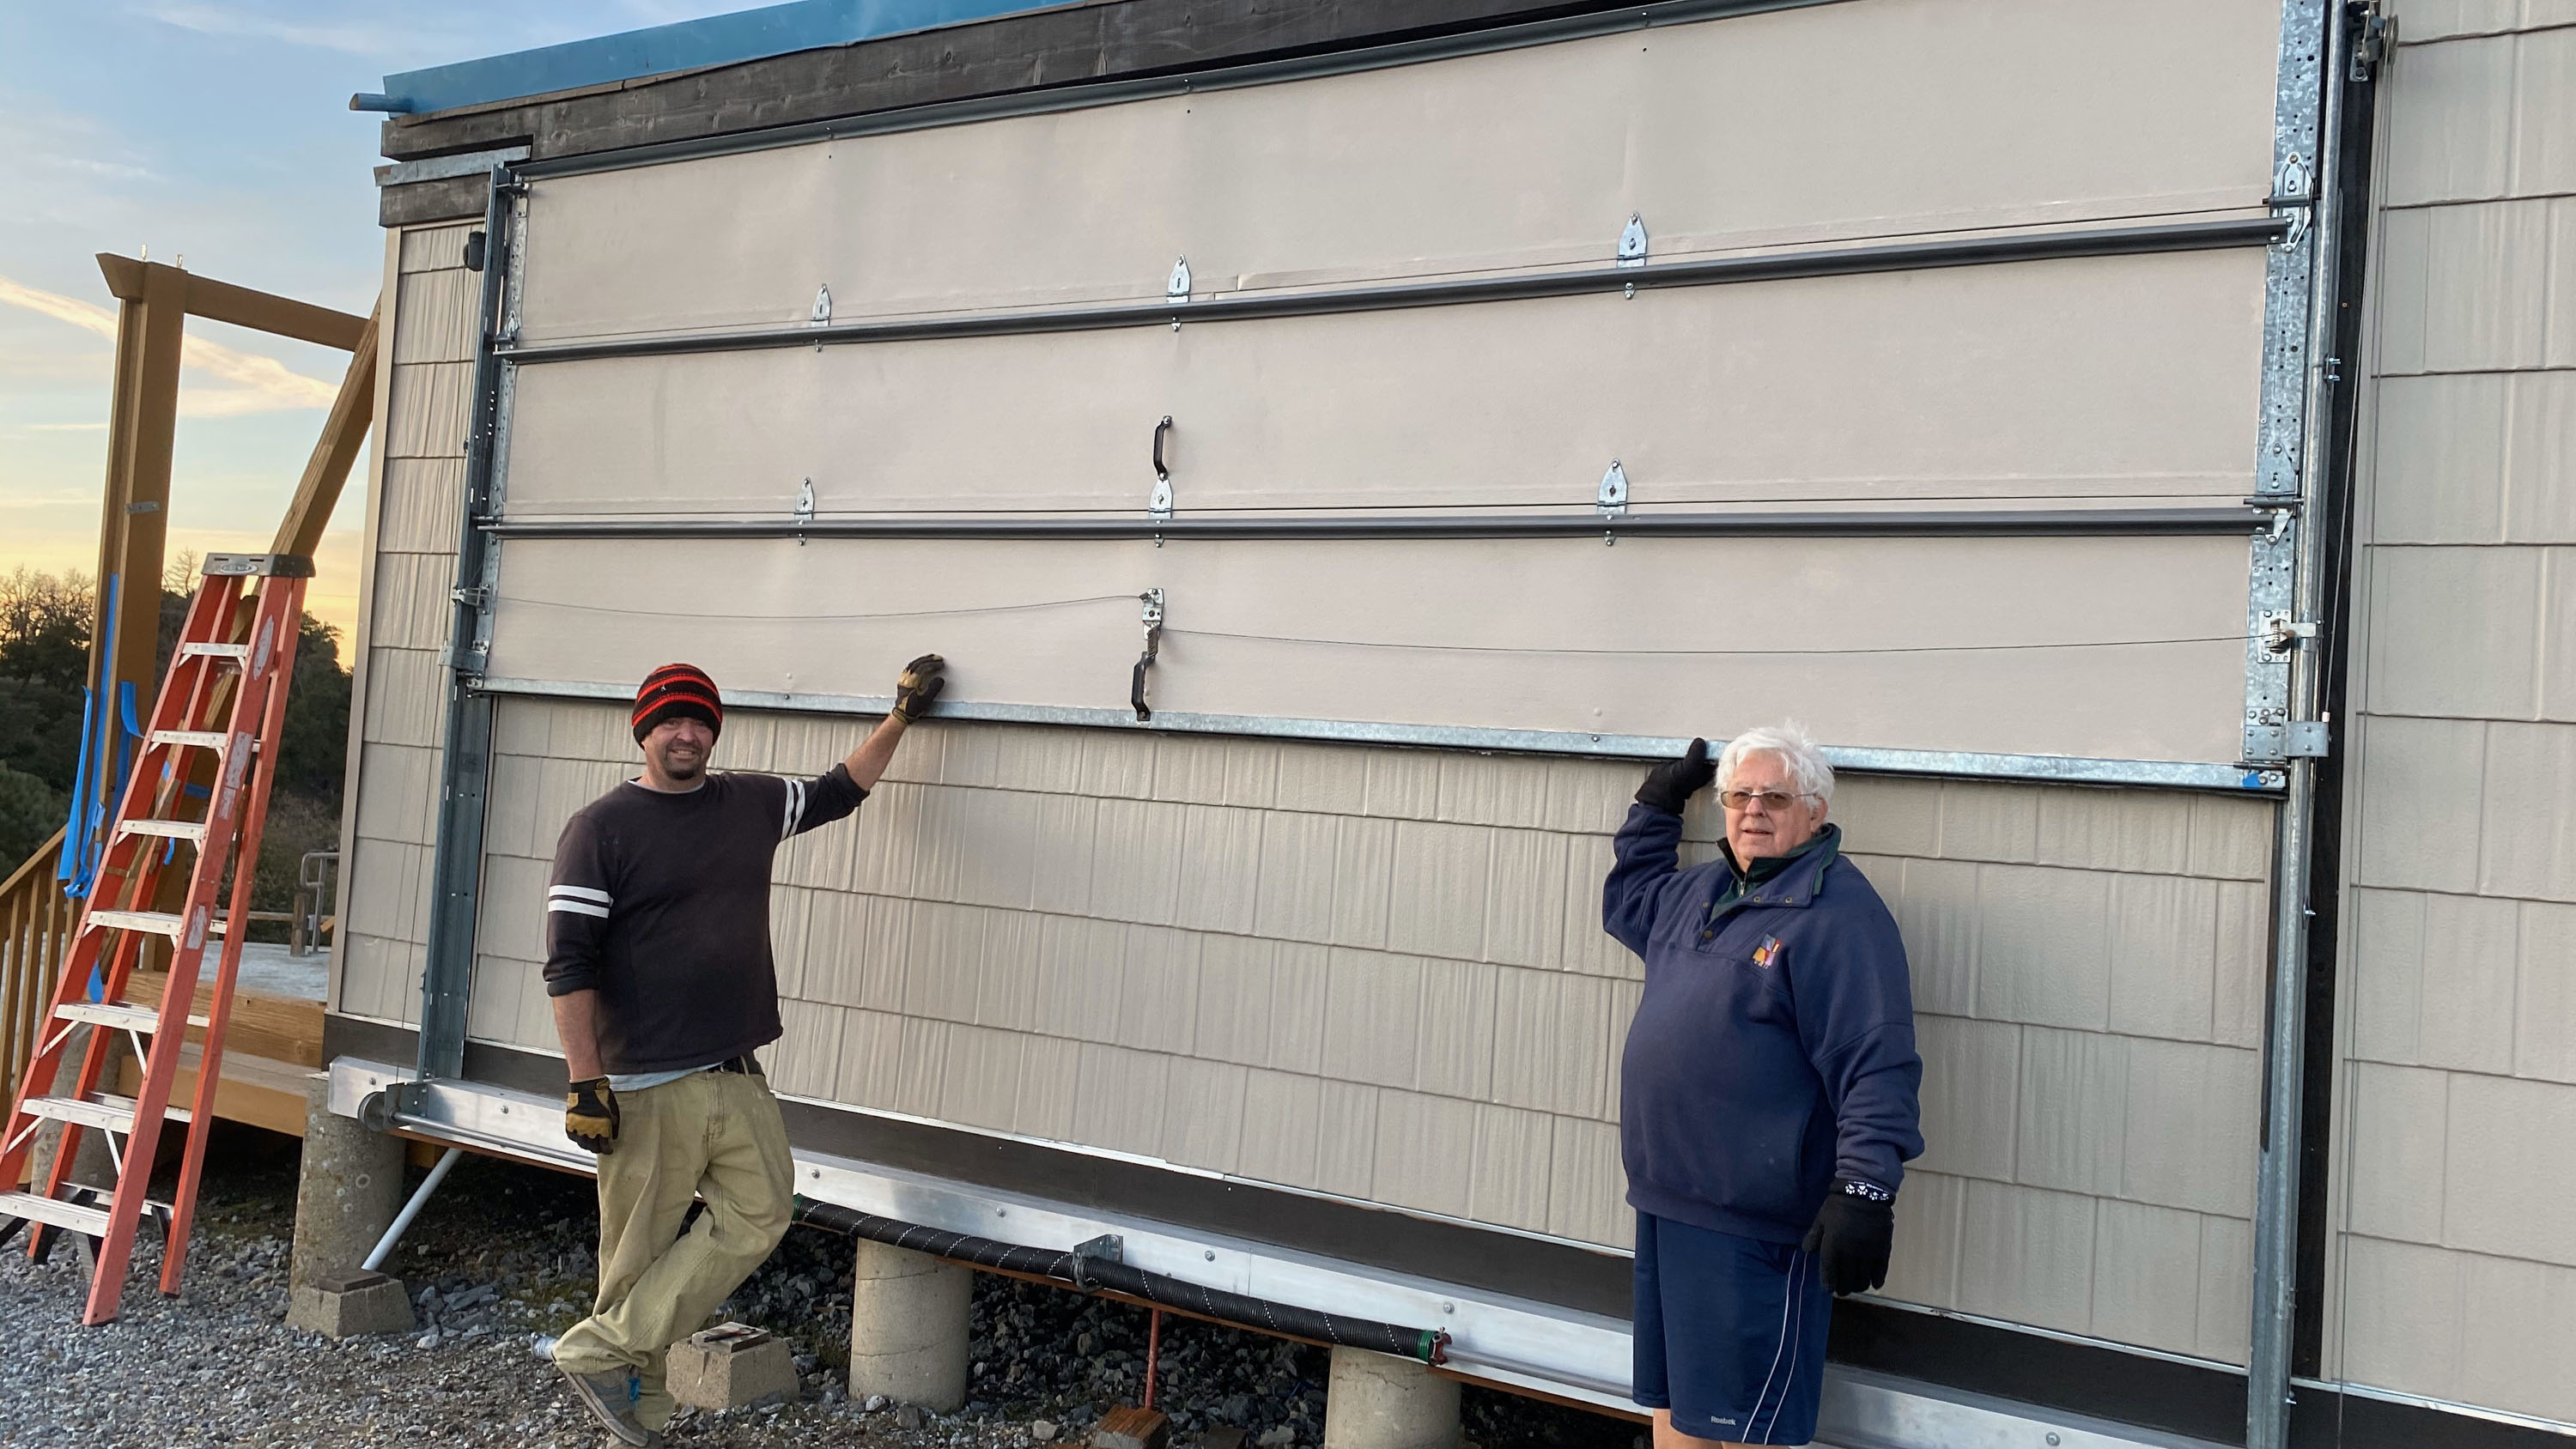
The south shutter garage door was difficult to lift and lower for the last 18 years. Various garage door technicians inspected and adjusted the shutter installation over that time with only moderate and short-lasting effect.
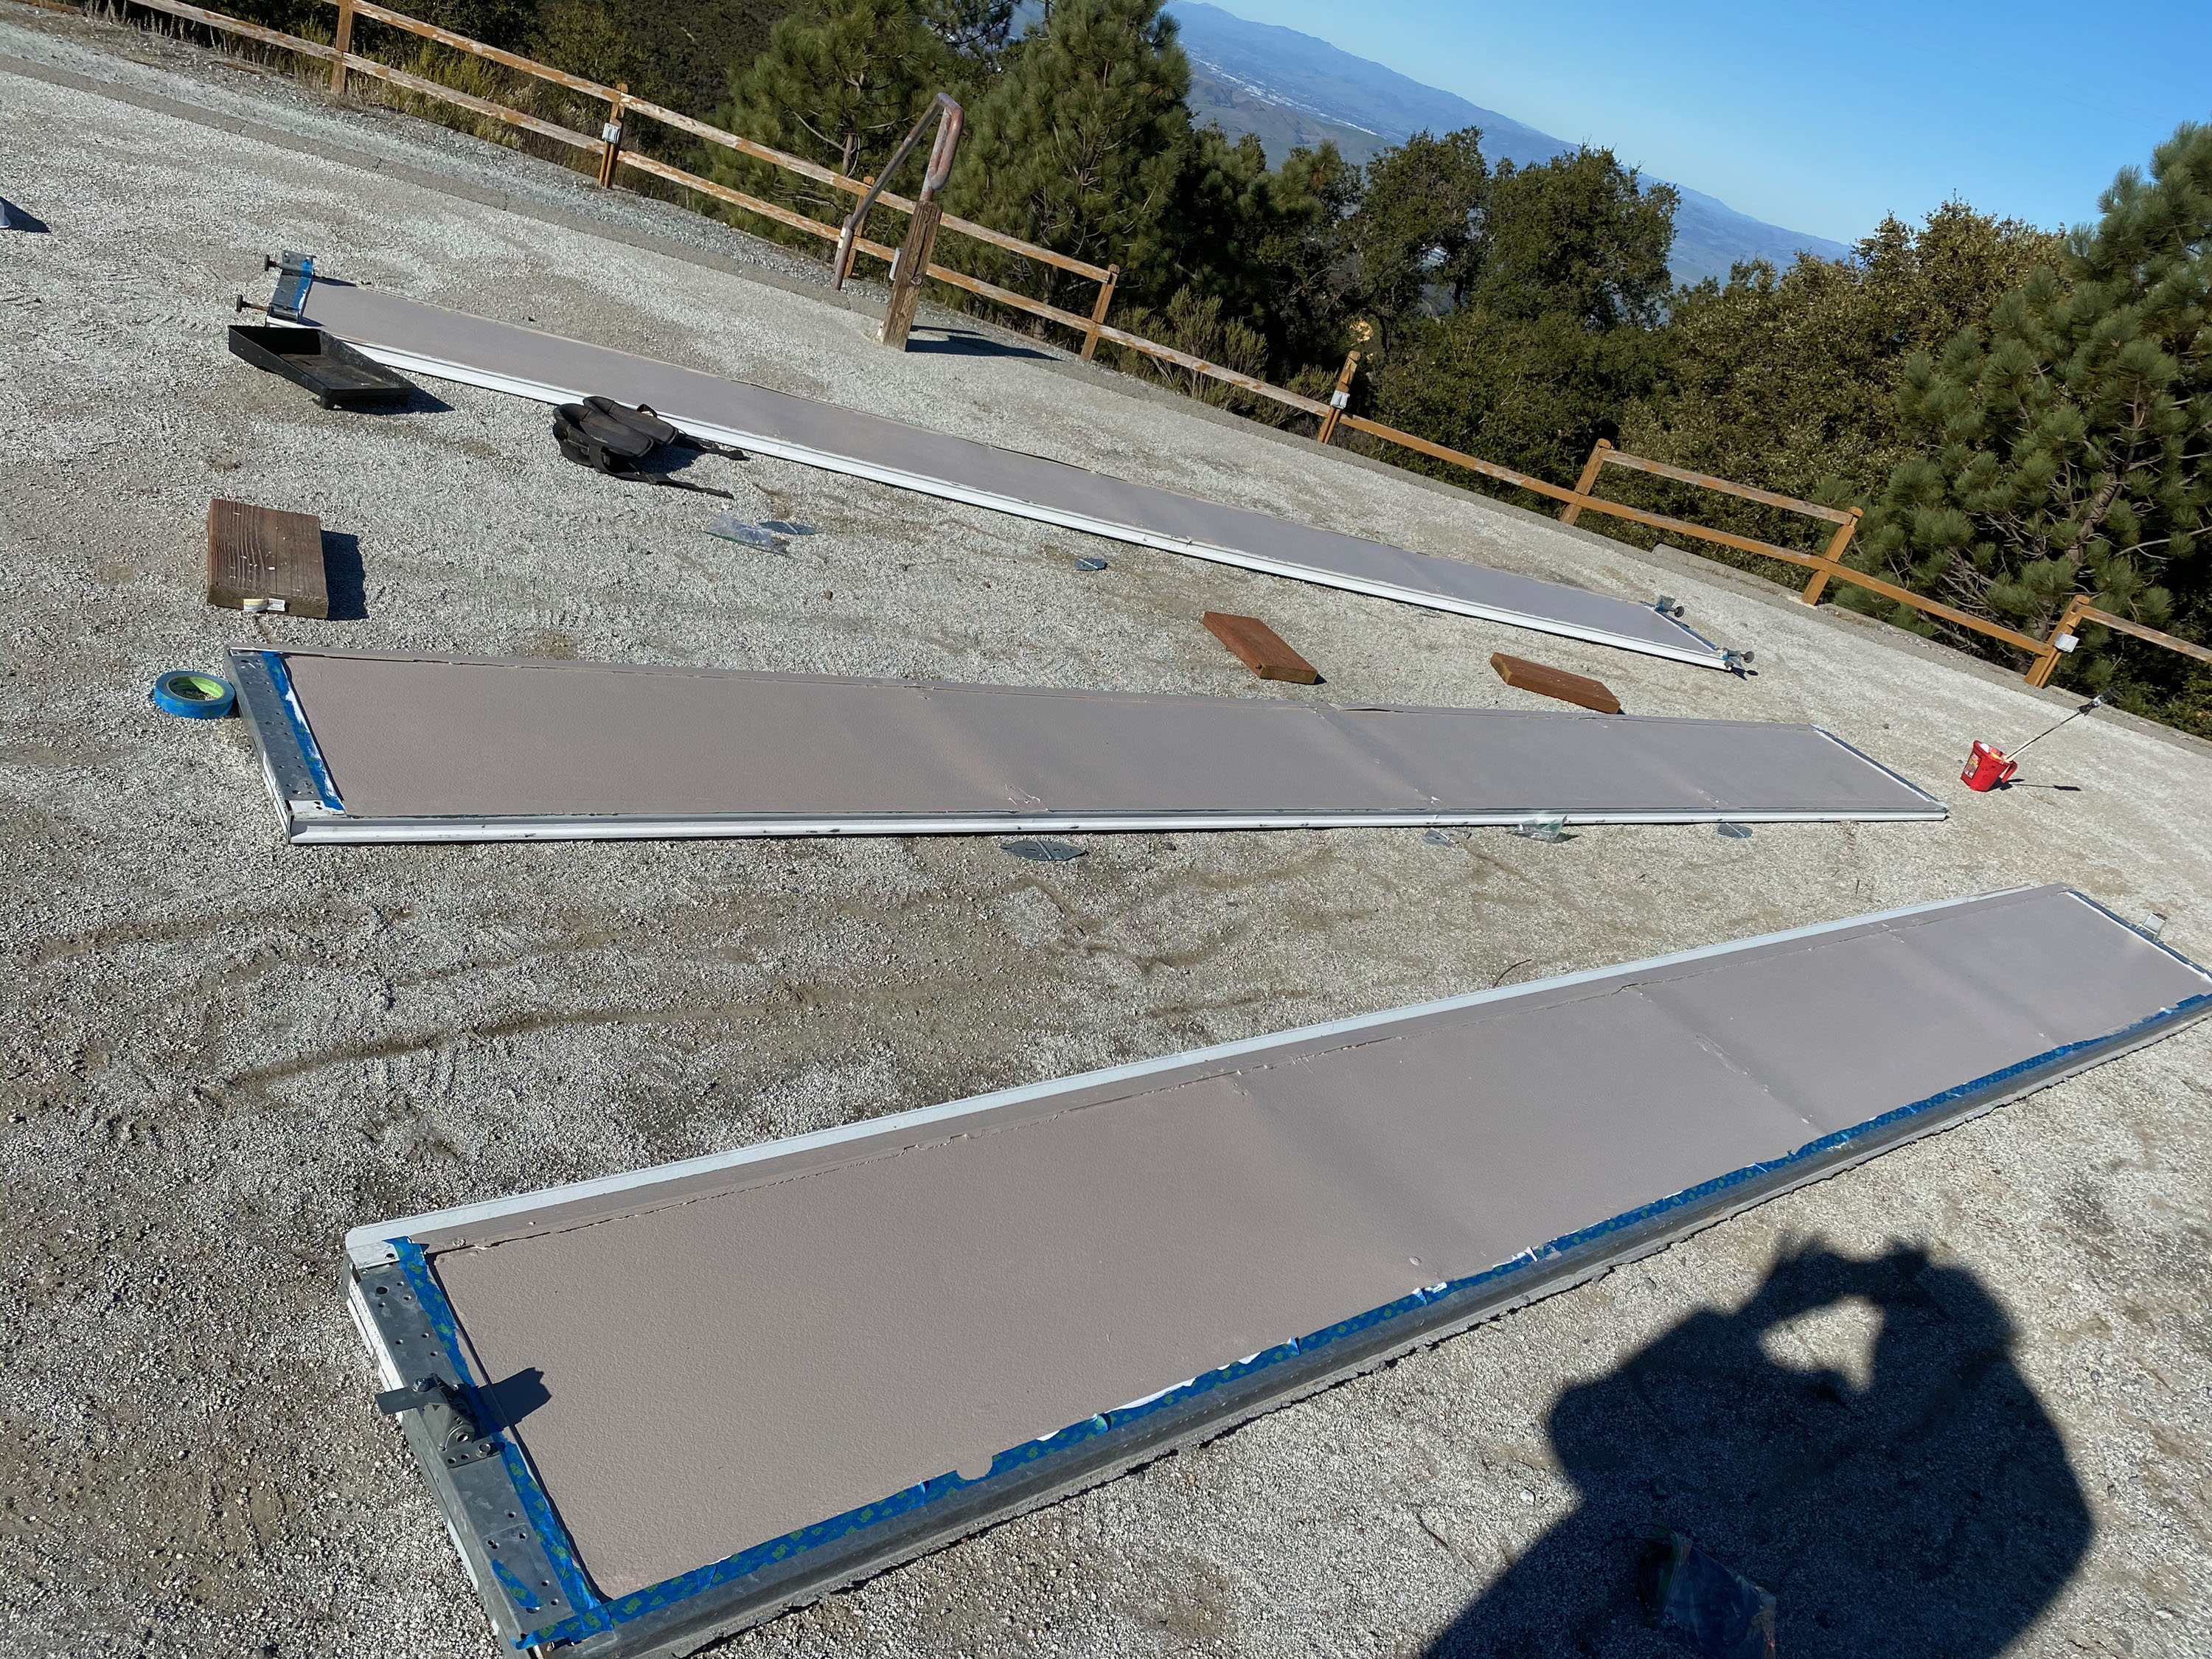
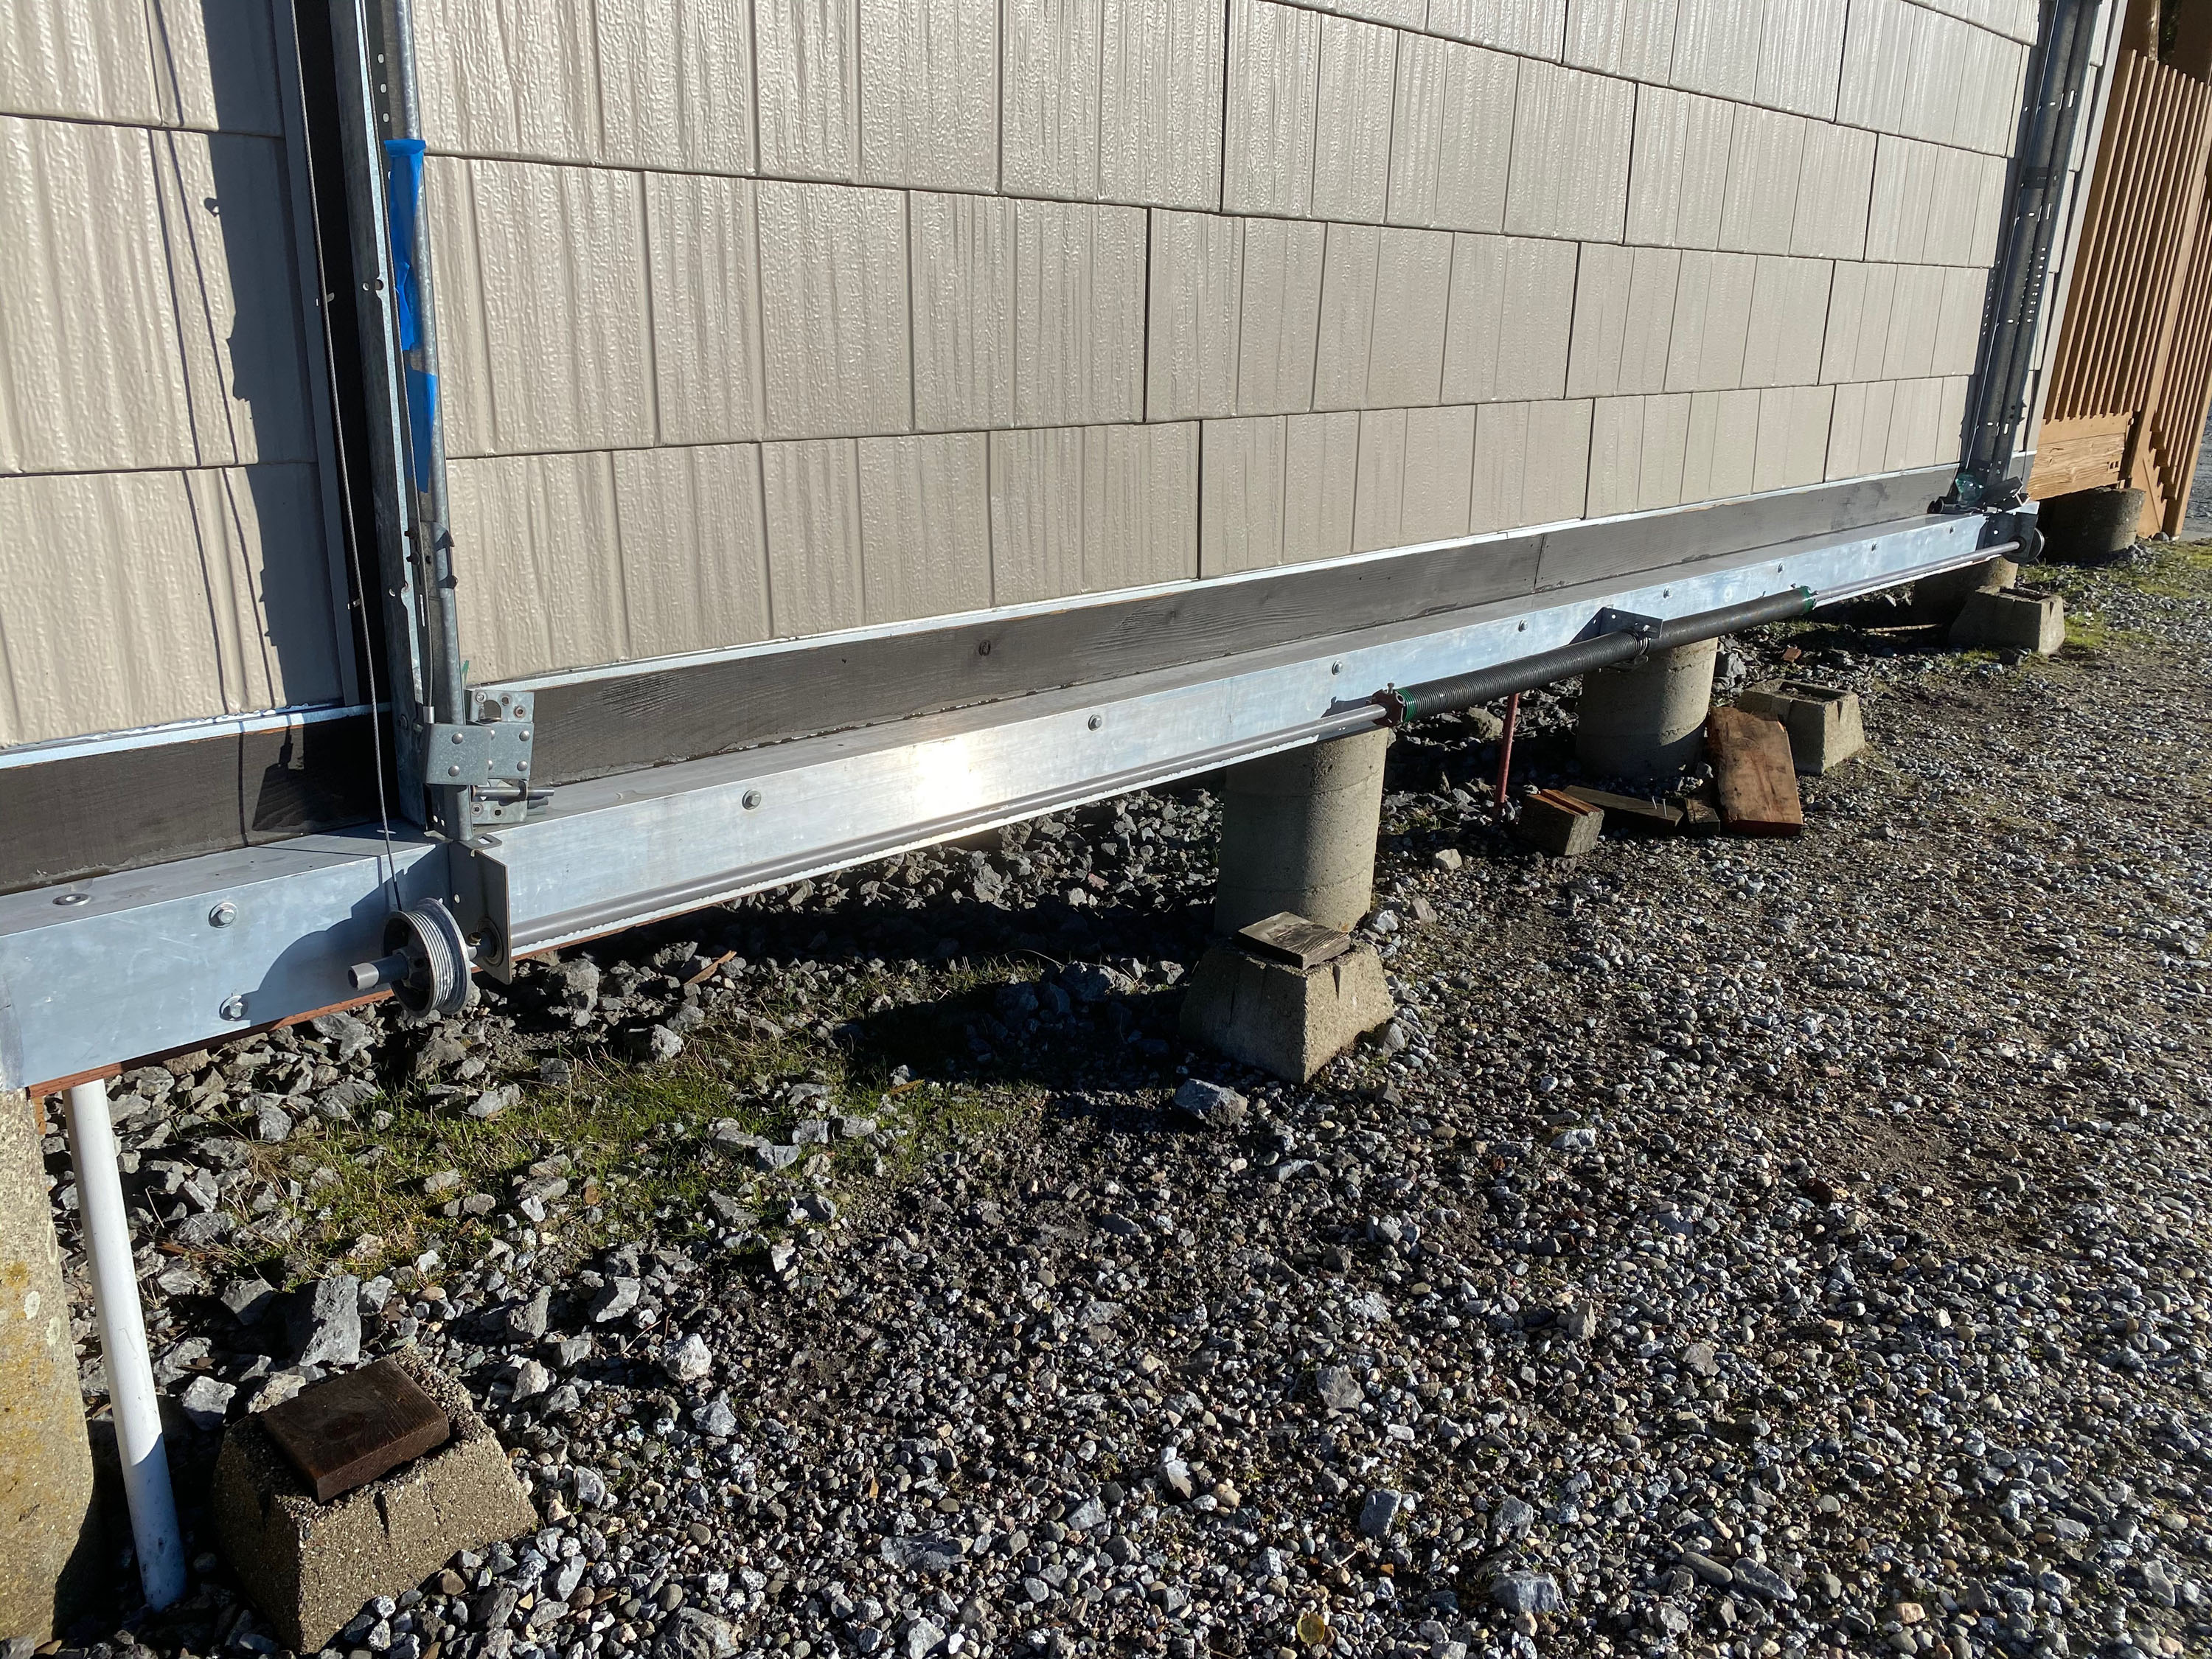
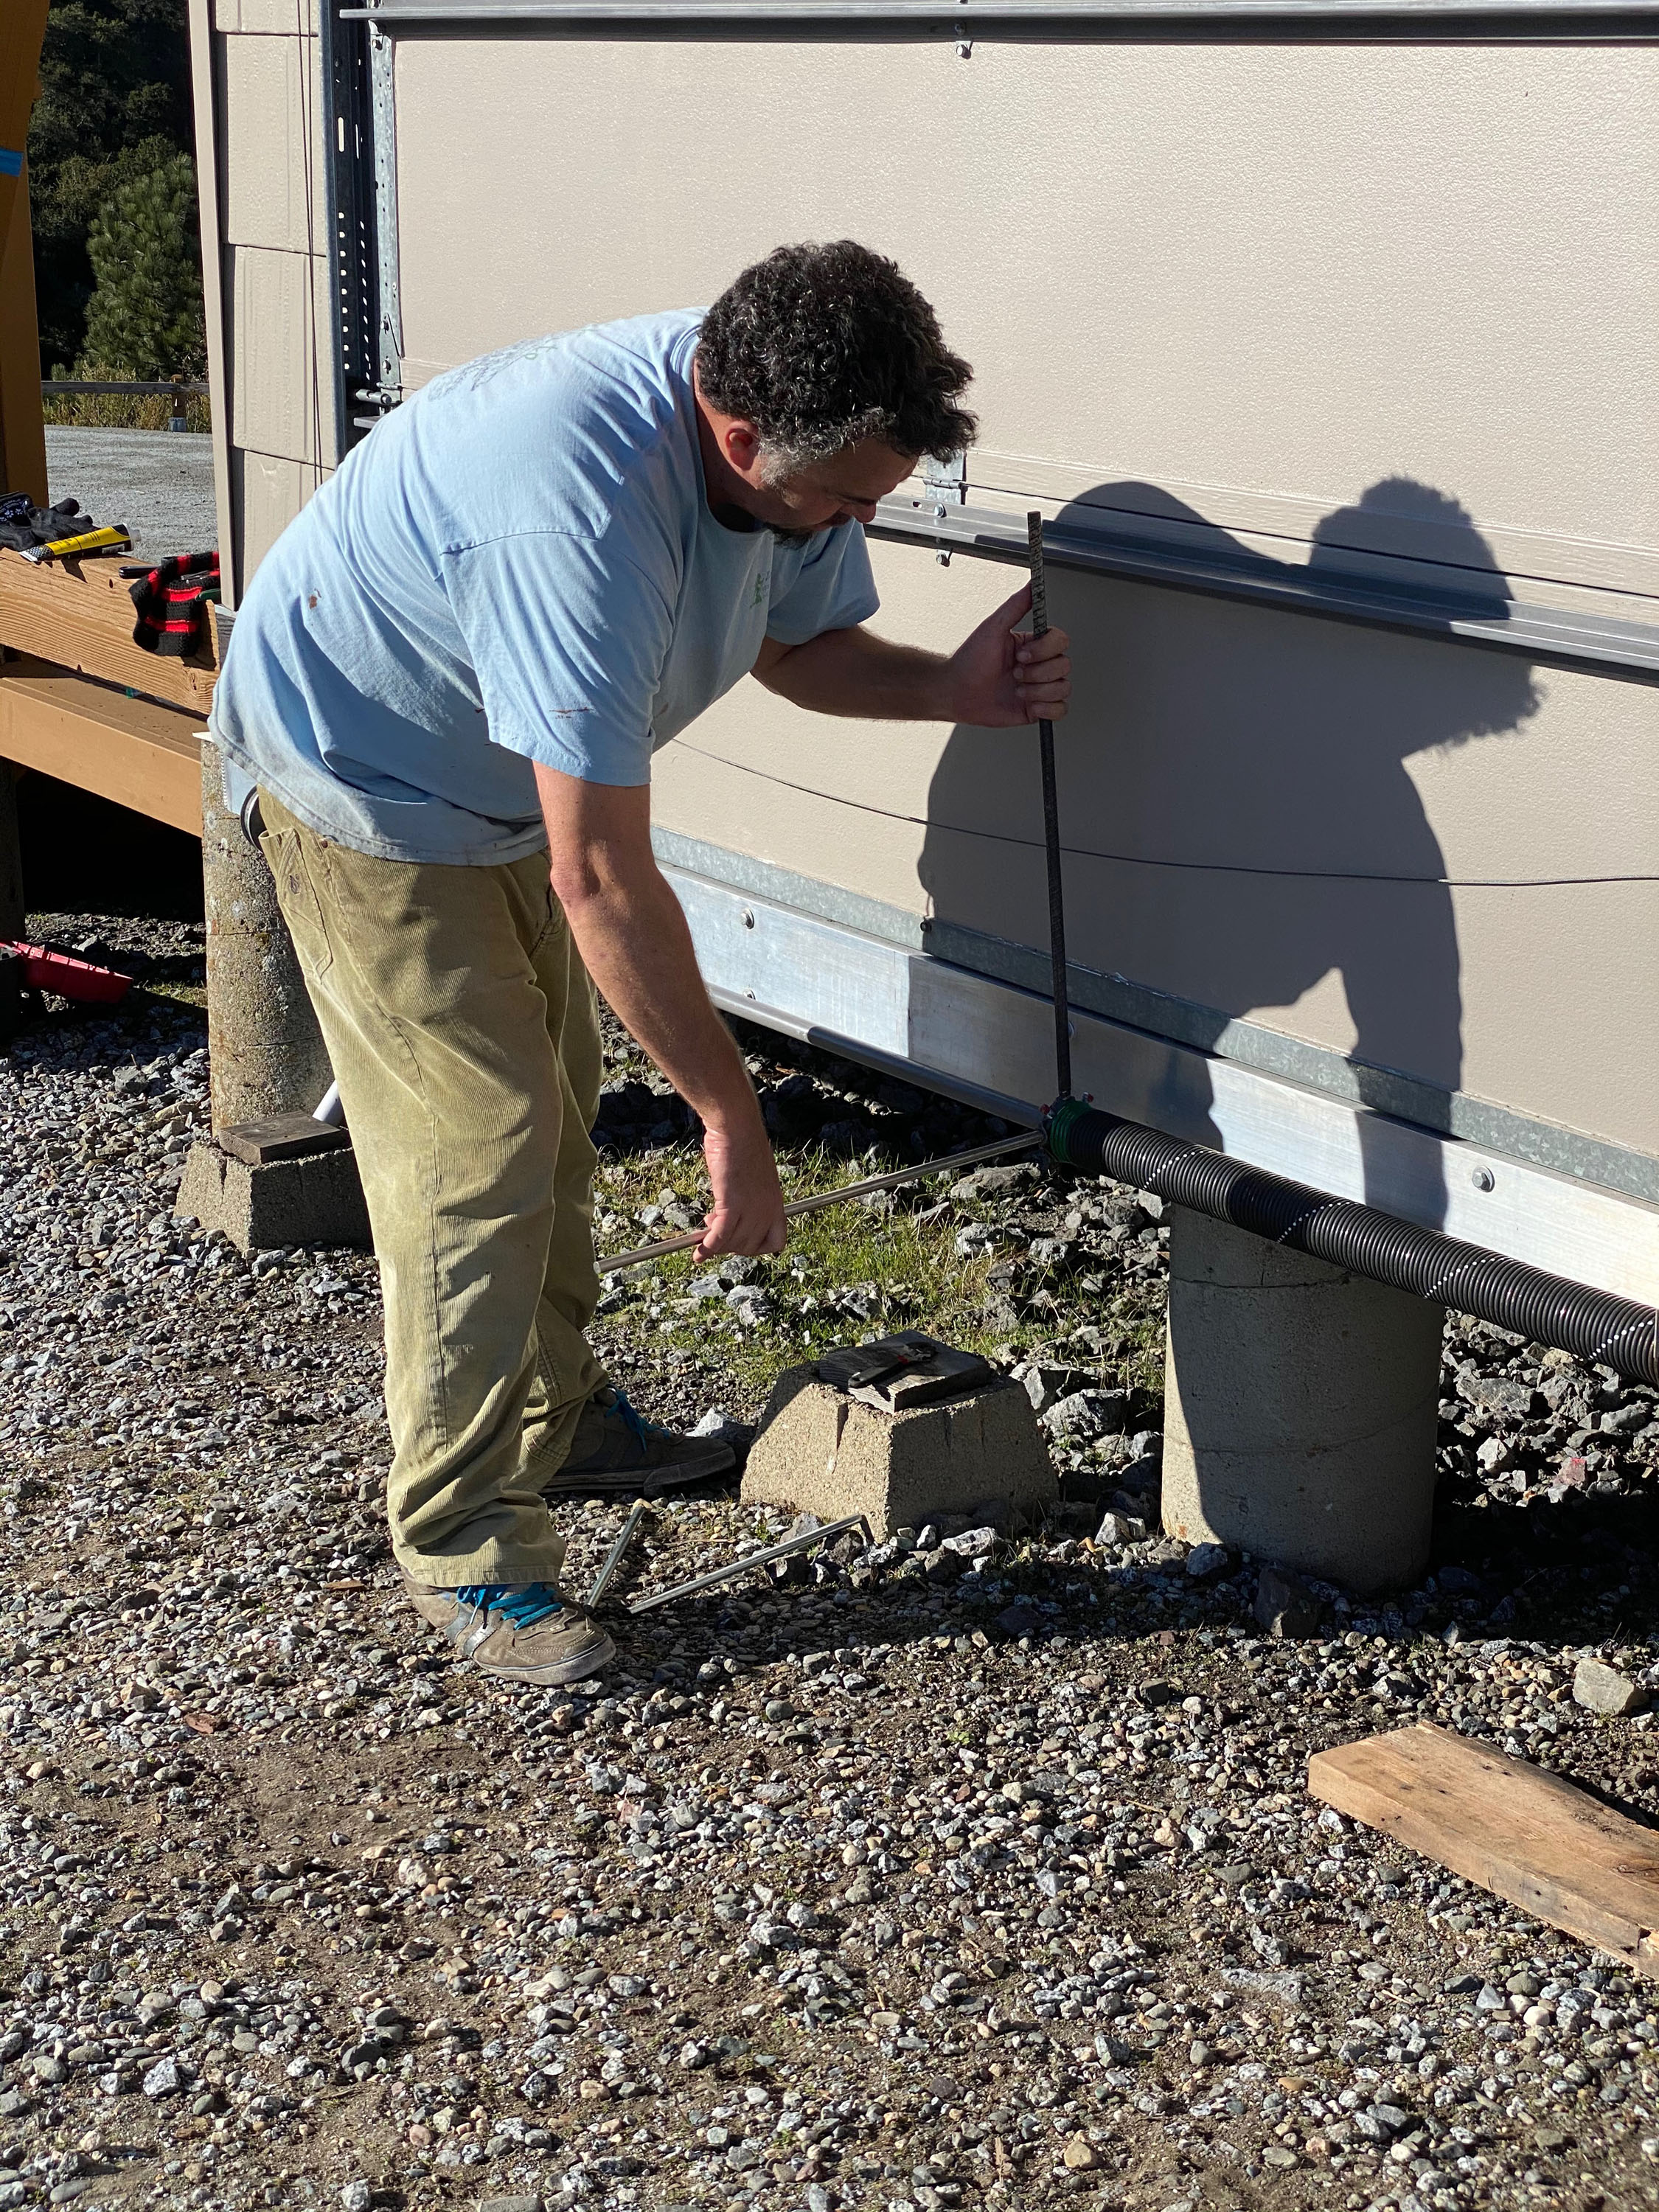
We removed the shutter for builder access, and to re-design the mounting structure. We mounted the axle brackets on a continuous 20’ aluminum box beam so they wouldn’t independently twist, and flipped the end brackets so the pulleys, and set screws were not in contact with the axle cover. The shutter works great now.
Here is a more extensive look at the work.

Before the renovation the axle bent upwards at the ends due to twisting brackets and the way they were mounted.
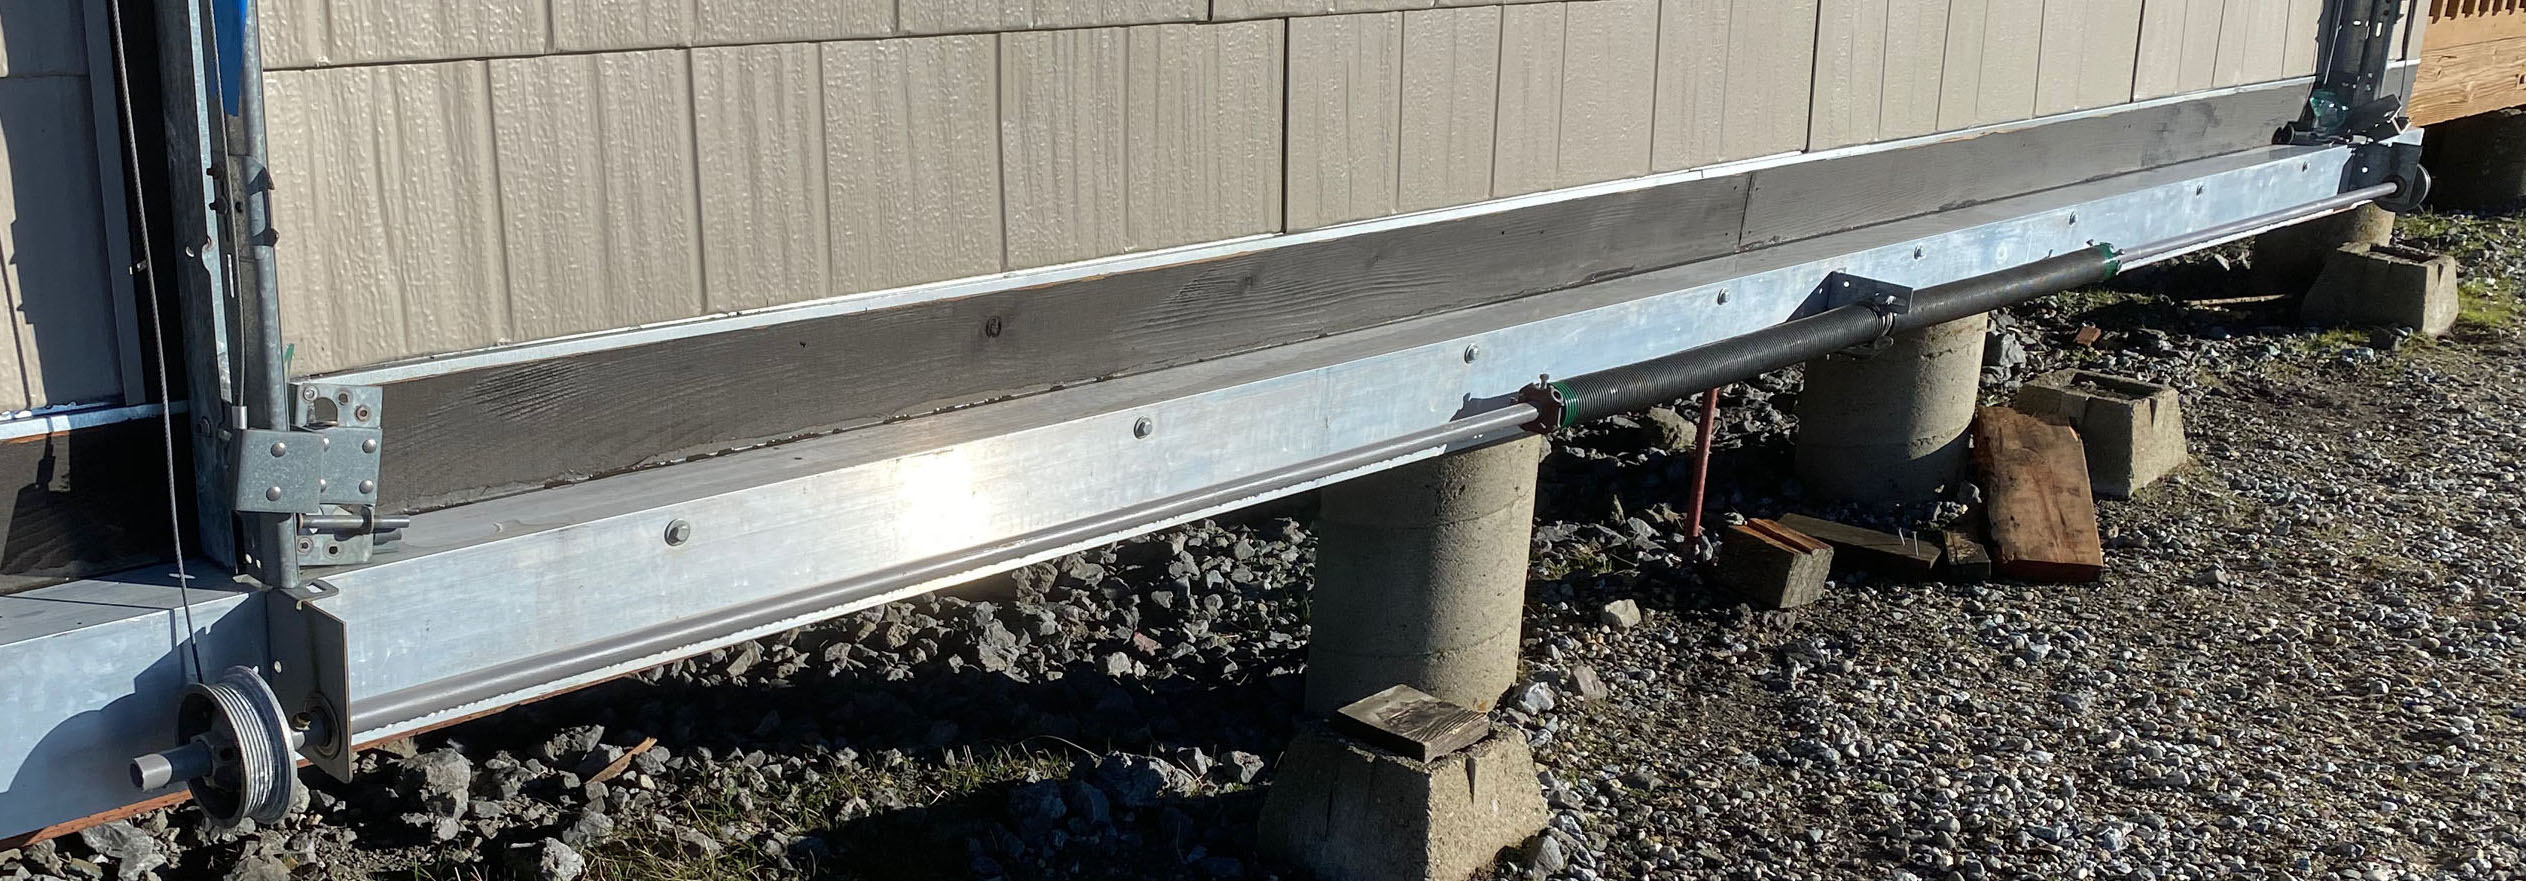
The redesigned shaft connects to a 20’ aluminum beam. The brackets and axle are now level.
New Siding


East Door
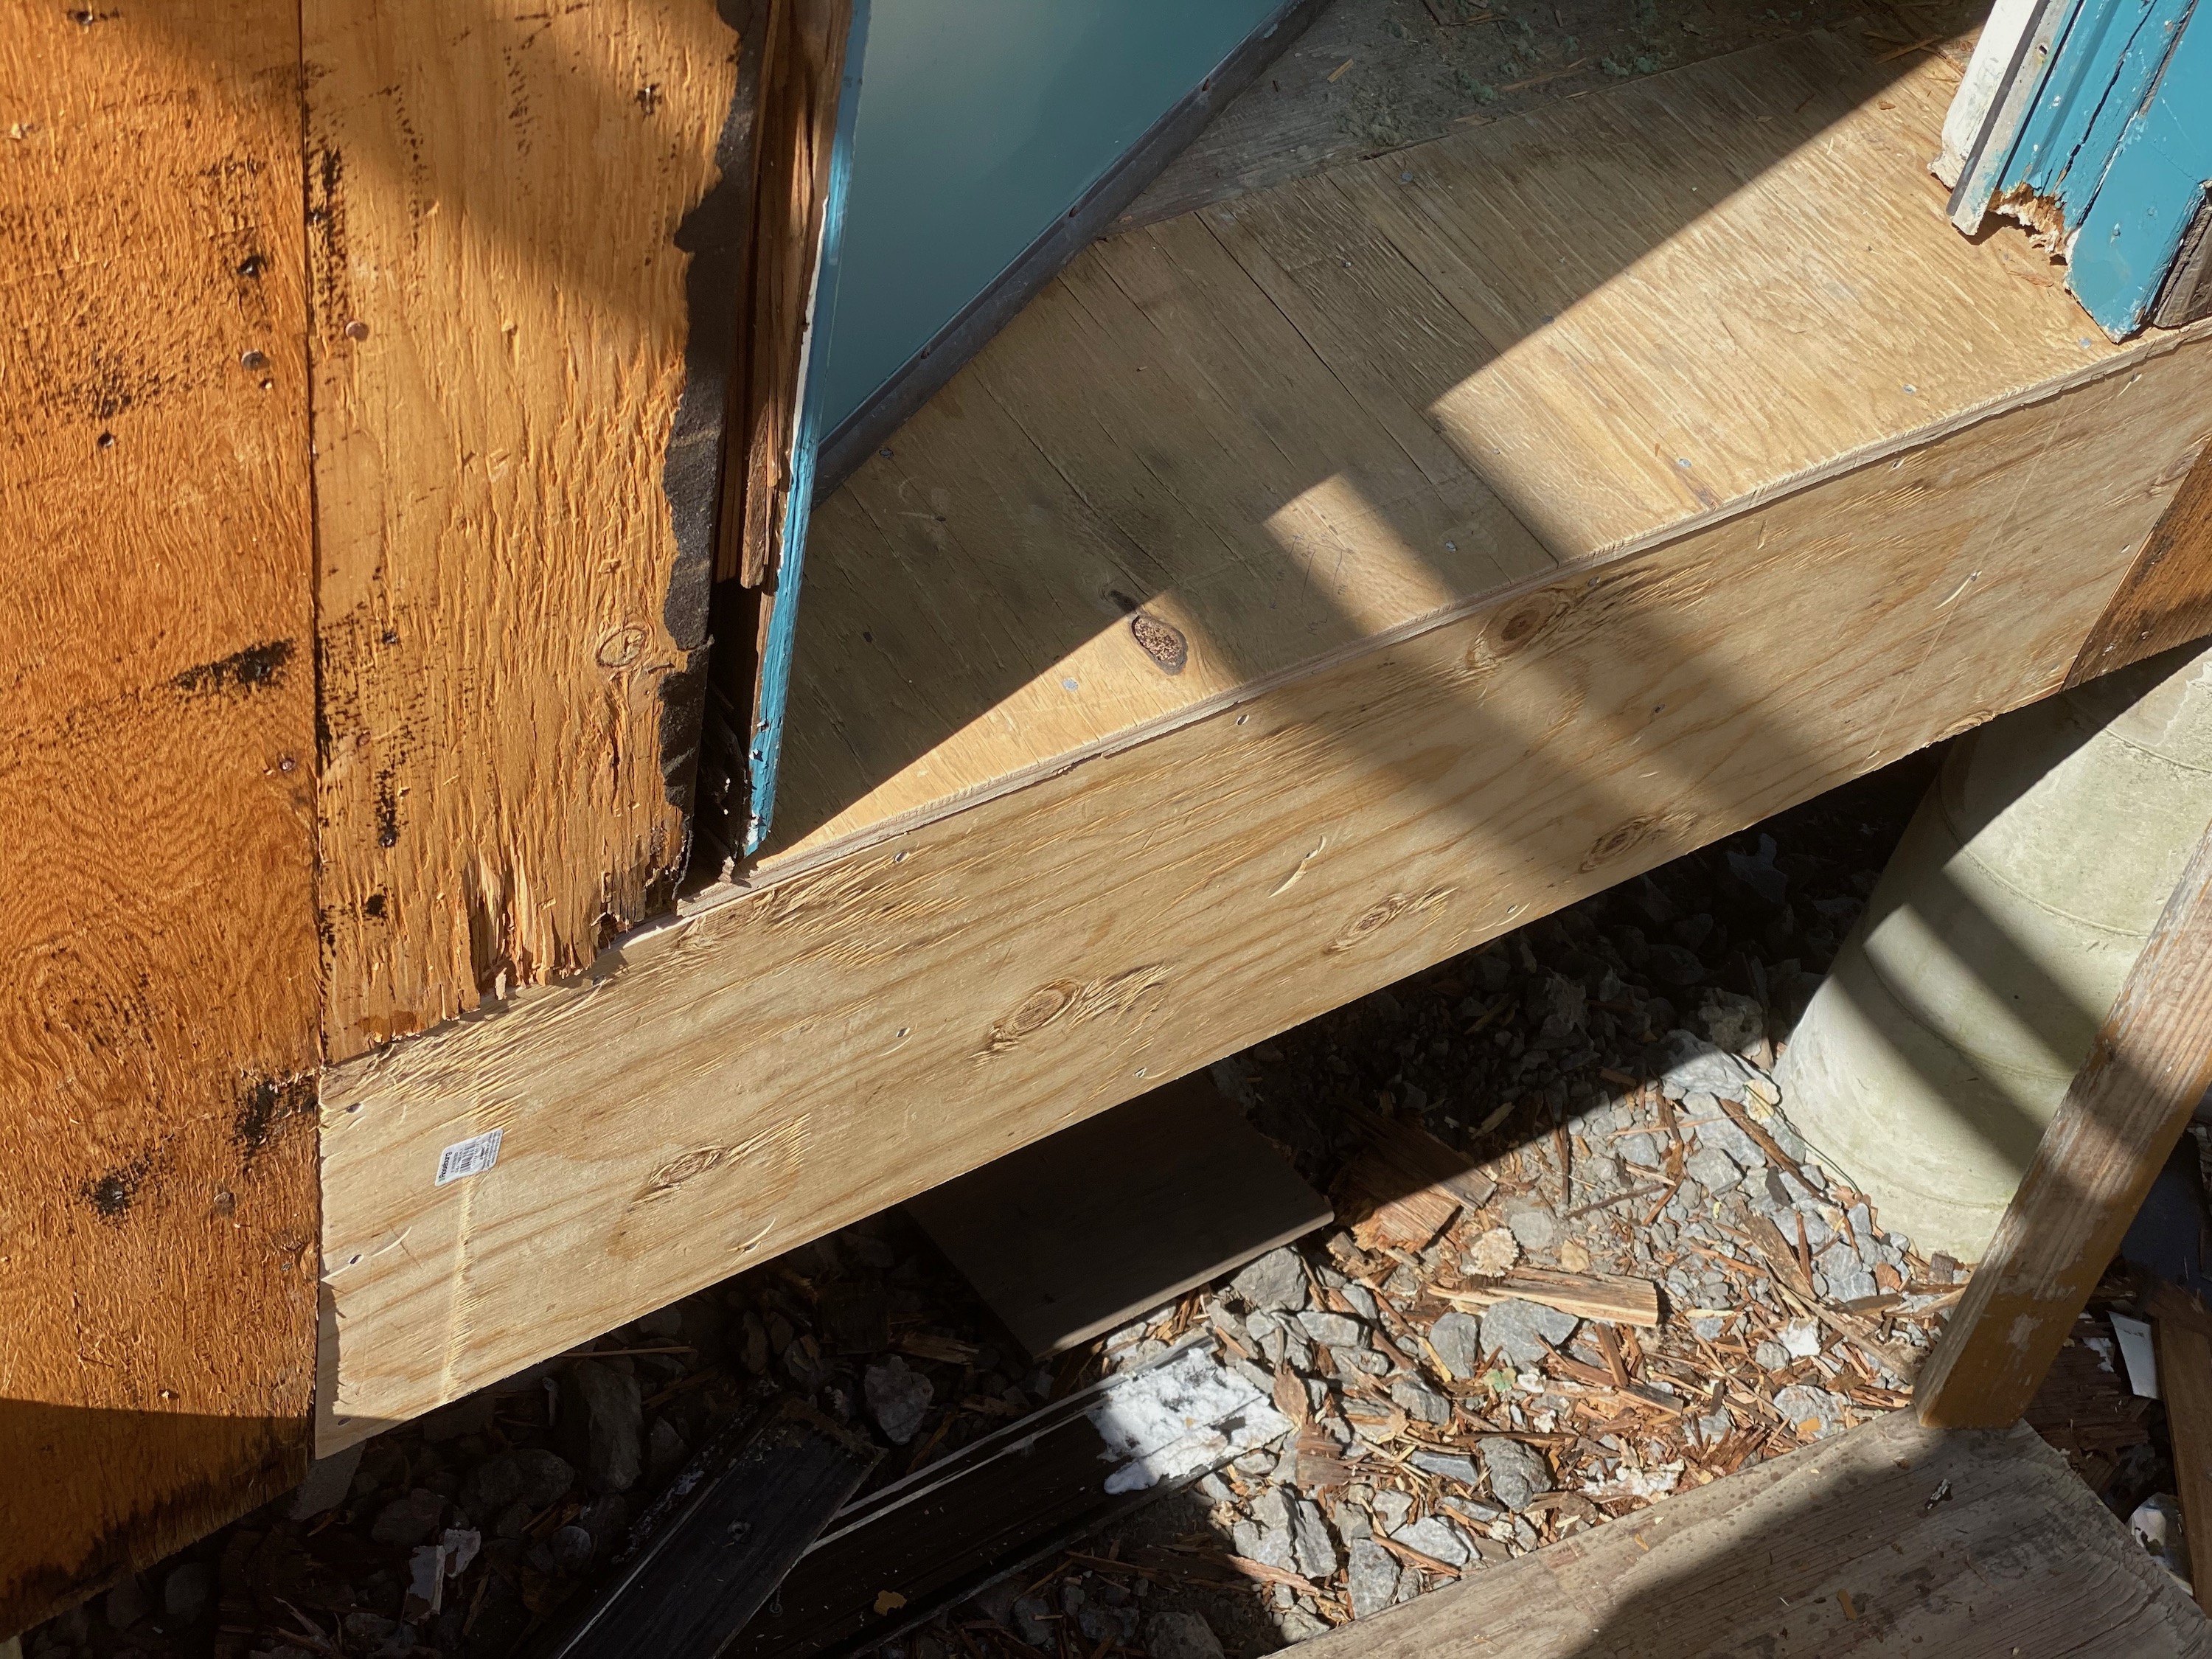
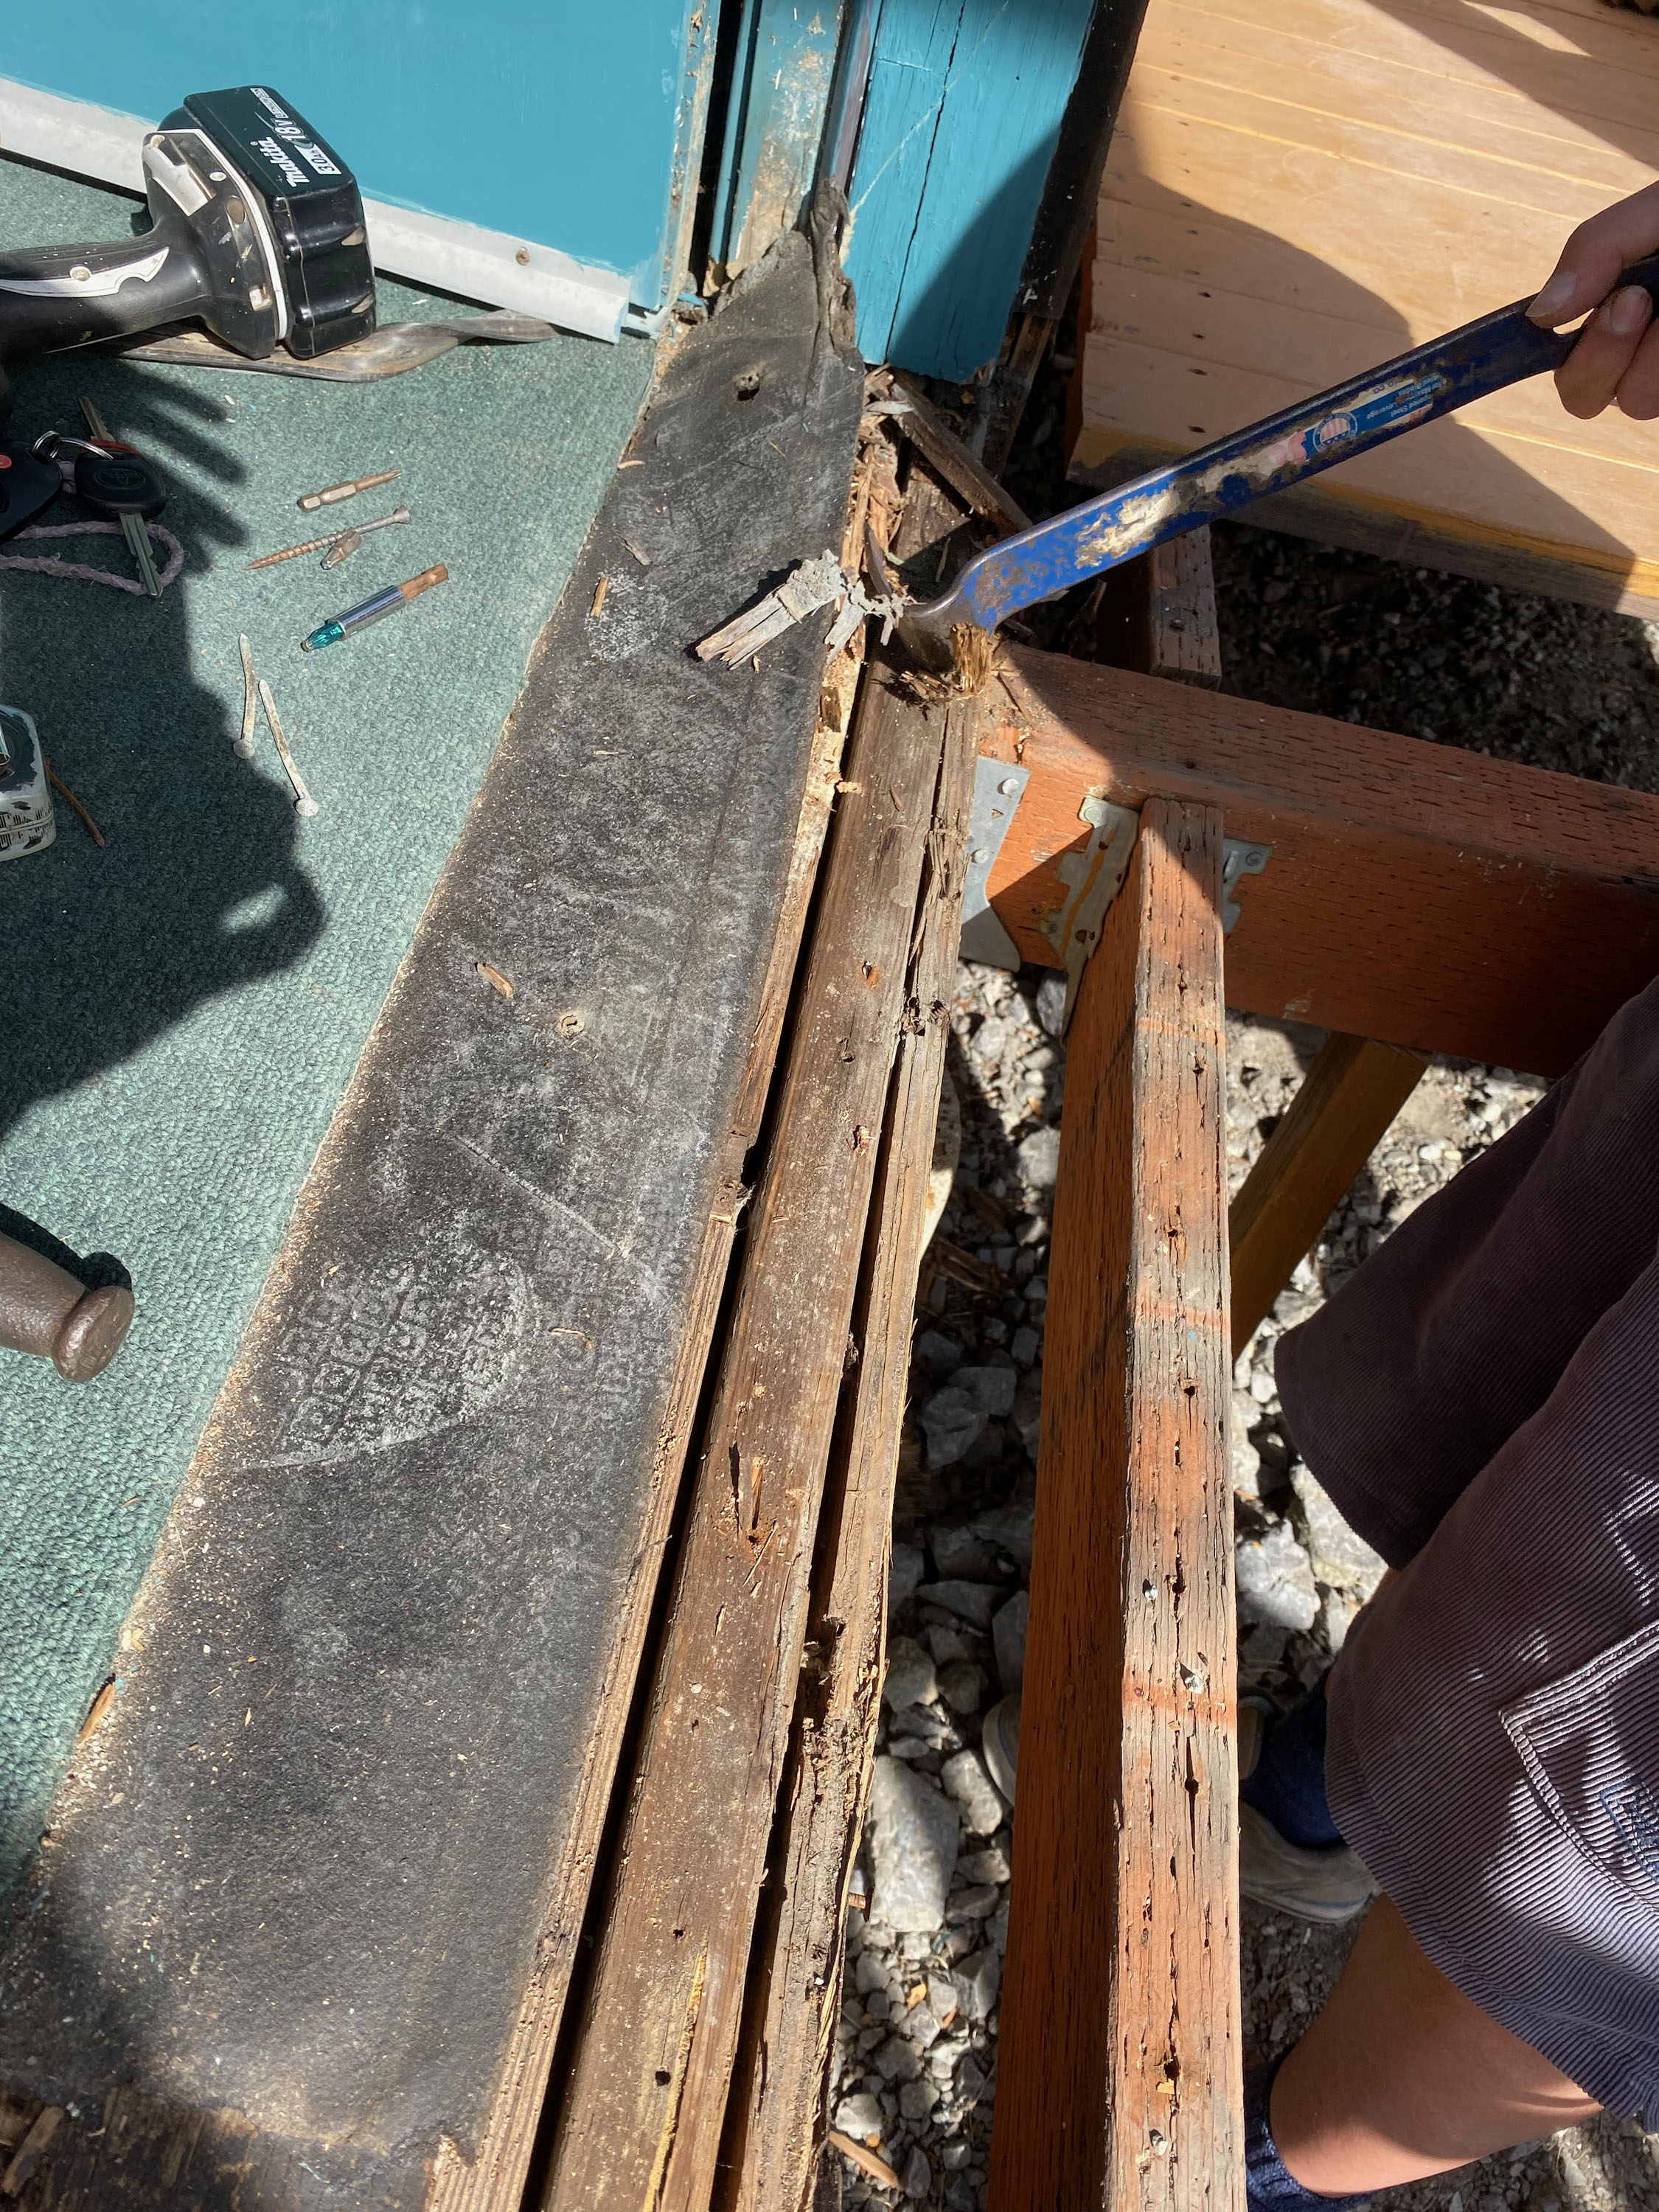
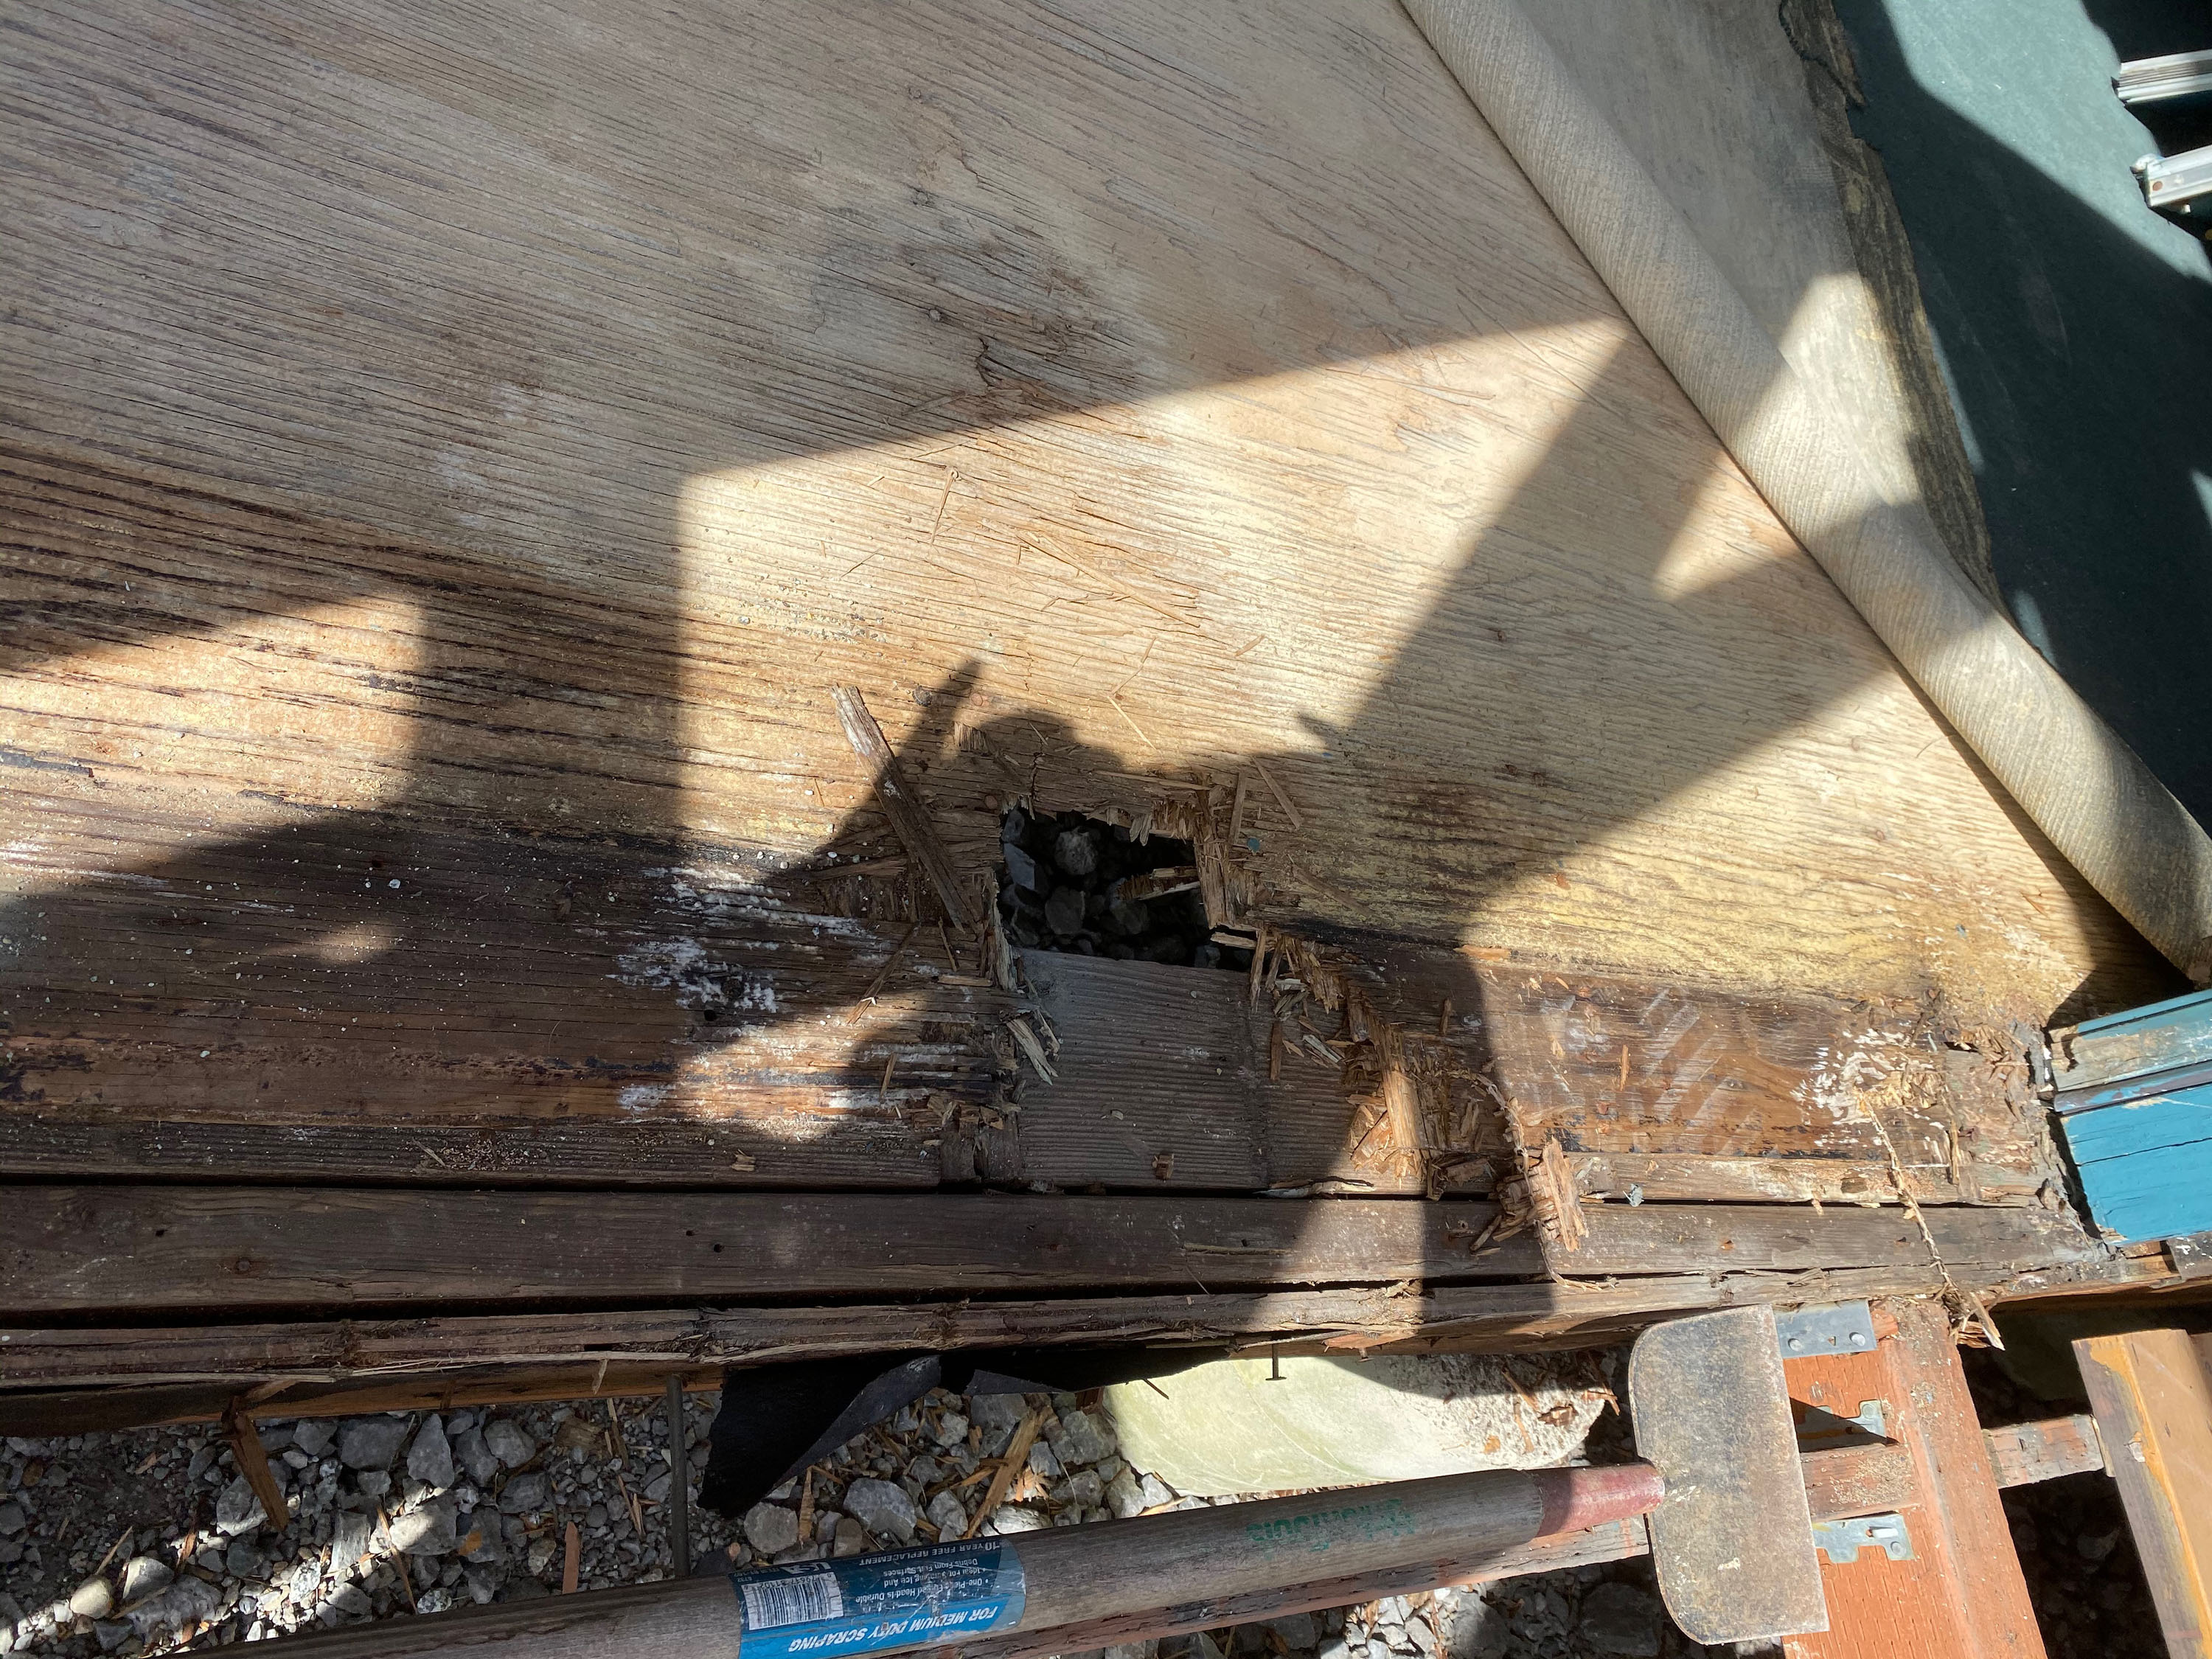
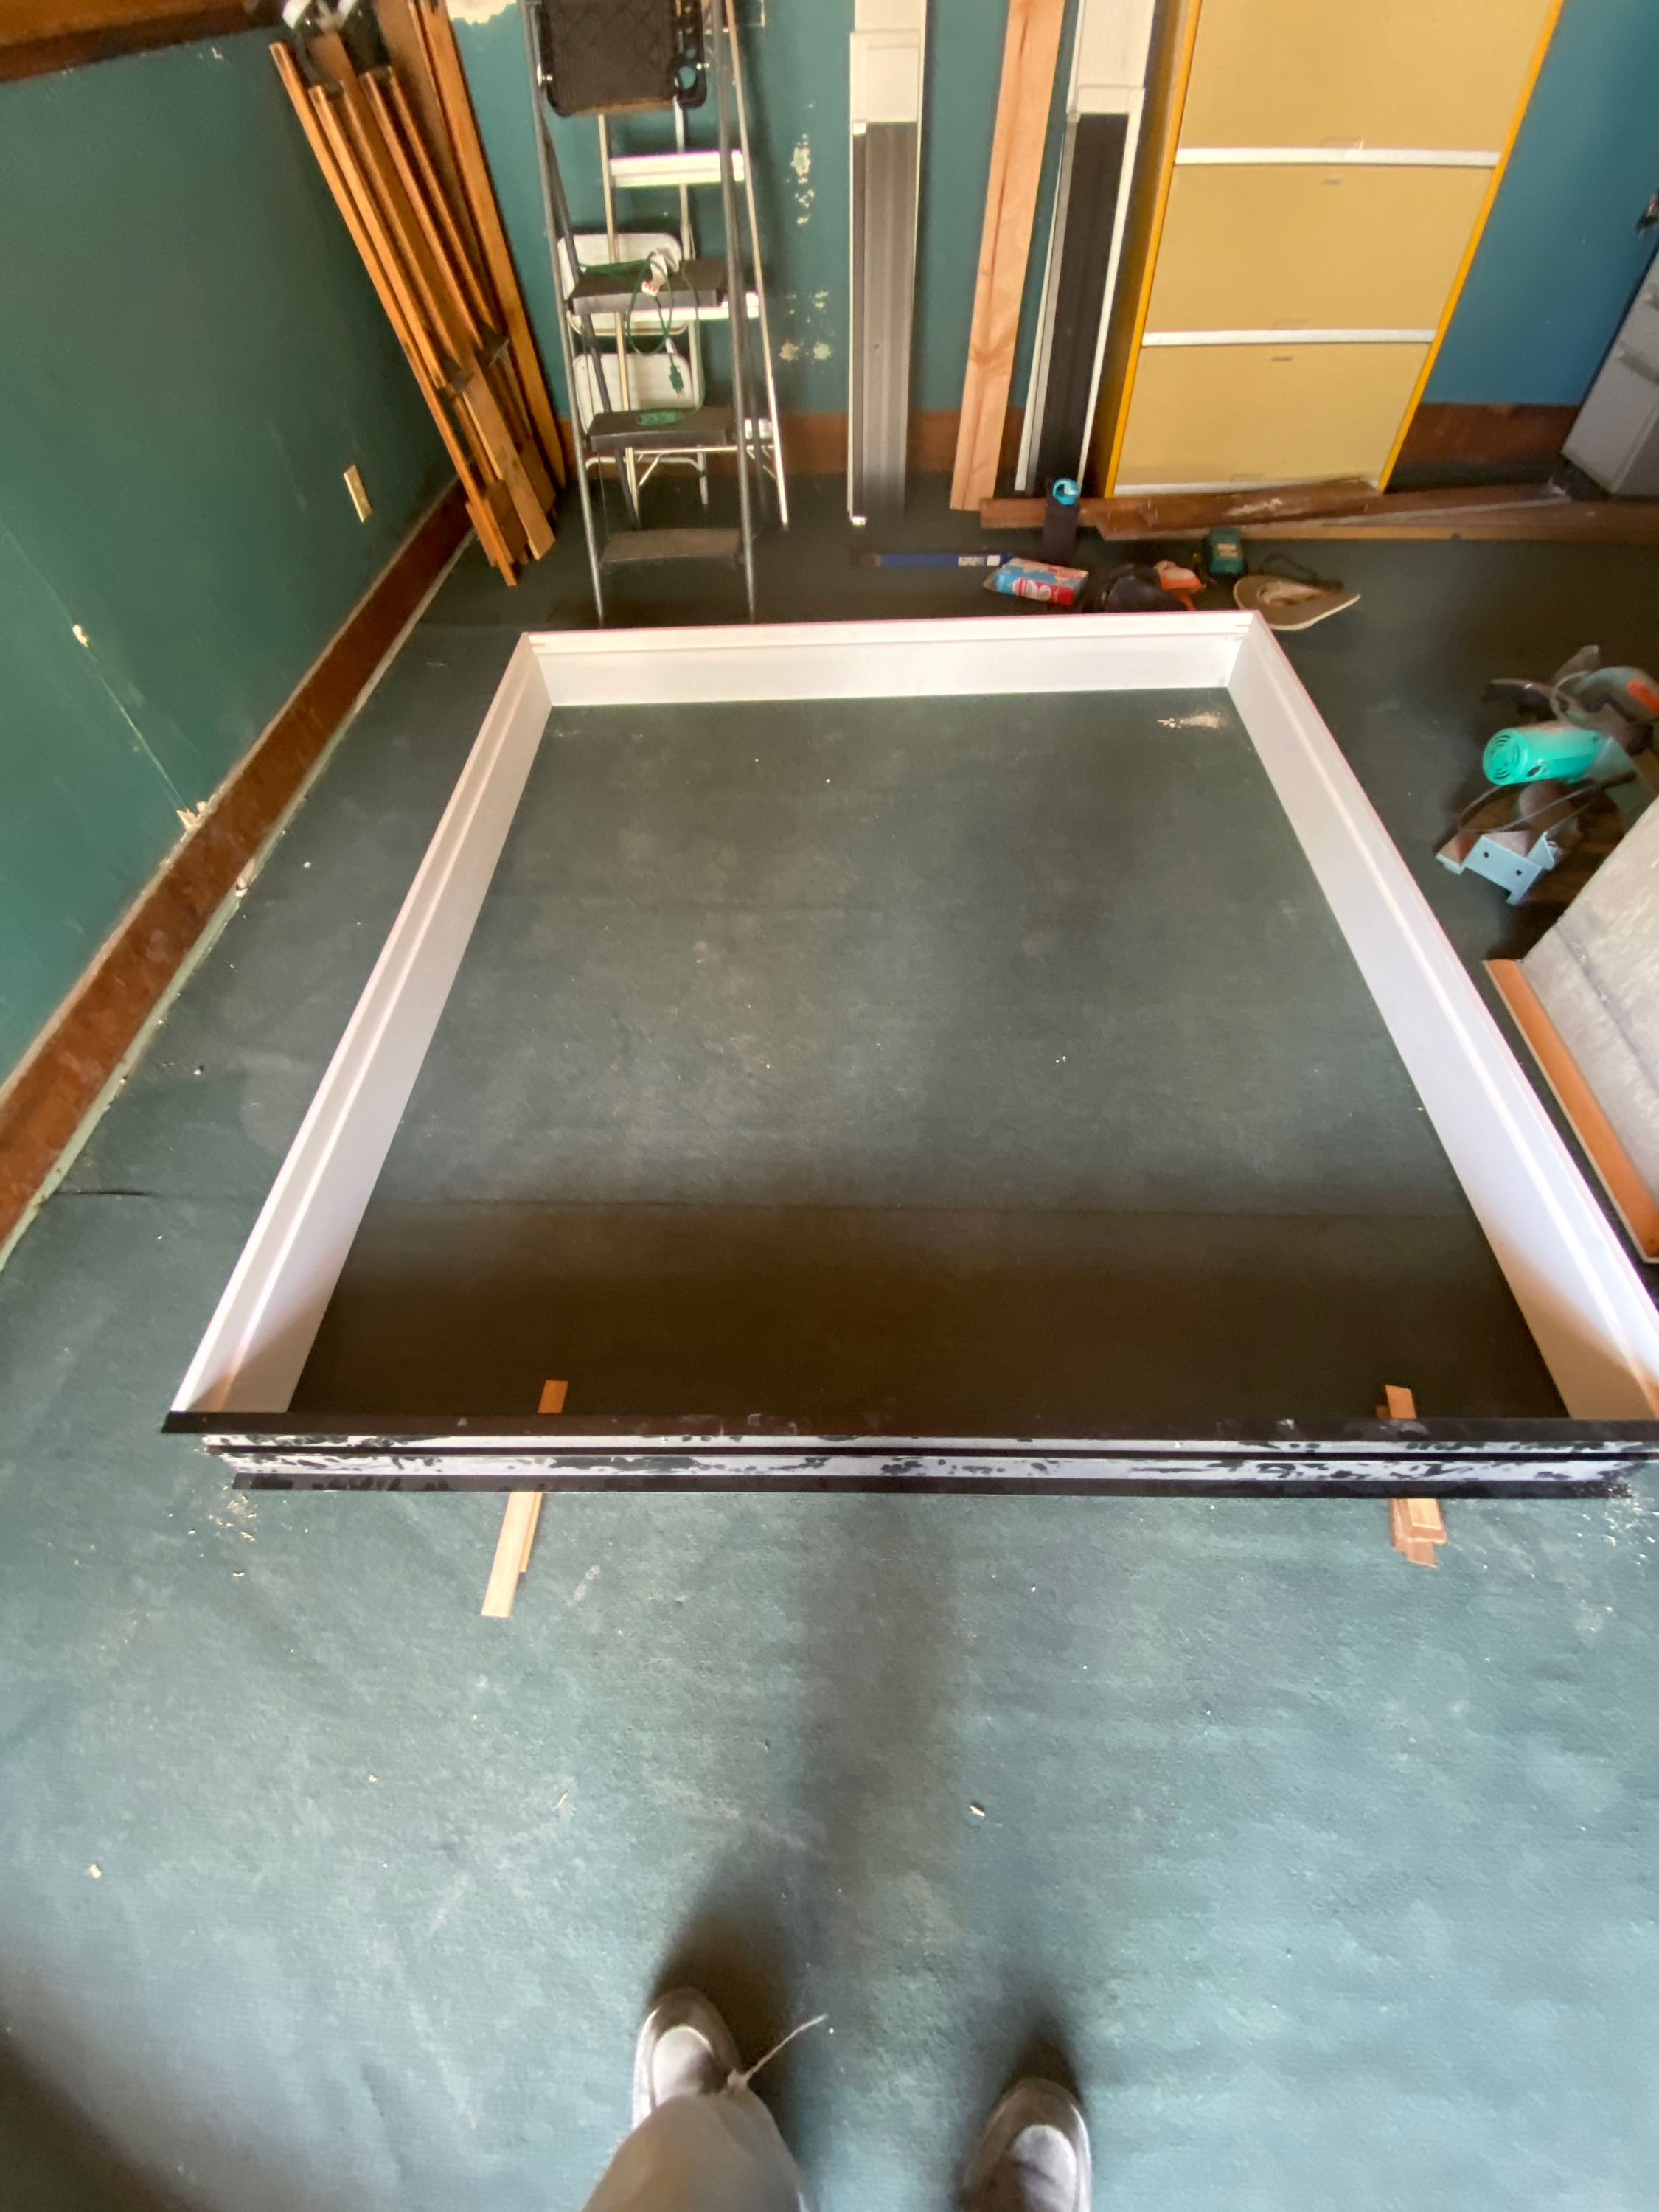
After cutting the carpet back and removing the shingle below the door the scope of the work became apparent. A section of floor, joist, and the door frame needed to be replaced.

Observatory Room Door
While this represented more work than the east classroom door fewer surprises were discovered. We knew the entire floor panel needed to be replaced.
The same installation was used on the other doors.


Remove and Repair of South Shutter
While this represented more work than the east classroom door fewer surprises were discovered. We knew the entire floor panel needed to be replaced.